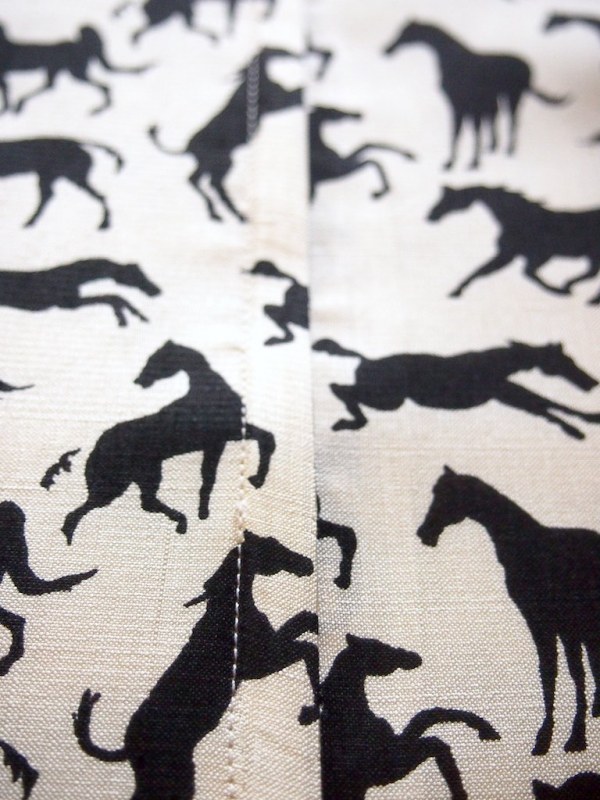
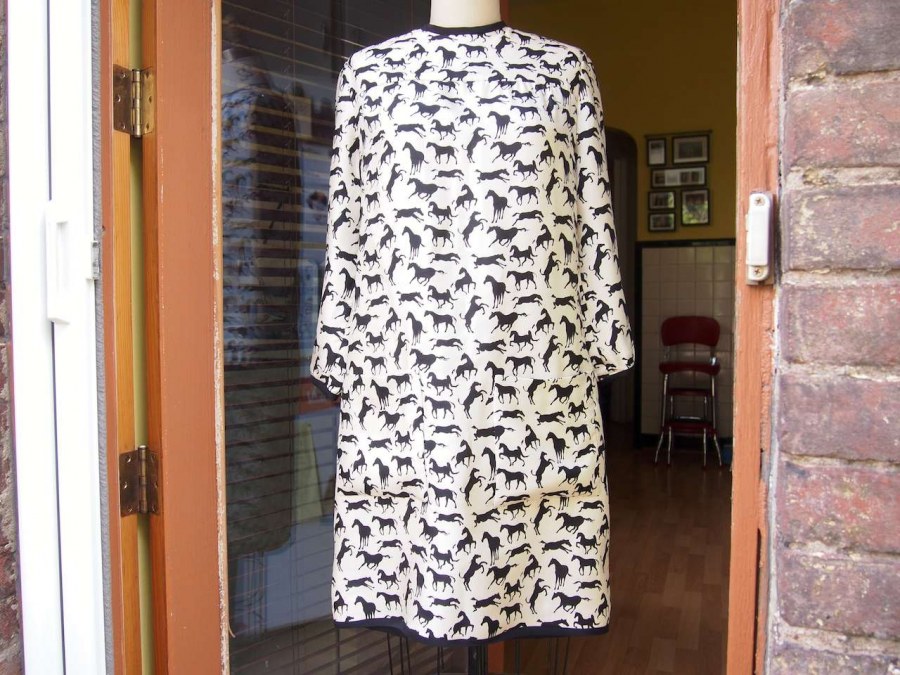
before and after: vintage horse dress
these ponies needed some help in the pretty department.
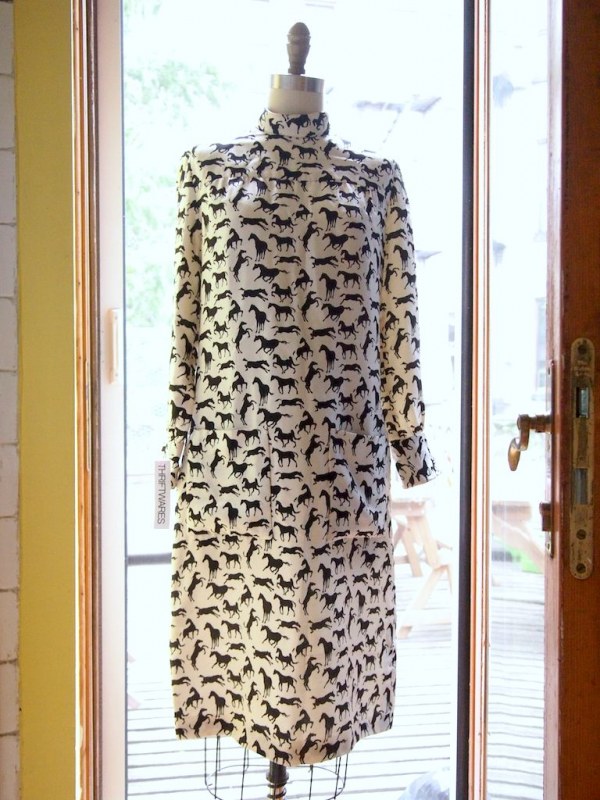
the ebay addiction has reared its ugly head yet again, and the urgent desire to have this horse dress was too much for my weak resistance. of course it would have to be hemmed (the story of my life), but when i tried it on, two other problems became immediately apparent:
1- the interior collar had some sticky residue left behind by a piece of tape (i'm guessing). it also fit really snug.
2- the cuffs were chunky and too long for my stubby little arms.
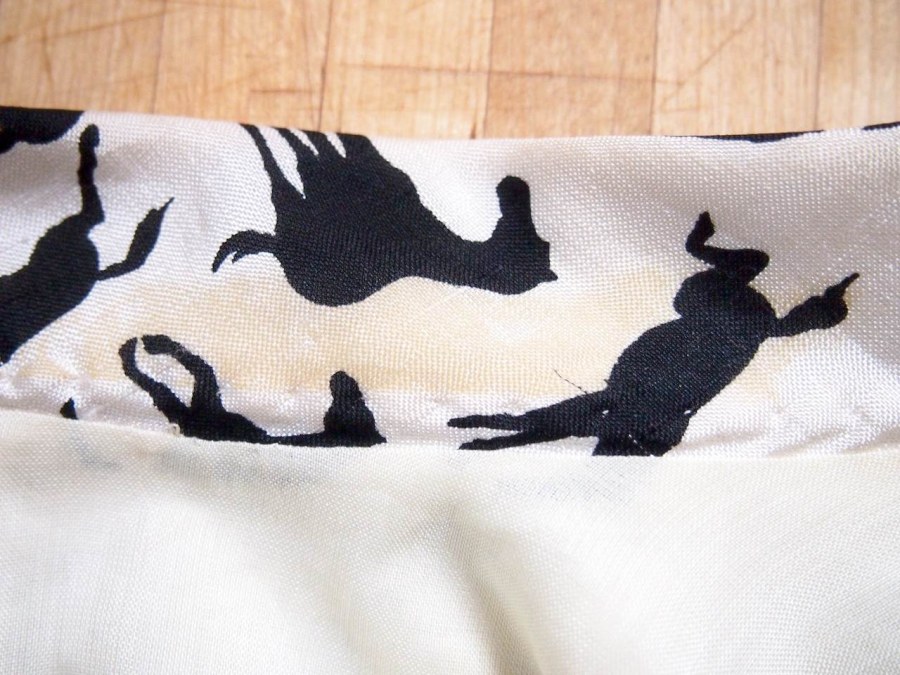
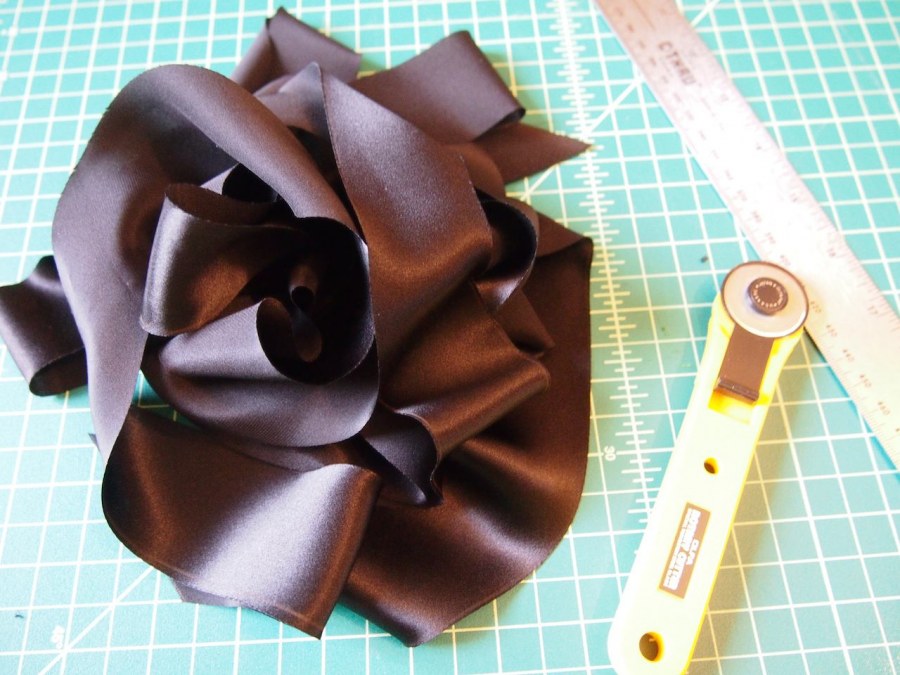
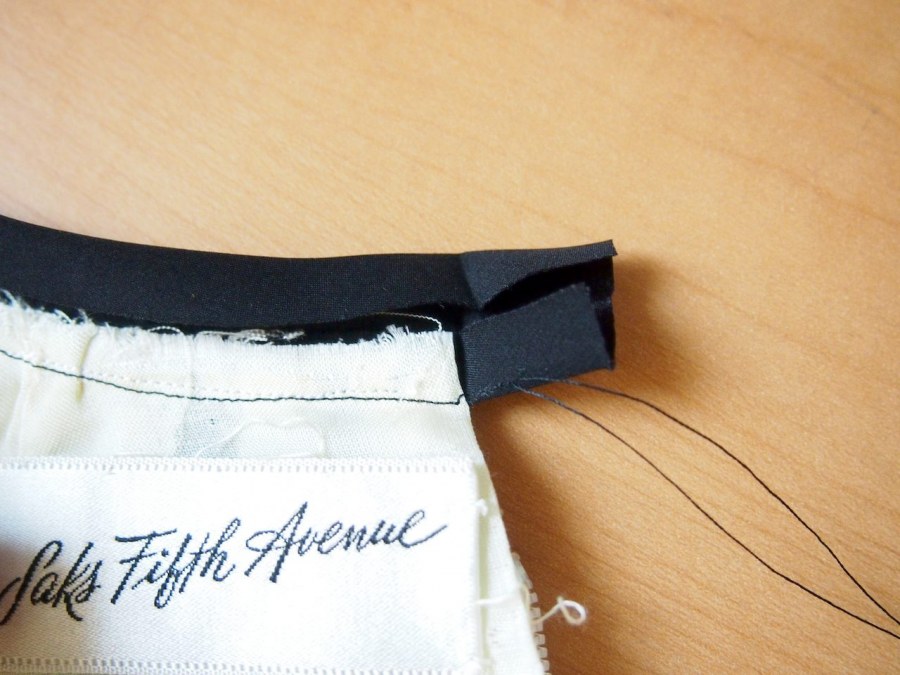
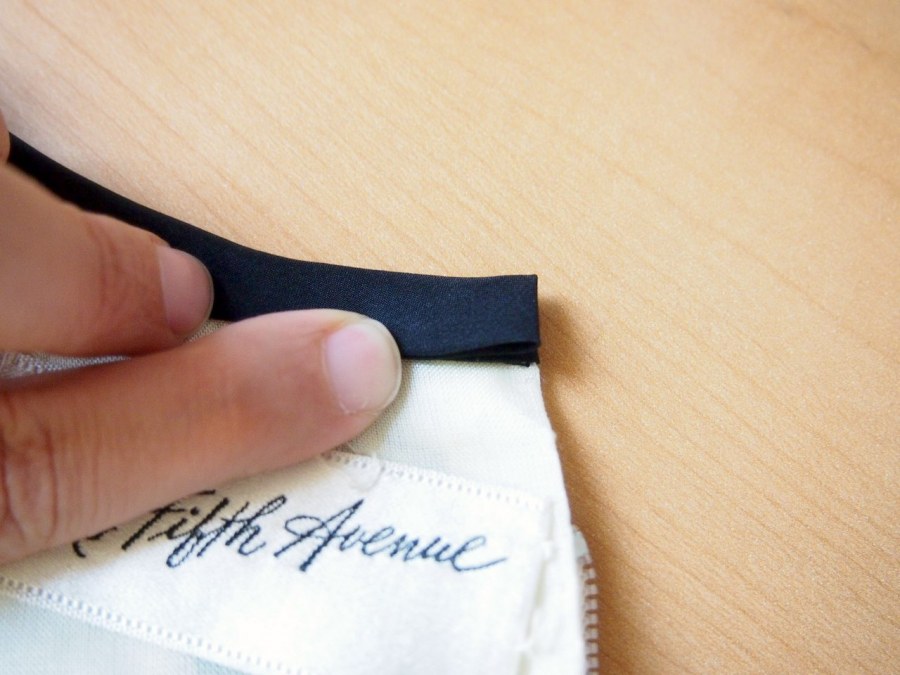
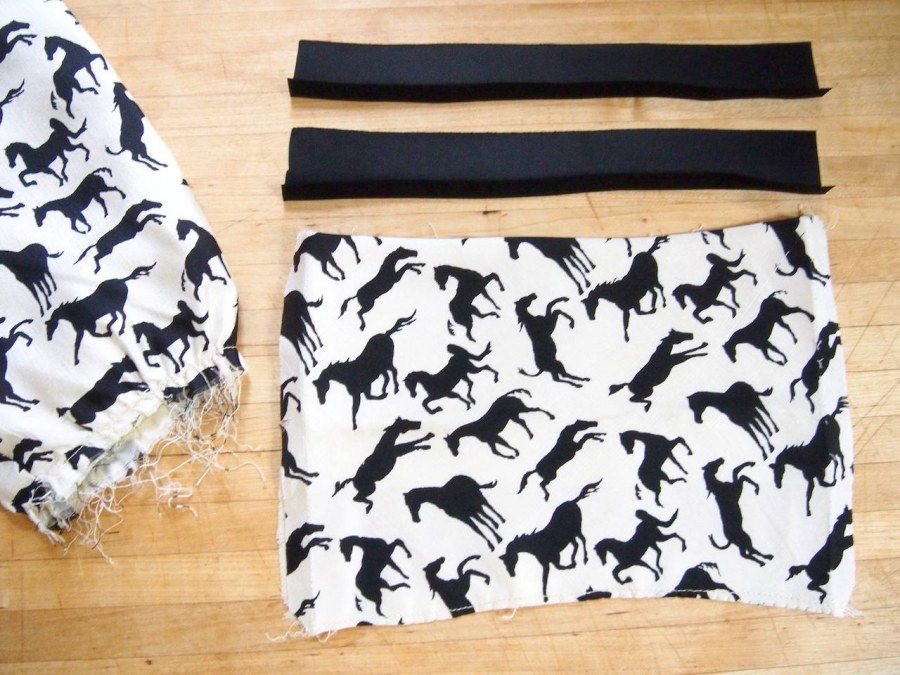
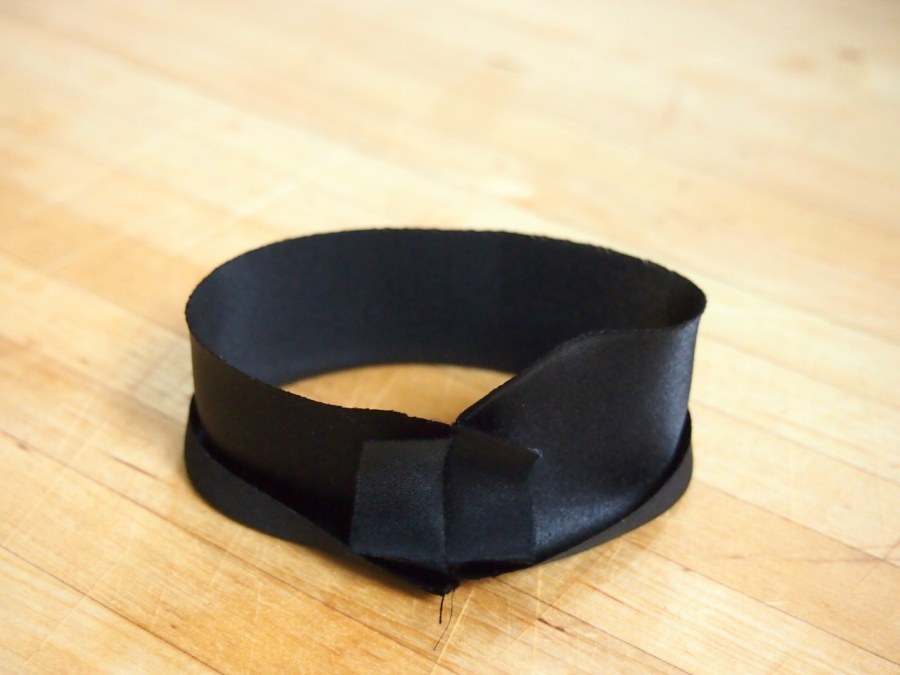
looks like this will be a major overhaul. but how? what to do with the raw edges left from removing the collar and cuffs? this is a job for binding! i cut some from a length of black silk charmeuse, and used the back side, so it wasn't too shiny. for a refresher of how to cut binding, click here.
now that that's taken care of, let's just dive right in, shall we?
the collar:
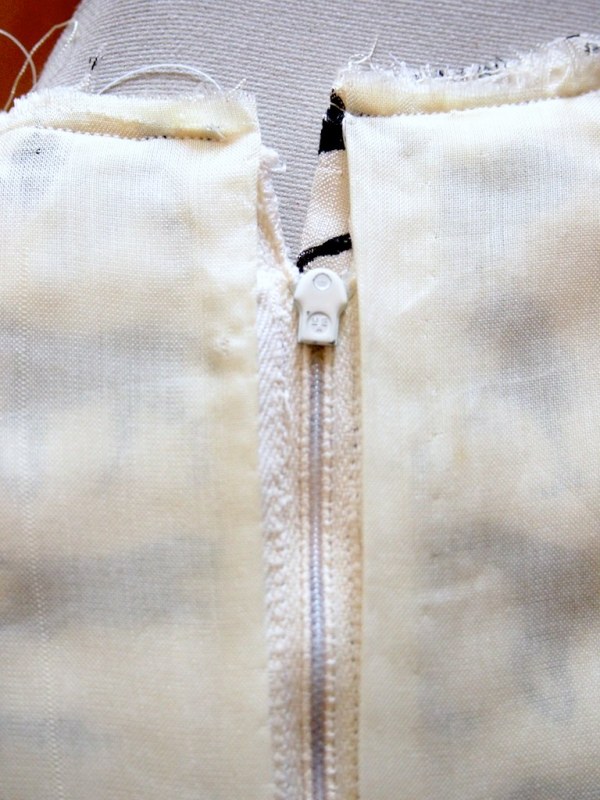
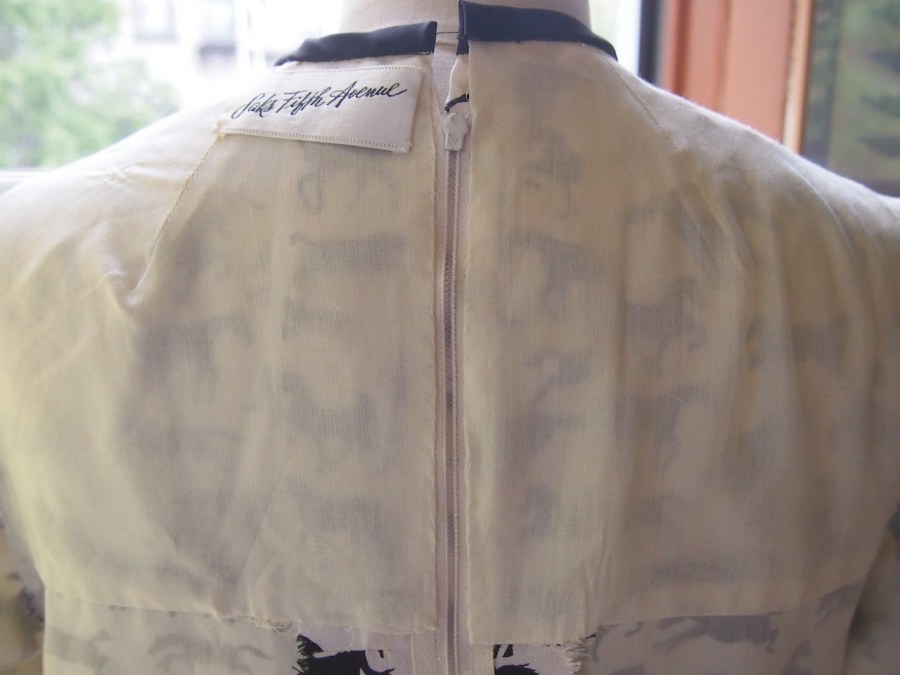
the big issue with the collar was that the back zipper went all the way up to the top. this meant it had to be removed. ugh. fortunately, only the top bib of the dress is lined, so it wasn't crazy traumatic. once it was out, the collar had to come off.


when ripping apart a garment (especially if it's vintage), it's helpful to only take out the stitch line that's holding the two pieces together. don't go ripping out everything in site- the stay stitch lines and the stitches that hold the reinforcement to the fabric should be kept in tact. otherwise, the whole thing could fray apart. once the neckline was pressed flat, it was time to put the zip back in starting 1/2" from the new neckline. here's a great tutorial for putting in a lapped zipper.
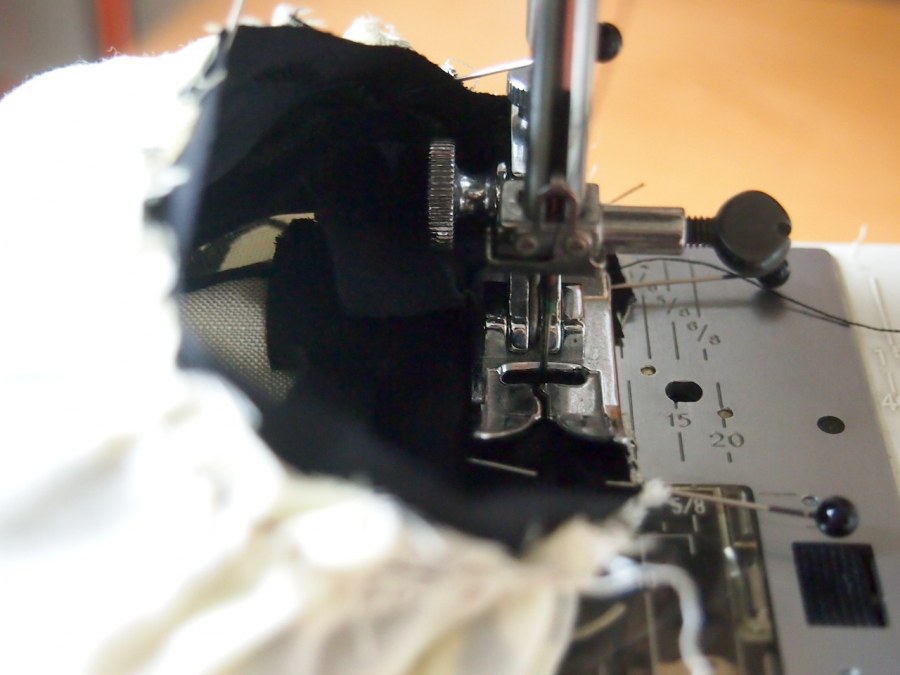
the back lining was folded at the zip as it was before, and hand stitched in place. then the outer fabric and the lining were stitched together around the neckline, 1/4" from the edge, to hold them in place while adding the binding.

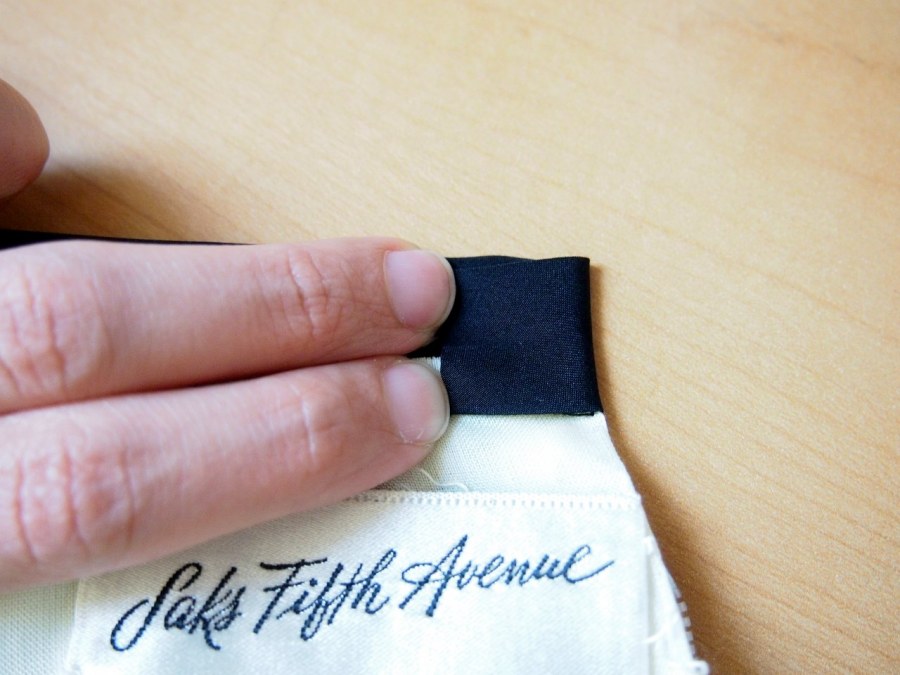
then the binding was sewn! here's how to finish the edges cleanly:

because i stink at machine sewing the interior binding in place, i did it by hand. and sweet lord, that took awhile. the rest of this will be a cake walk. (ps- the collar is still missing the hook and eye closure. it'll happen. at some point).
the cuffs:
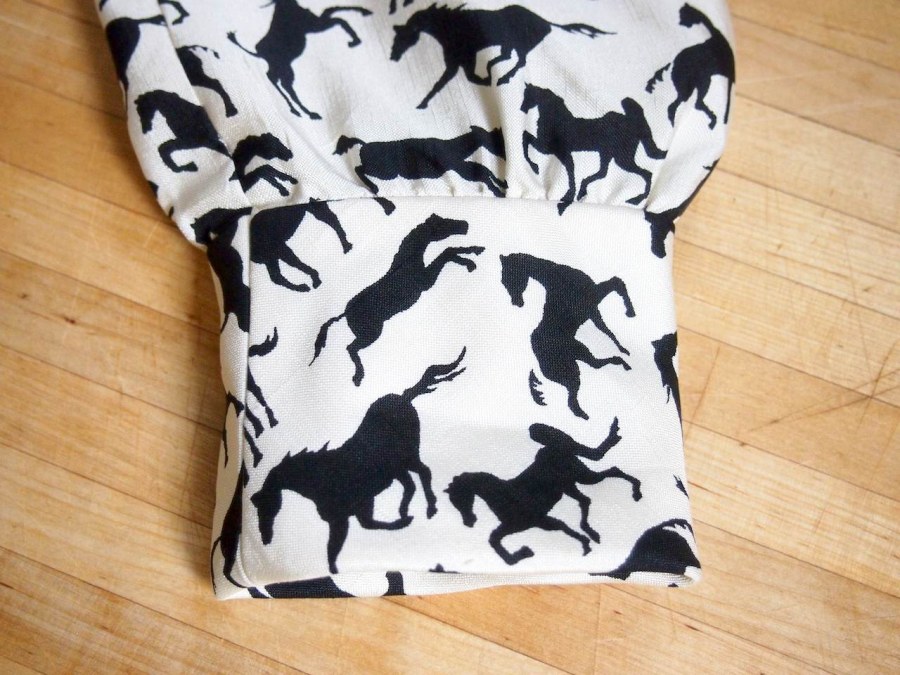
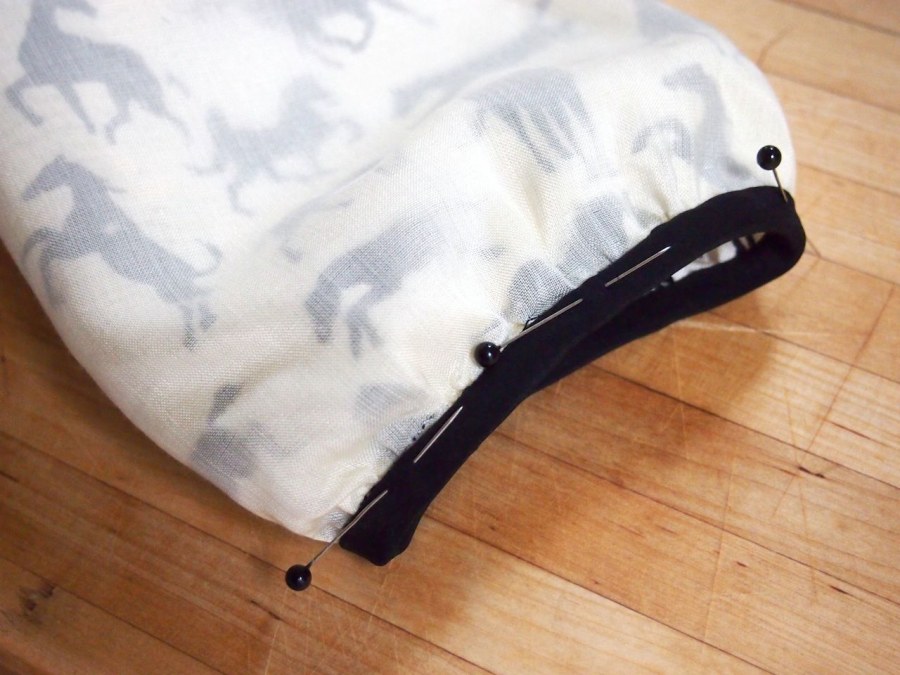
the interior of these puffy cuffs were hand basted, so ripping them apart didn't take long at all. by only ripping out the stitch line that separates the pieces, the sleeve still had the gathers and original opening size. once the cuff is pressed flat, it can be used to measure the new binding.
if the binding is sewn together as a ring, it can be applied to the sleeve the same way a cuff would be. once again, machine stitching the interior is not my forte, so hand stitching it had to be.
the hem:
binding a hem doesn't take much effort, but there are a few tips, to hemming in general. when you've tried on the garment, and marked where you think you need your hemline, take it off and pin the whole thing up. try it on again.

i'm almost always off an inch from where i think it should be. sit down (carefully, so you don't get stuck), and raise your arms as high as you can (this is especially important if you take the public transportation to work- fellow commuters don't deserve a free show if you have to hold the bar. it's bad enough you didn't get a seat.) once you've determined where the line should be, measure the distance from the bottom edge to that point. continue to mark the interior of the garment, measuring the same distance all the way around. hang it up to see how the line lays.
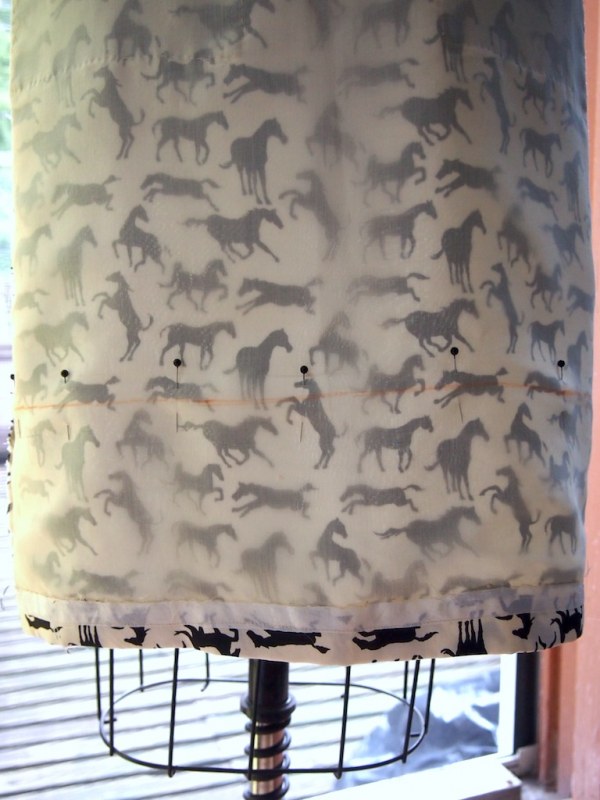
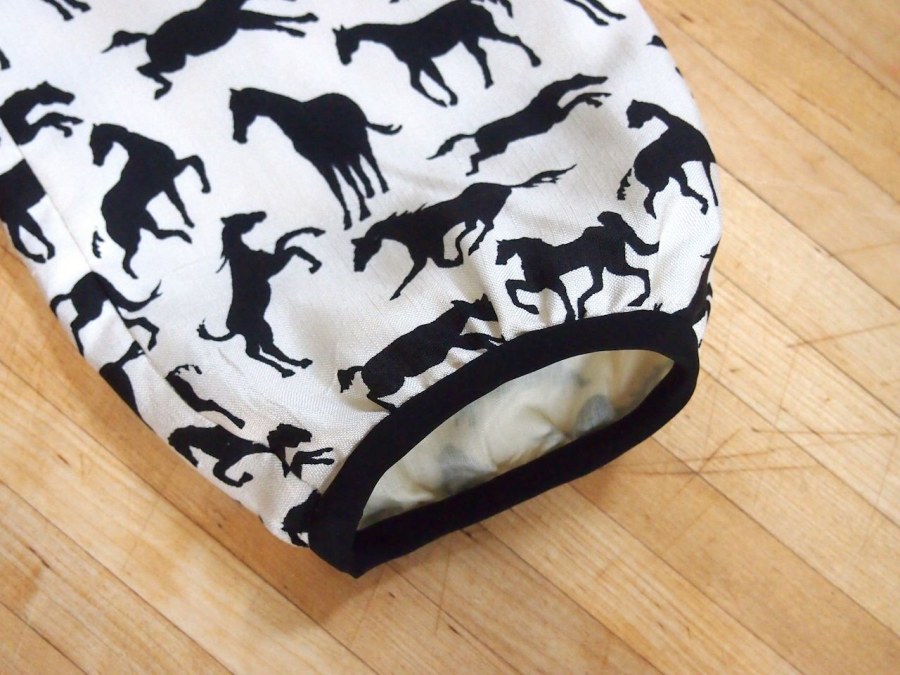
this one was a little wonky, so i redrew it with a straighter line. because it had 2 layers, they needed to be basted together before the binding was added.

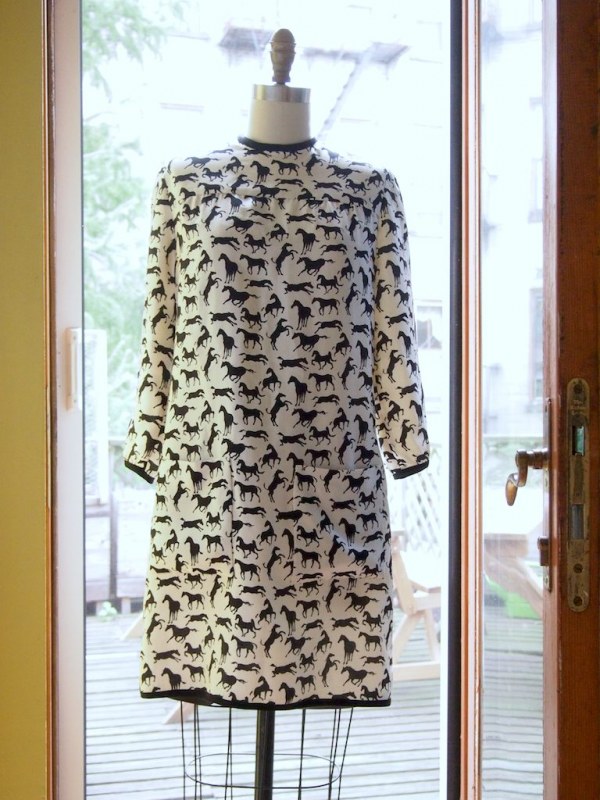
then this sucker was bound and now it's ready to go! looking all cute and new and comfy. ponies on parade!
