friendship. in the form of a bracelet and necklace

my nieces are crazy about friendship bracelets. when i was home for the holidays, we looked through my old stash of craft supplies from high school and sure enough, hit the jackpot. the embroidery floss was handed down, but i kept some thick neon cord for myself. is it possible to take friendship bracelets to the next level?
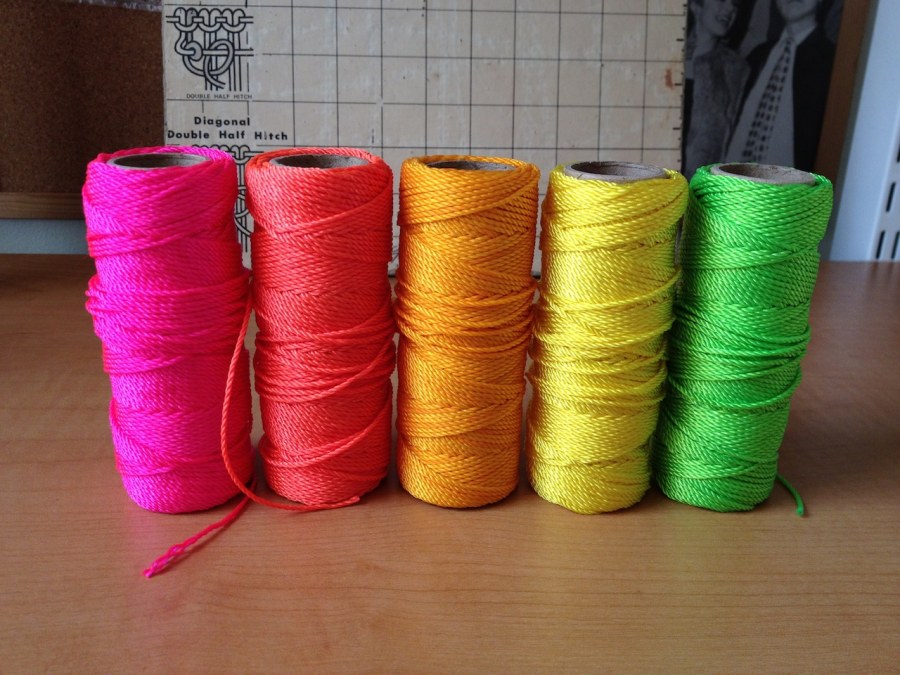
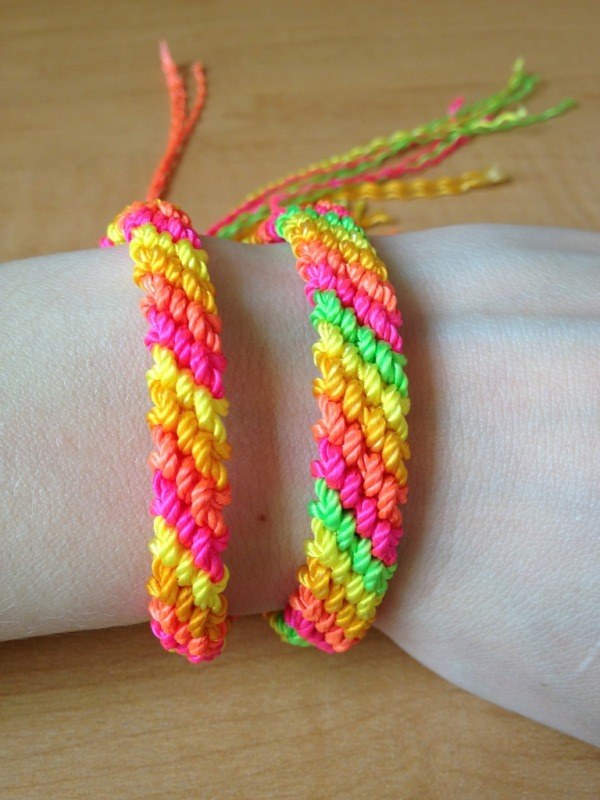
as soon as i saw this cord, i knew i wanted to make some friends with it. my nieces put in requests right away, but i wasn't convinced that it would work. the first rainbow was a test of the cord, and also my skills. the simple candy stripe pattern that can be found here.
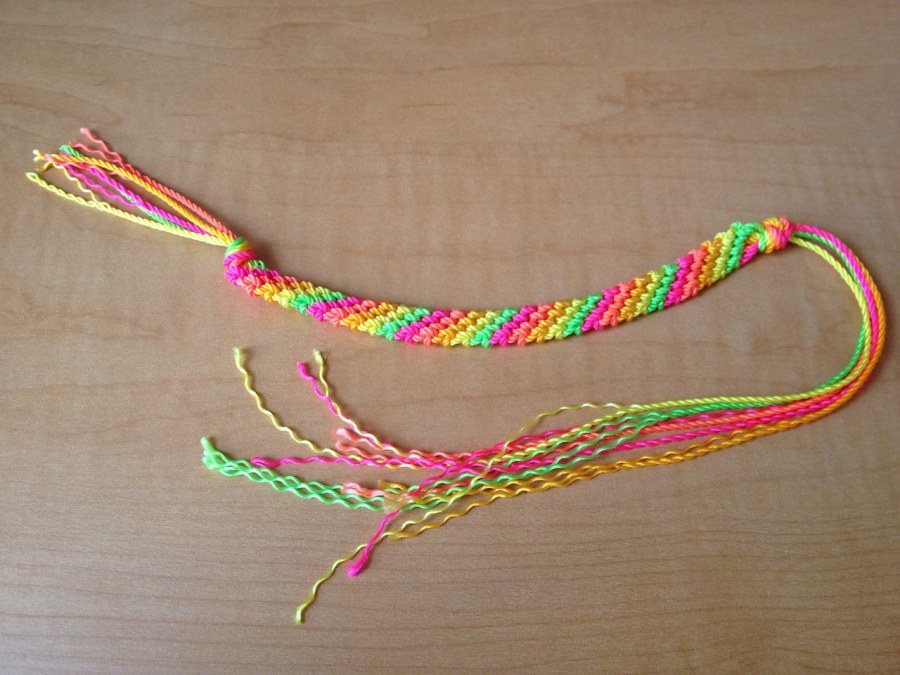
the cord worked well and i liked the chunk of the final piece, but i had a number of complaints about the design and function. namely, the loop and ties as closure.
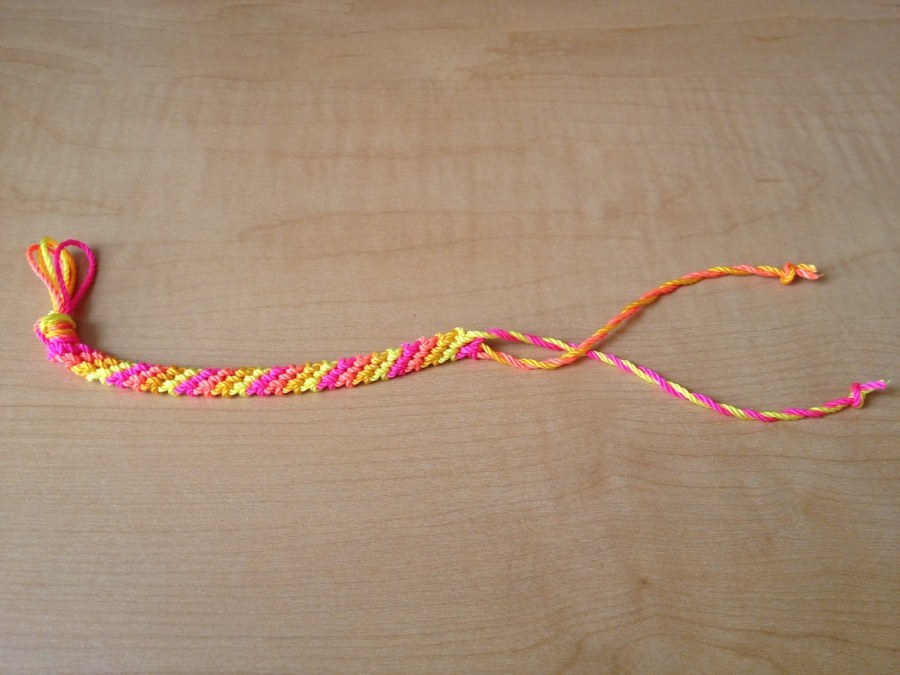
there has to be a classier way to wear this, right? i tried using beads as toggles, but it looked hippy-ish. then i started thinking about safety pins. what about a nice old fashioned diaper pin? naturally, perusing etsy lead to what i was looking for immediately. gold plated! don't mind if i do. picked up some silver plated while i was at it.
friendship necklace:
now, i'm not much of a bracelet wearer. i prefer strong statement necklaces like the fall/winter collection at akong london. when i saw that the same etsy seller had a mother load of amazing colored cord, i got really excited at the prospect of using my new found love of friendship knotting for a necklace. i decided to make myself a proto necklace while i wait for 4-6 weeks to get my package of cord and safety pins.

this was a last minute project, so the assembled components are what i happend to have at hand: a wood link chain, some spiked weights, and my trusty macrame board. this board is super helpful for knotting, and also happens to be 5 years older than me (thanks mom!) they're cheap to buy at amazon (Large Macrame Project Board). you'll need to have some T pins on hand as well (Dritz(R) T-Pins-Size 24 40/Pkg
). the glue of choice is Beacon's Magnatac 809 - 4 0z.
i taped the ends of the cord to prevent fraying, and added jump rings to the weights.
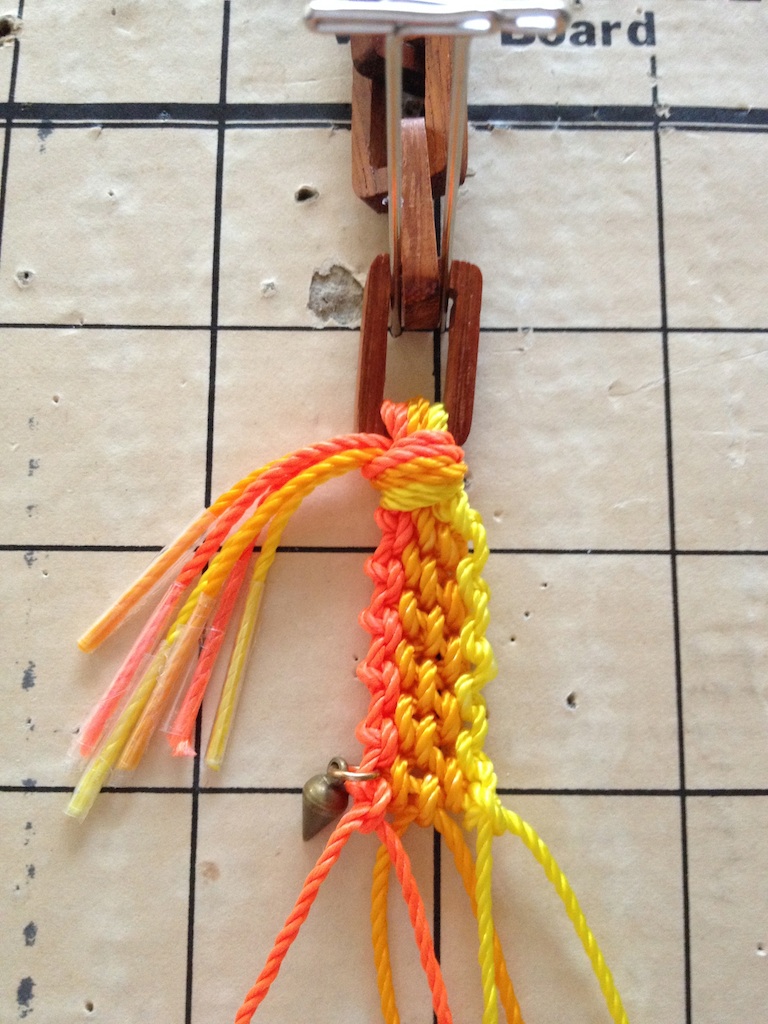
not gonna lie, the first knot was tough to get on the wood link. it took a dozen tries before it looked good and felt secure. the pattern chosen for the piece is here. initially, it didn't seem too difficult- but i never really got the hang of it. after about an inch of knotting, things started to get crazy. i added the first weight to the outer edge, then another and another and another.
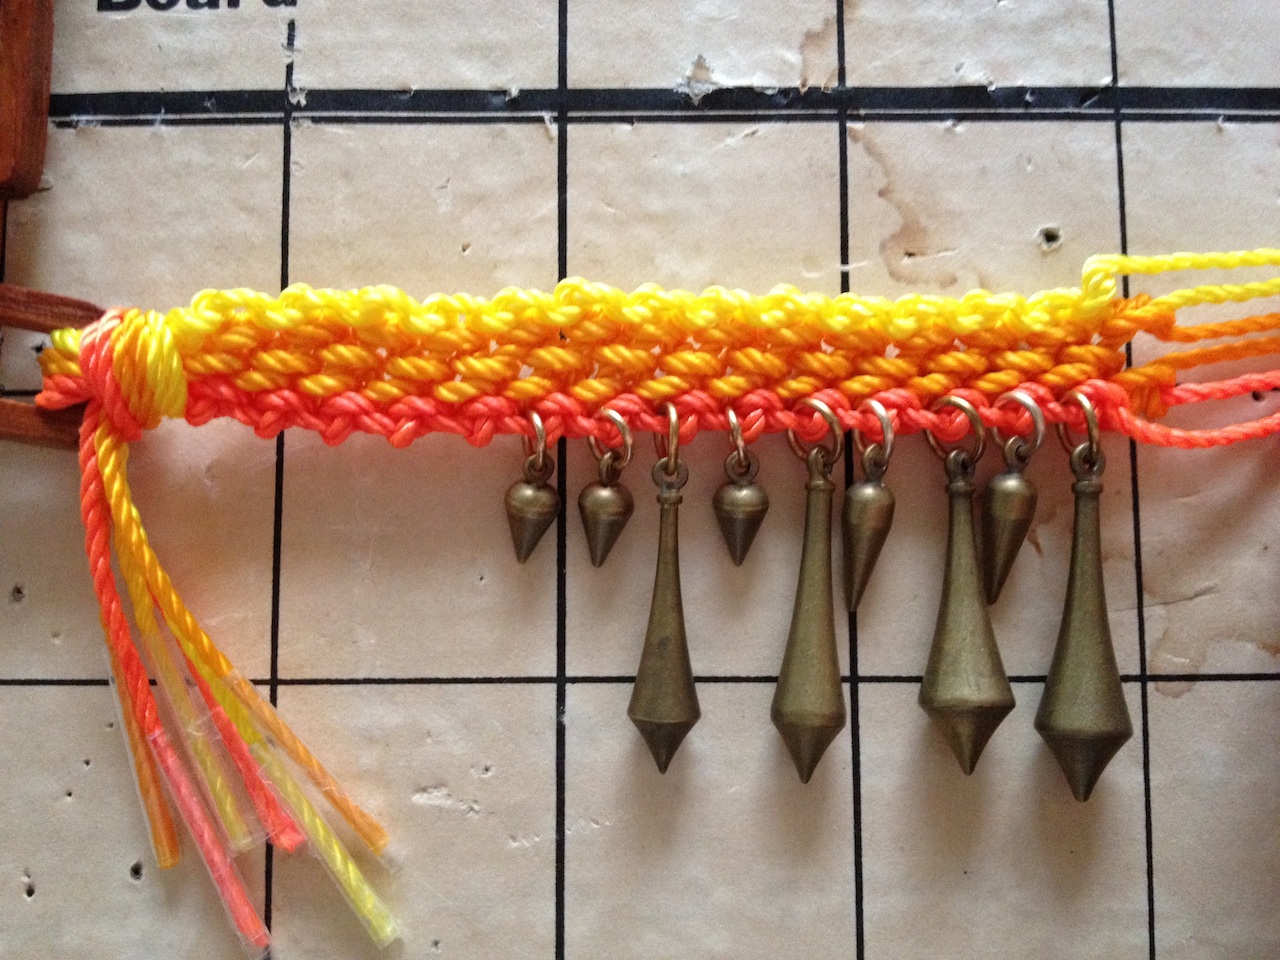
again, the final knot onto the wood link was DIFFICULT. those stupid knots on either end took longer than tying the whole piece together. initially, i liked the look of the fraying cord, so i left it for the first try on.
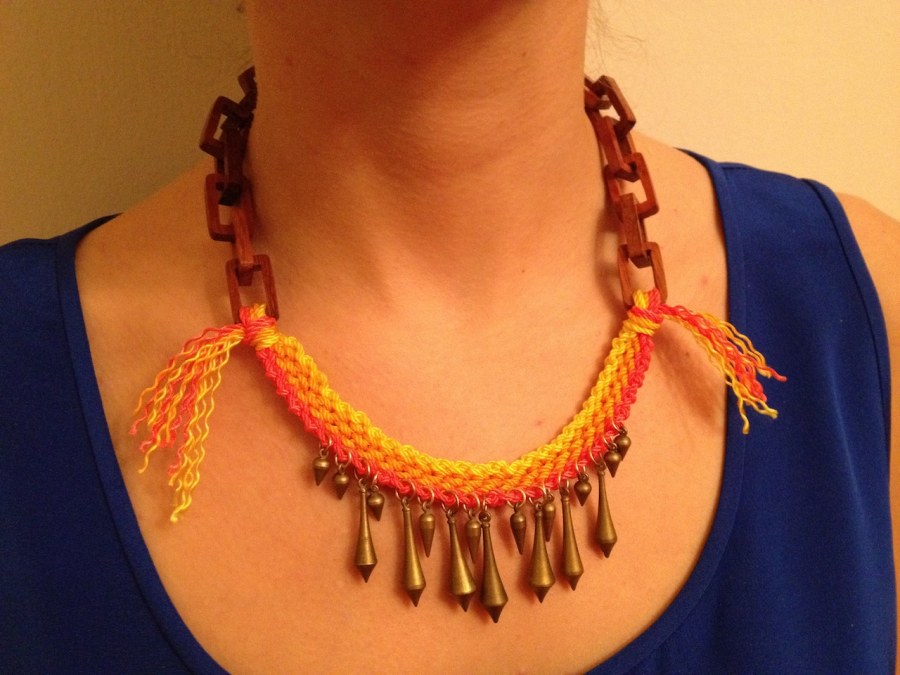
well? not loving it. i know people who will wear spikes on anything and everything (you know who you are), but these spikes were not working for me. there were too few to make an impact, the shapes aren't ideal, and i hate the pierced look of the jump rings. thankfully, my new best friend over at etsy had what i was looking for. ordered! but let's see what happens when we tone it down.
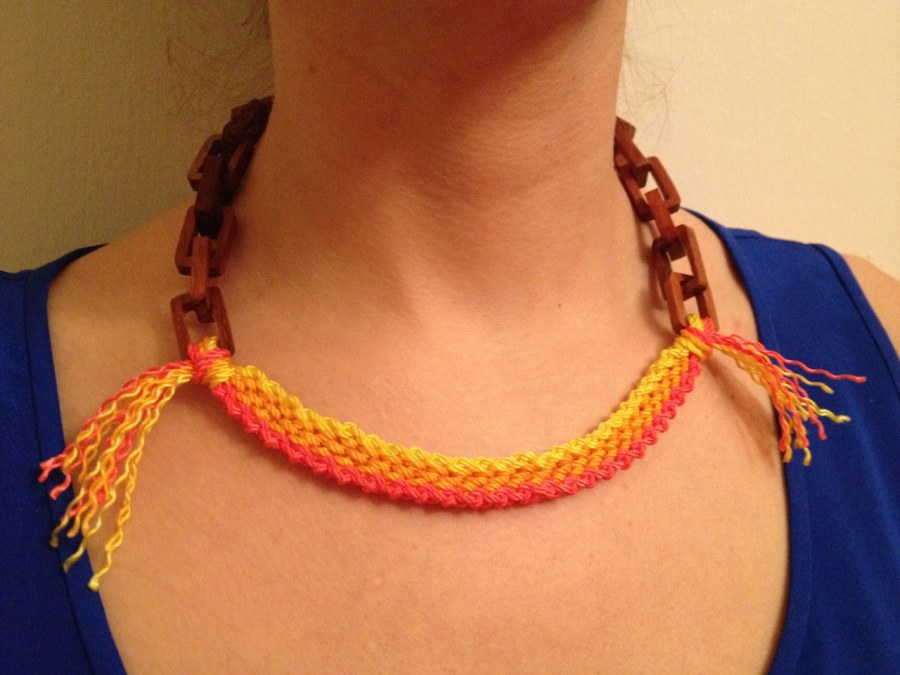
getting there. my imagination, or does it now have pigtails?
well, not exactly the statement i envisioned- but not too shabby either! if a proto makes me excited to continue with an exploration, than it's a success. my friends will just have to wait until the bounty from etsy is delivered to get their tokens of my affection.
