Kangaroo Kit Review
May 22 2013, 10:44 pm
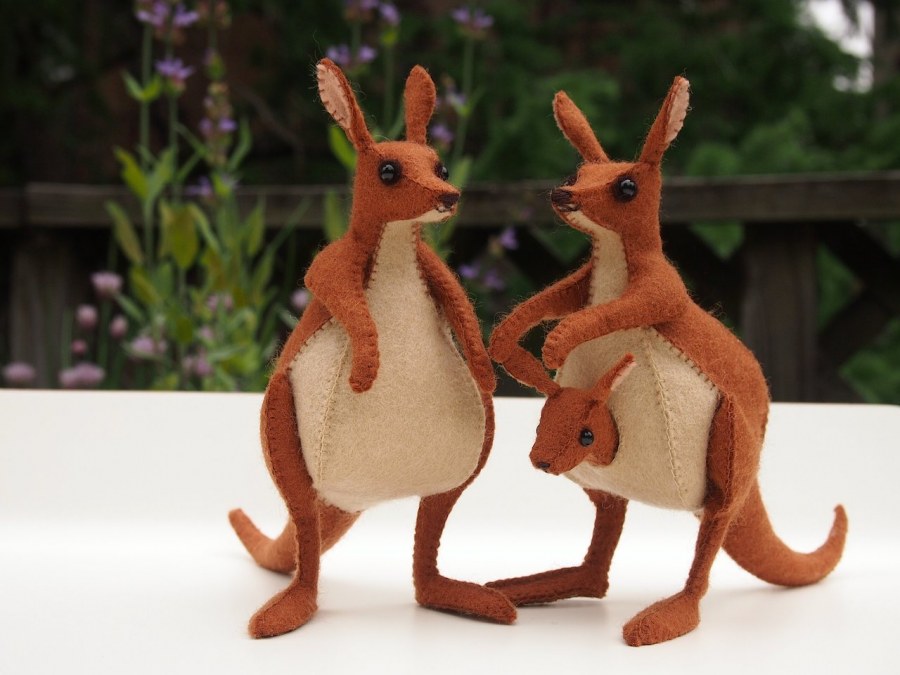
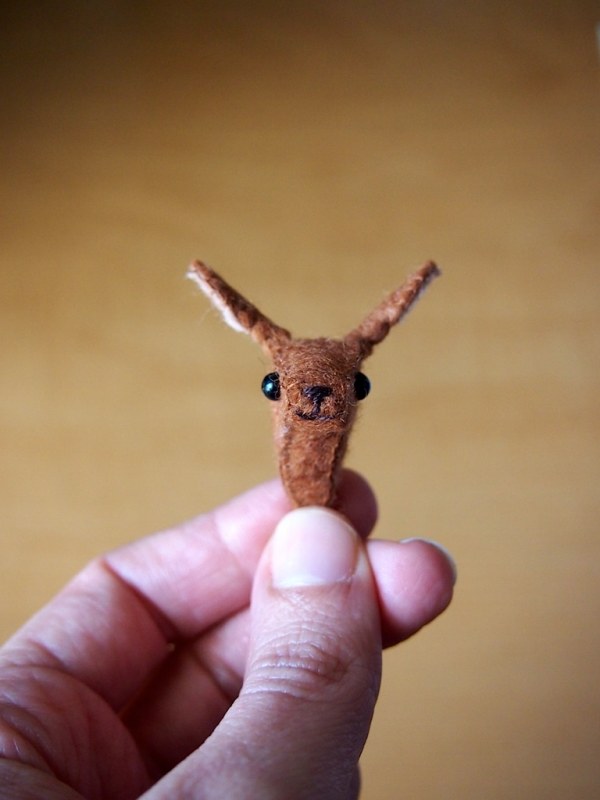
The Kit: Sunfelt Handicraft Small Animal Felt Kit
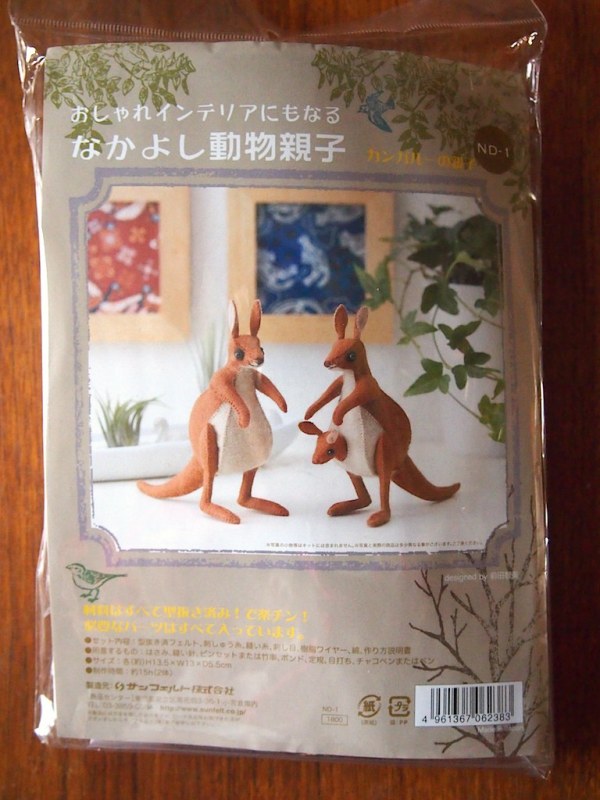
- Kit was purchased at Purl Soho.
- It's Japanese, but has full instructions in english.
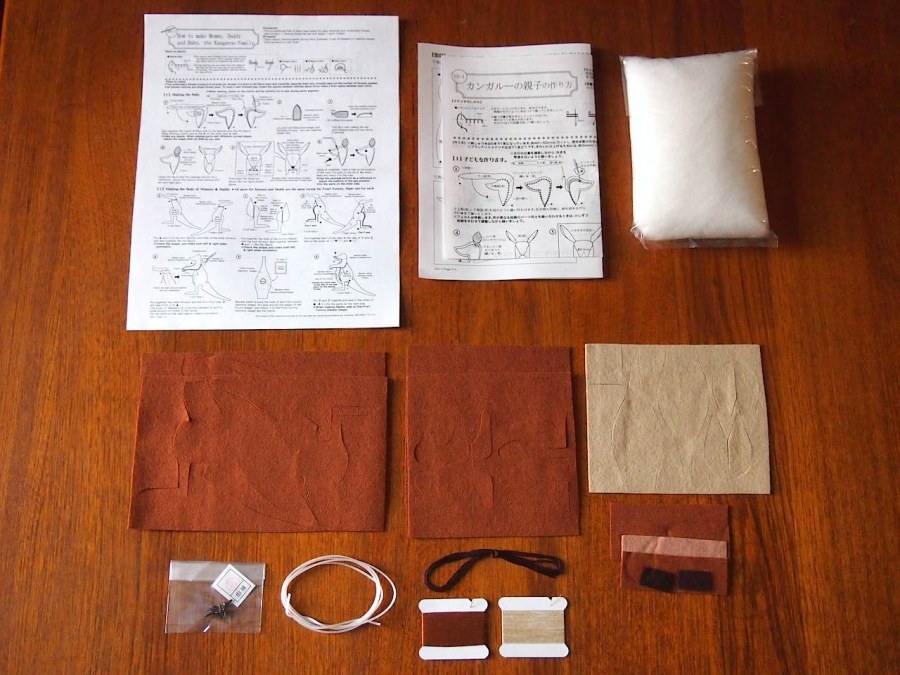
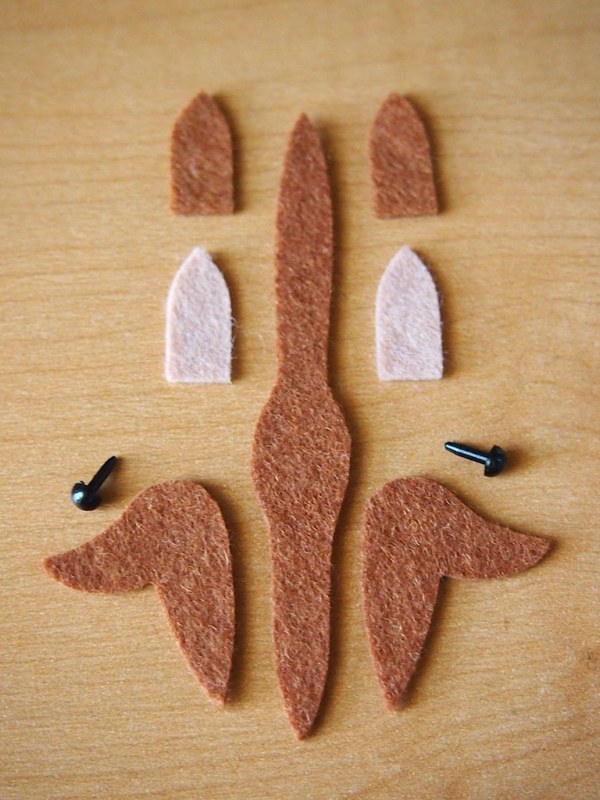
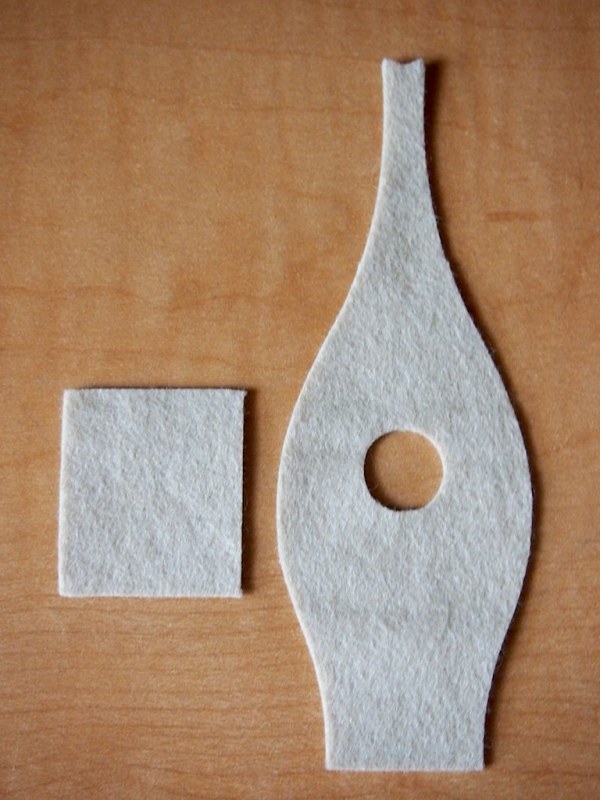
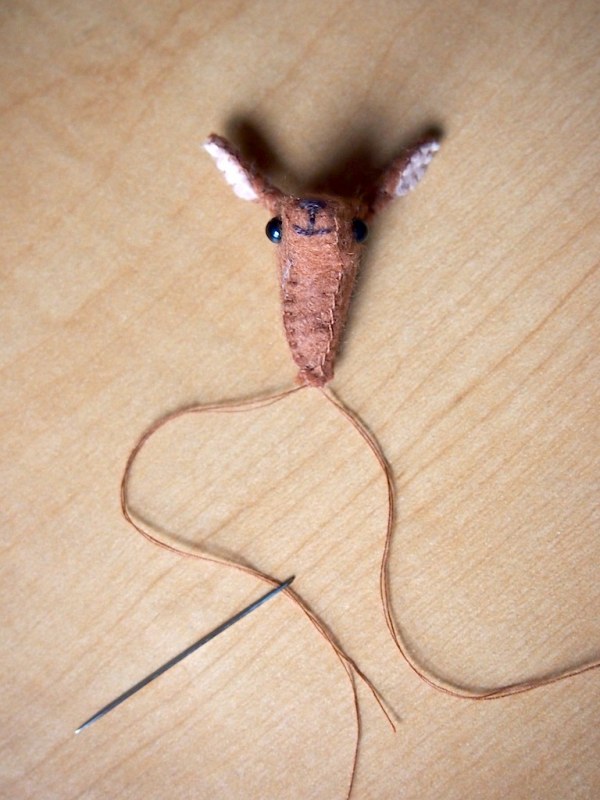
- Kit contains pre-cut felt, stuffing, eyes, coated wire, and thread.
- Also needed: scissors, needles (of varying thickness), glue
I strayed from the instructions a few times (naturally), but compiled field notes along the way:
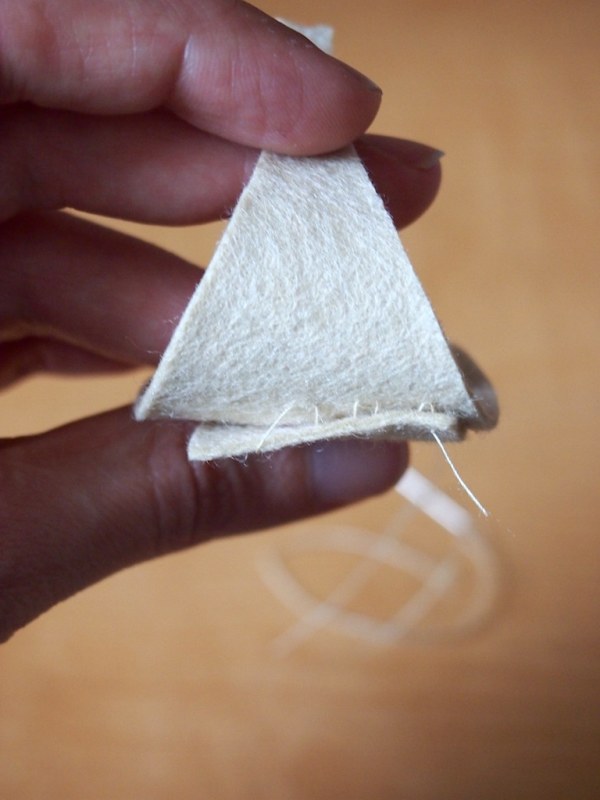
Stitch Length:
- Kit calls for stitches to be 2mm in length in width, but mine ended up being closer to 1x1mm.
Sewing vs. Glueing:
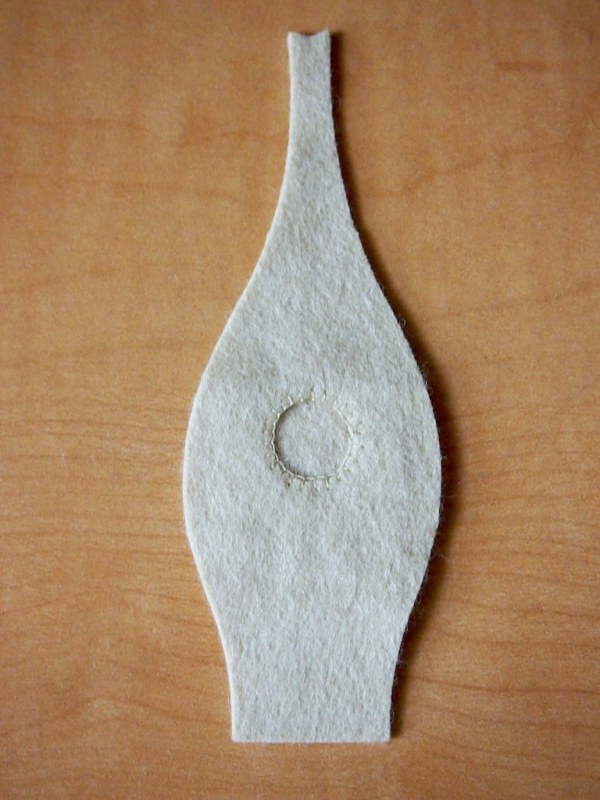
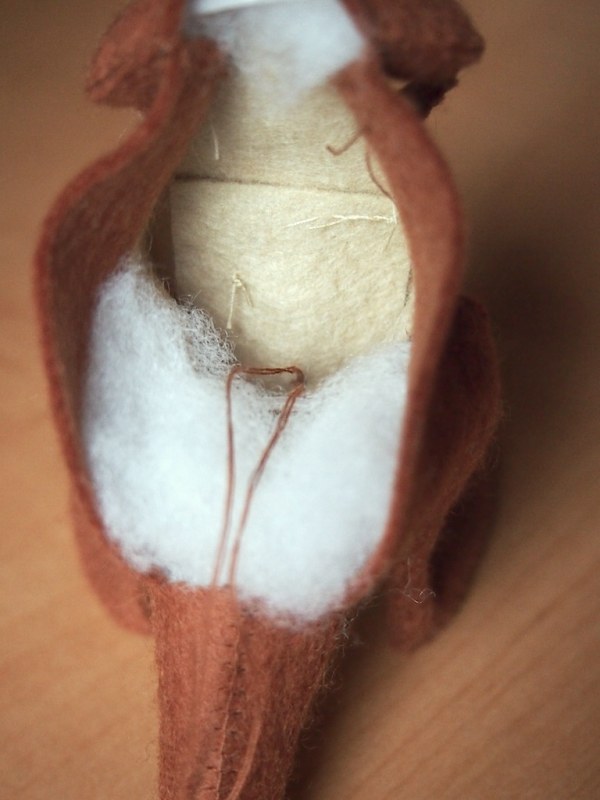
- On momma roo, the kit calls for the back tummy to be glued around the edges to the inside of the front. The felt is plenty thick enough to allow for secure stitching that doesn't show on the front, so after blanket stitching the tummy opening, I stitched the back piece to the inside of the front.
- The instructions say to glue the joey inside the tummy pocket, but by leaving the threads on his head long, I was able to sew them through the back tummy piece and tie a secure knot. And he's fine in there- not droopy or heavy. super snug.
Roo Tattoos:
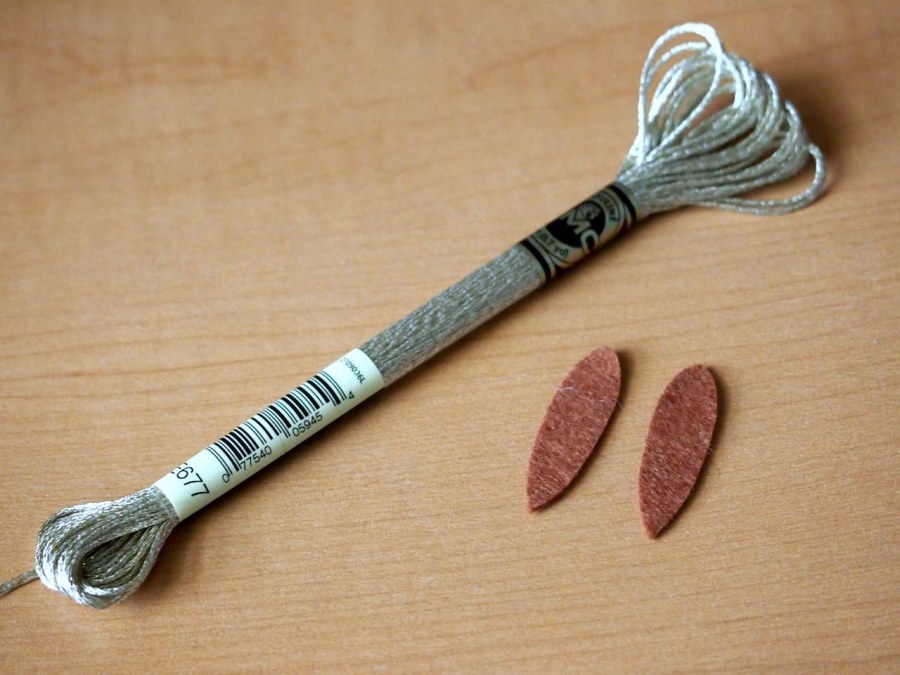
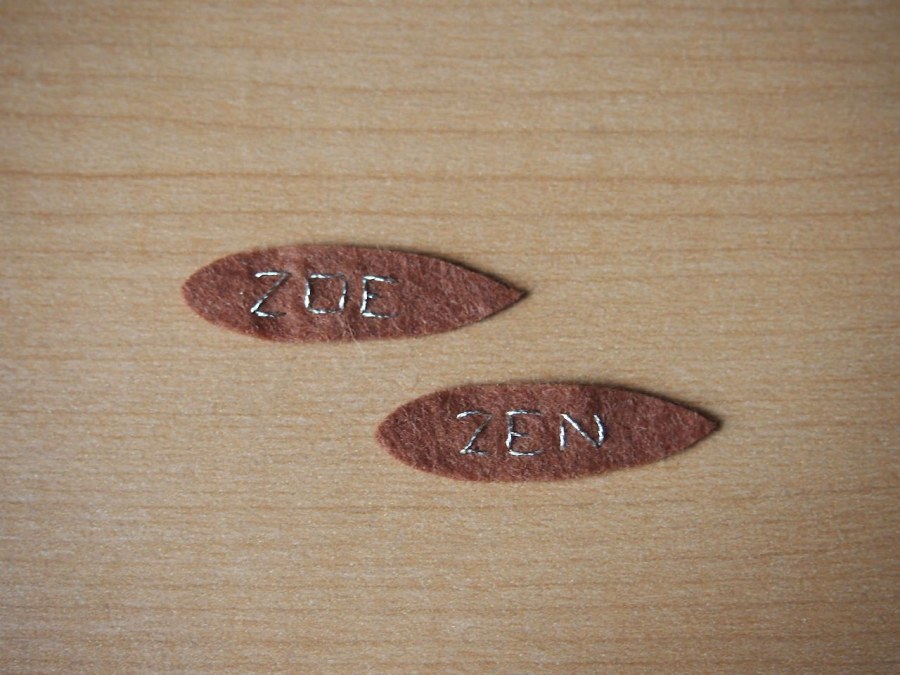
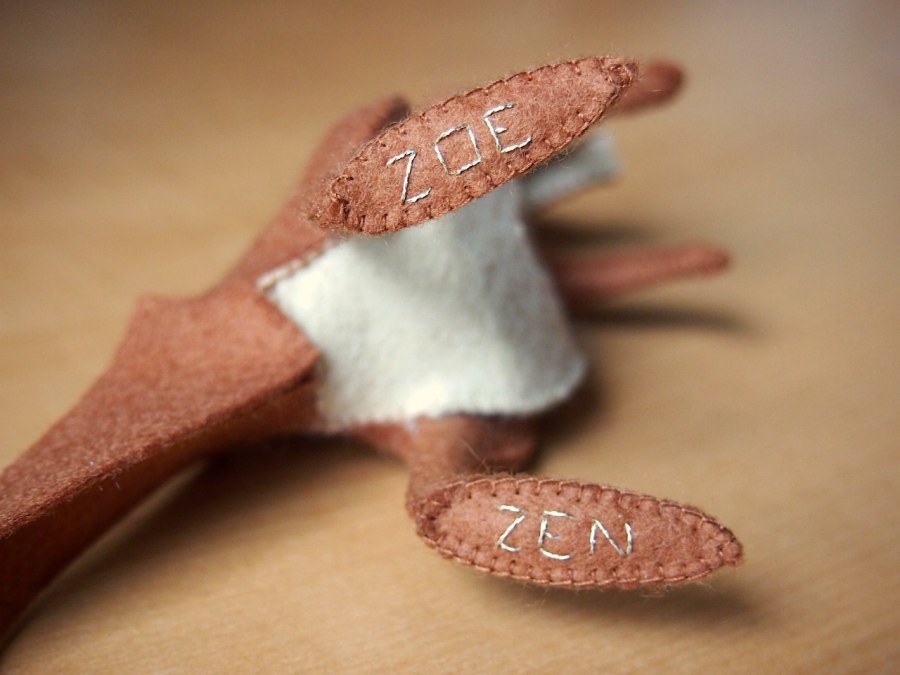
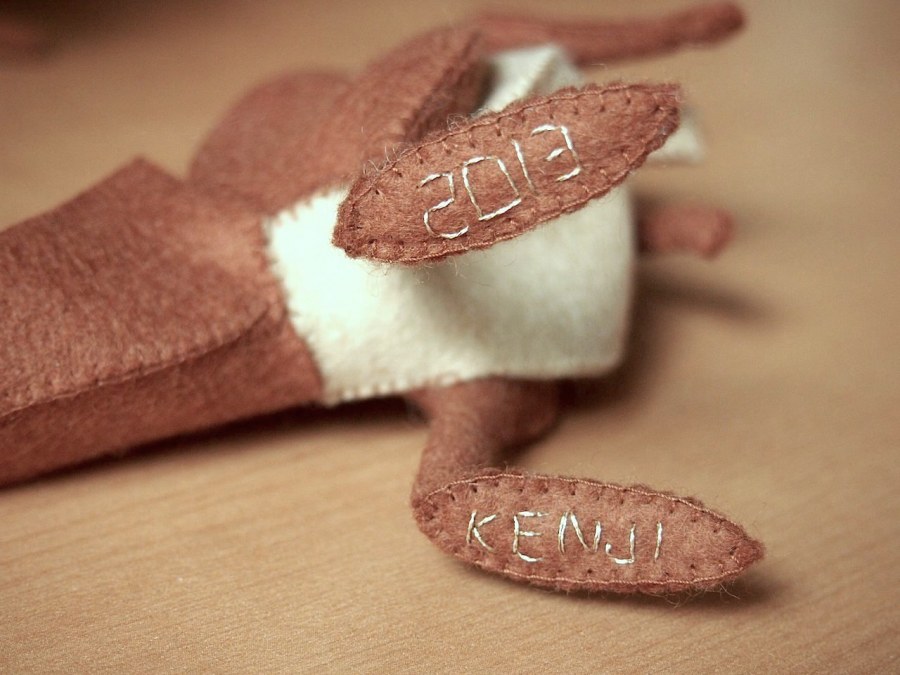
- To make these roos a bit more personal, they each got a name tattoo on their little feets. momma roo, baby roo, dad roo, and the date were stitched on the soles before they were sewn to the uppers.
- Metallic embroidery floss is the biggest pain in the buns. This was by far the most time consuming part of the project, and they didn't turn out great. These roo tattoos are rustic.
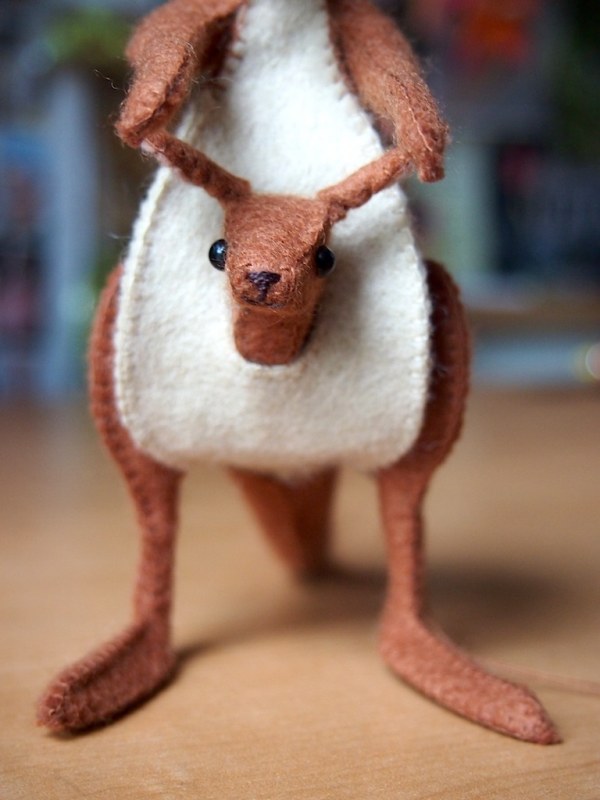
Conclusion:
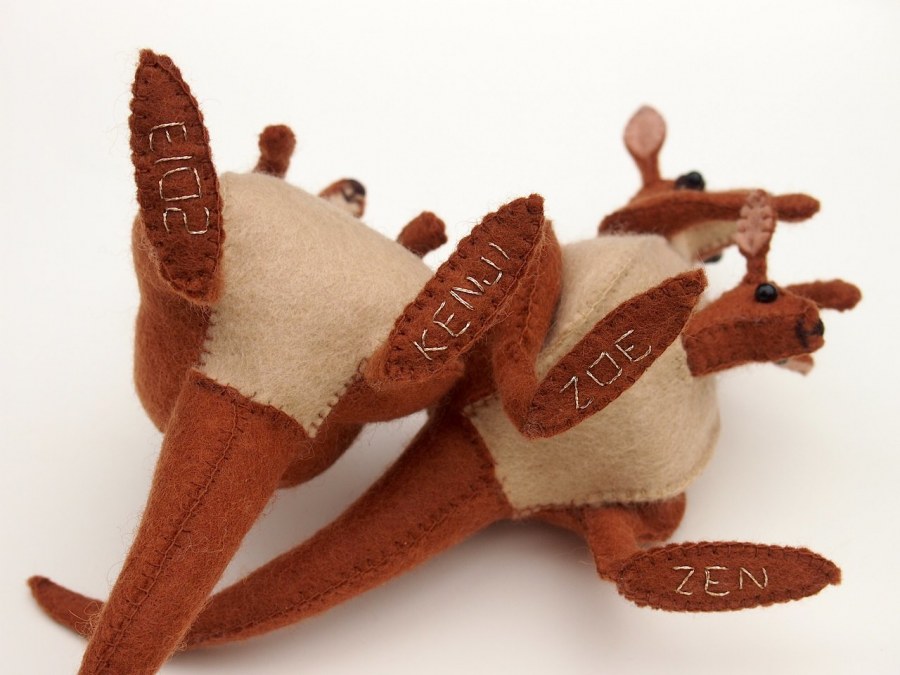

- This is not a kit for kids. It was time consuming and tedious- but not in a terrible way. Momma roo and joey took about a week of evening-after-work sewing. Dad roo took 2 days of intensive construction. Still, no denying they are adorable. There are more animal kits in this series, and they're all crazy cute, but they aren't for the faint of heart.
