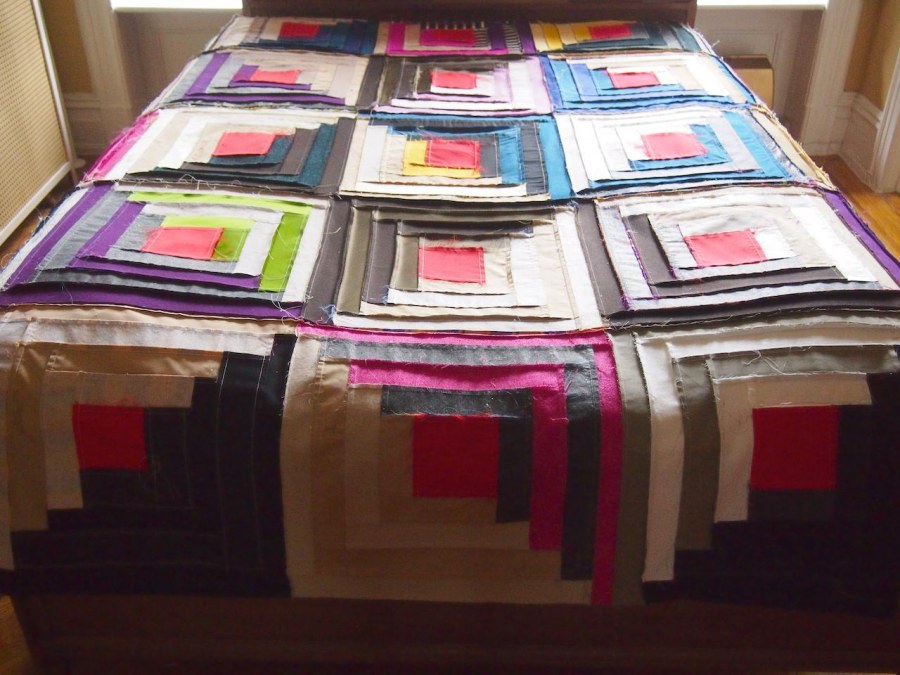
log cabin quilt sammich 1
this is really happening.
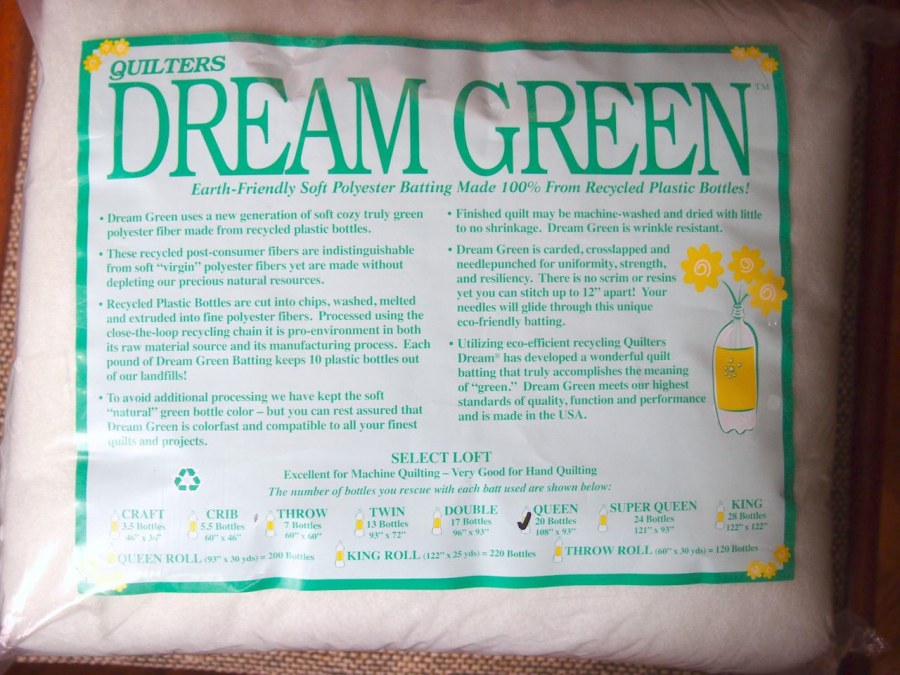
a beautiful thing about the log cabin quilt, is that the top is very sturdy due to the way that it's pieced. this means it requires minimal stitching to hold the batting in place. all that was needed were some tack stitches at the corners of each center square, and at the corners of each finished block to hold the layers together. speaking of layers, i followed the advice from modern log cabin quilting and went with dream green batting
, which is made from recycled plastic bottles.
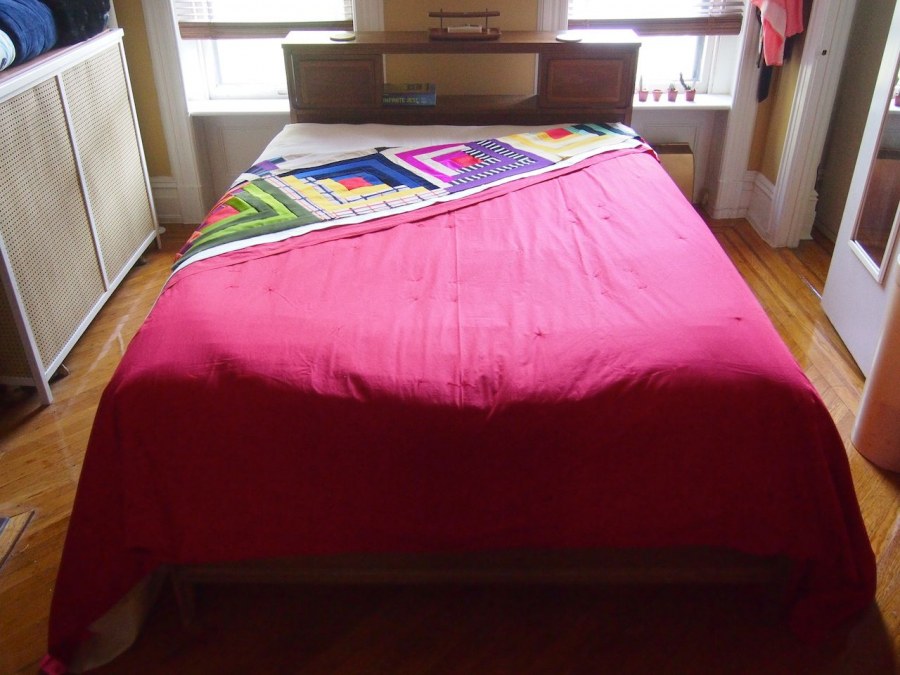
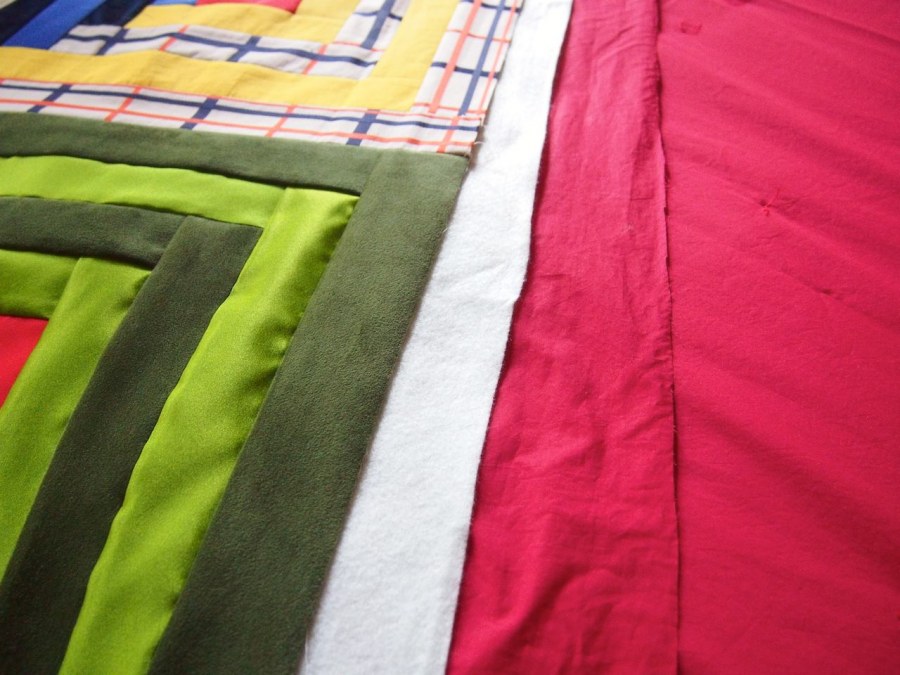
right about now is when i started wishing for a quilting frame to appear. as it was, the only surface i had to work with was the bed. layering the pieces was not a problem:
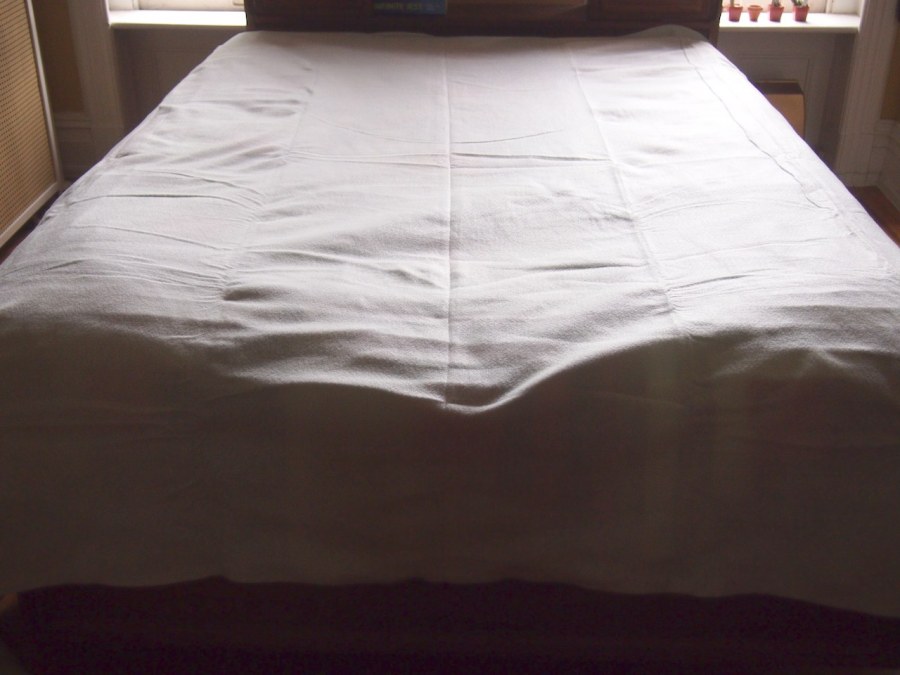
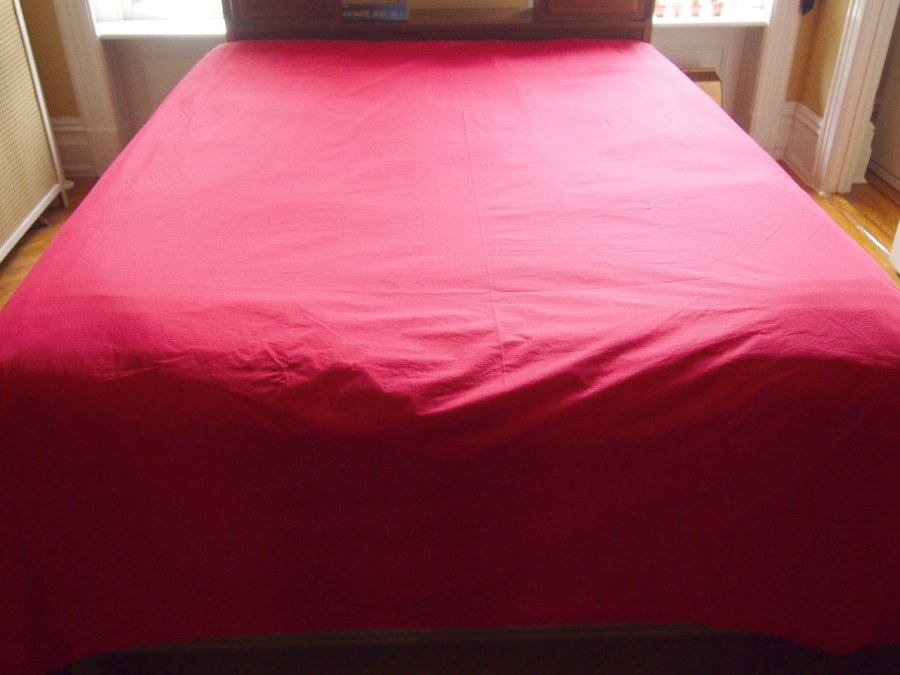
first the quilt top (right side down), then the batting, and finally for the back, i used a high thread count cotton sheet.
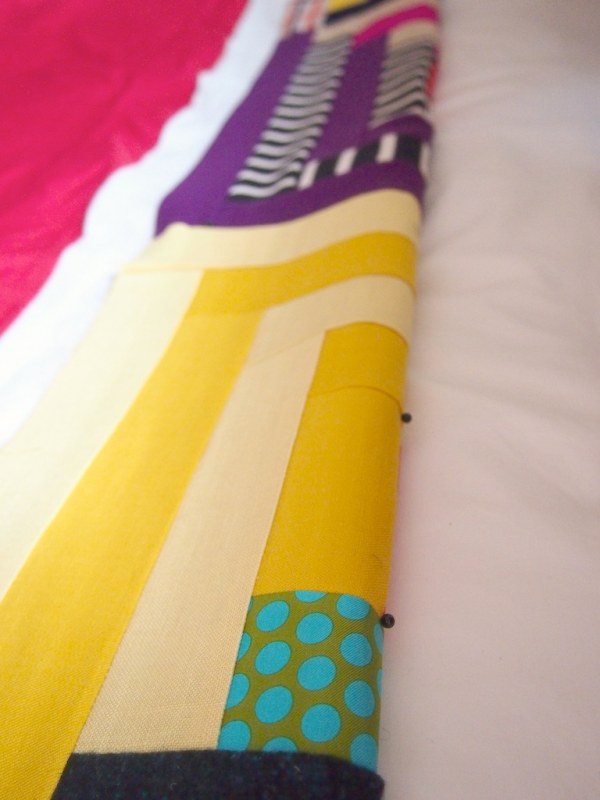
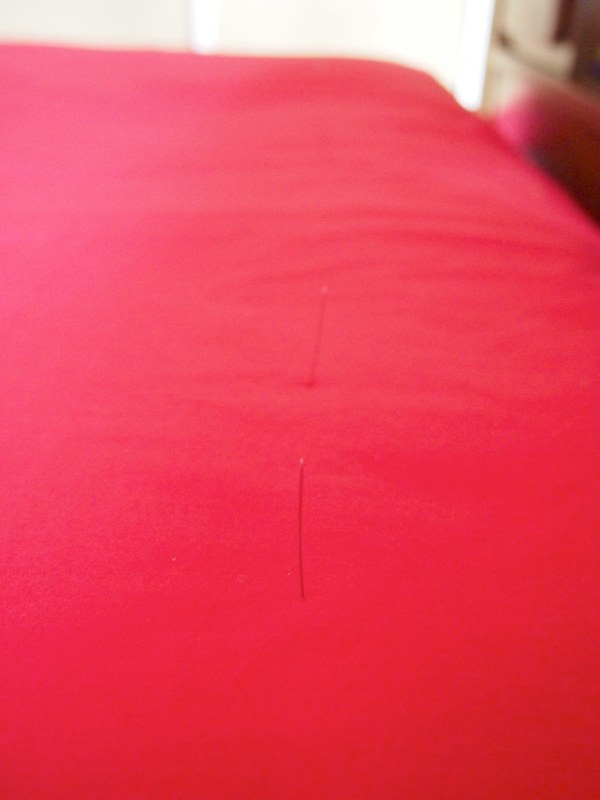

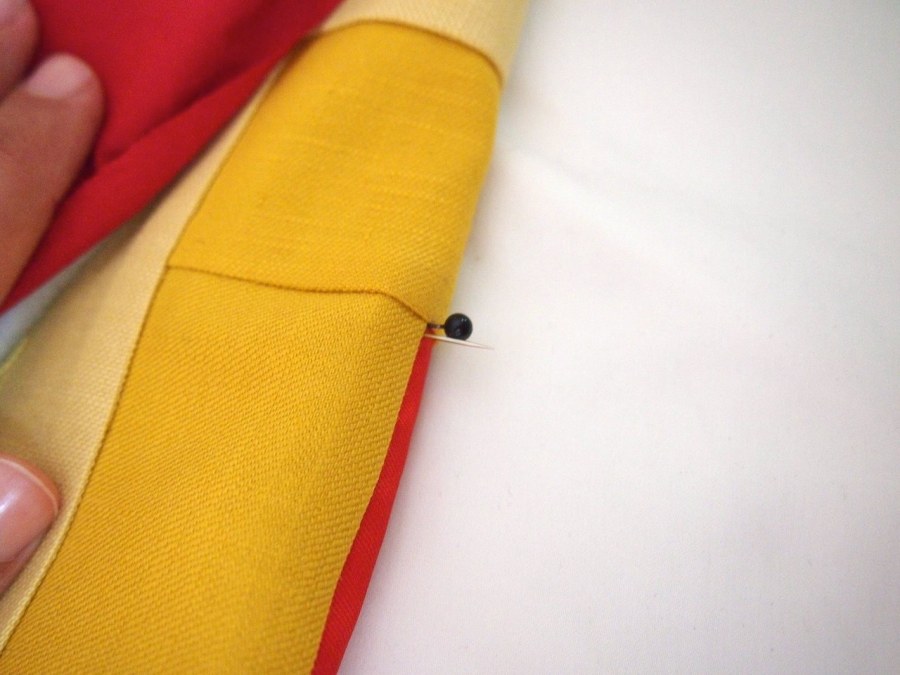
after smoothing out all the layers to make sure there were no wrinkles, i folded the top edge down at the top of each center square. straight pins marked each corner, going through all layers. i used DMC pearl thread in the color of the devil to make all the knots. starting from the back and using the pins as guides, each corner was stitched in the seams so that the tacks were not visible on the front. on the back, a square not secured each stitch, leaving 1" tails.

after the first row, it helped to continue rolling the top edge down, keeping all the layers smooth. this allowed for more visibility of the front as the stitching moved down the quilt. unfortunately, i didn't get the whole thing finished- only the middle 3 columns. in the next thrilling installment: i shall finish tack stitching the layers, trim the excess batting and back fabric, and baste together all the layers around the perimeter. so painfully close...

