marimekko apron: part 1
when you have marimekko fabric on hand, the possibilties are endless.
marimekko is a finnish textile/fashion/interiors company, that's known for their bright, abstract prints, crisp stripes, and clean lines. their mod look was very popular in the 60s, and has made a resurgence in the last 10 years, most recently through a collaboration with crate and barrel and also a line at h&m a few years back.


ad from the 60s, sketches from h&m
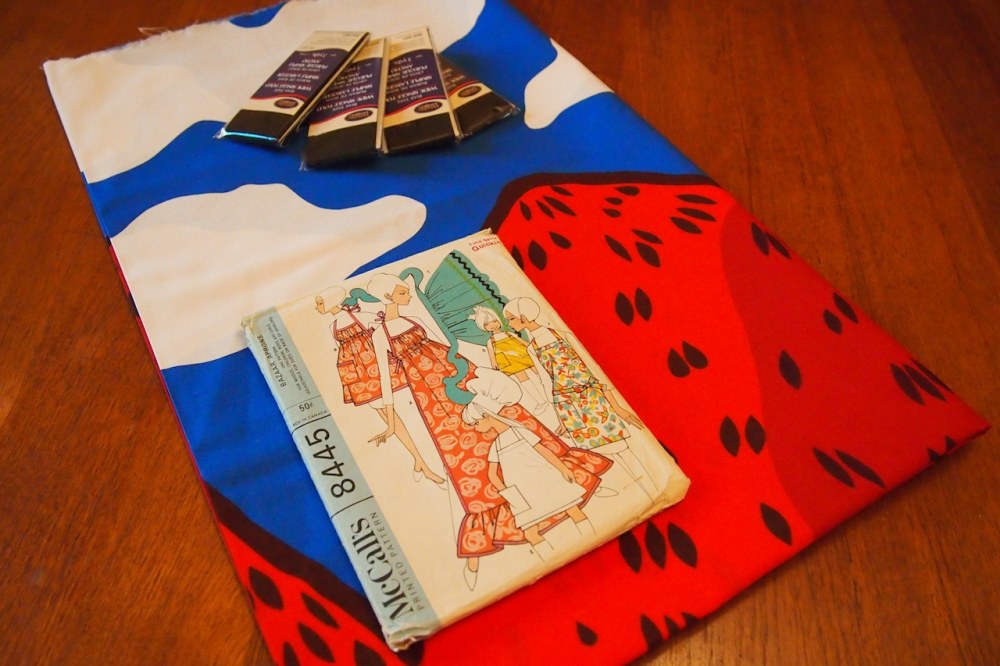
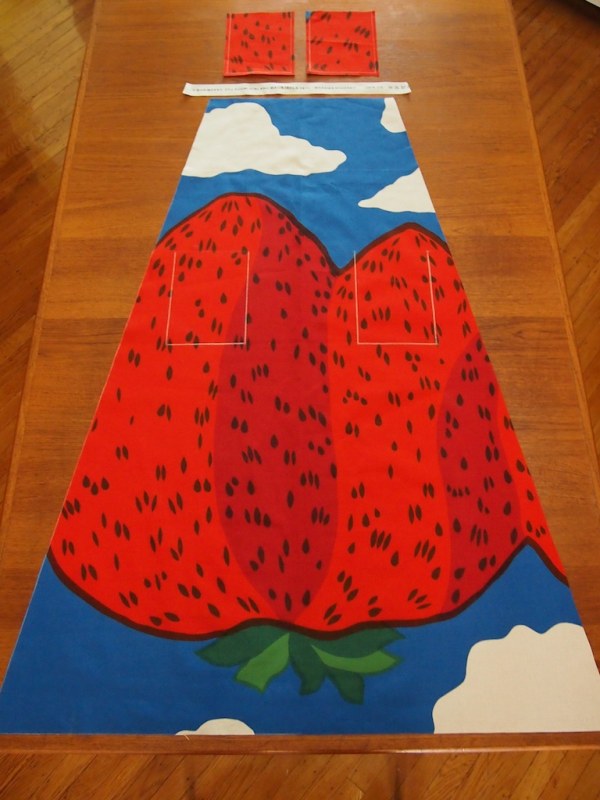
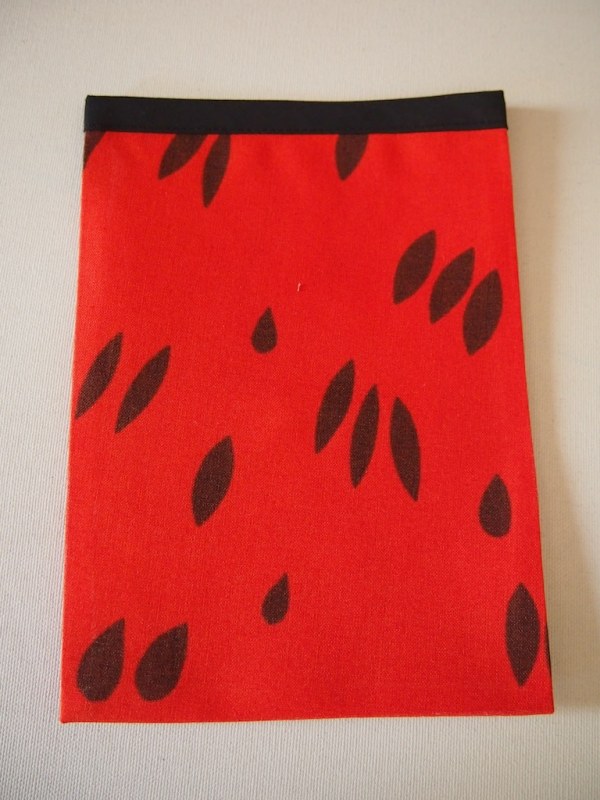
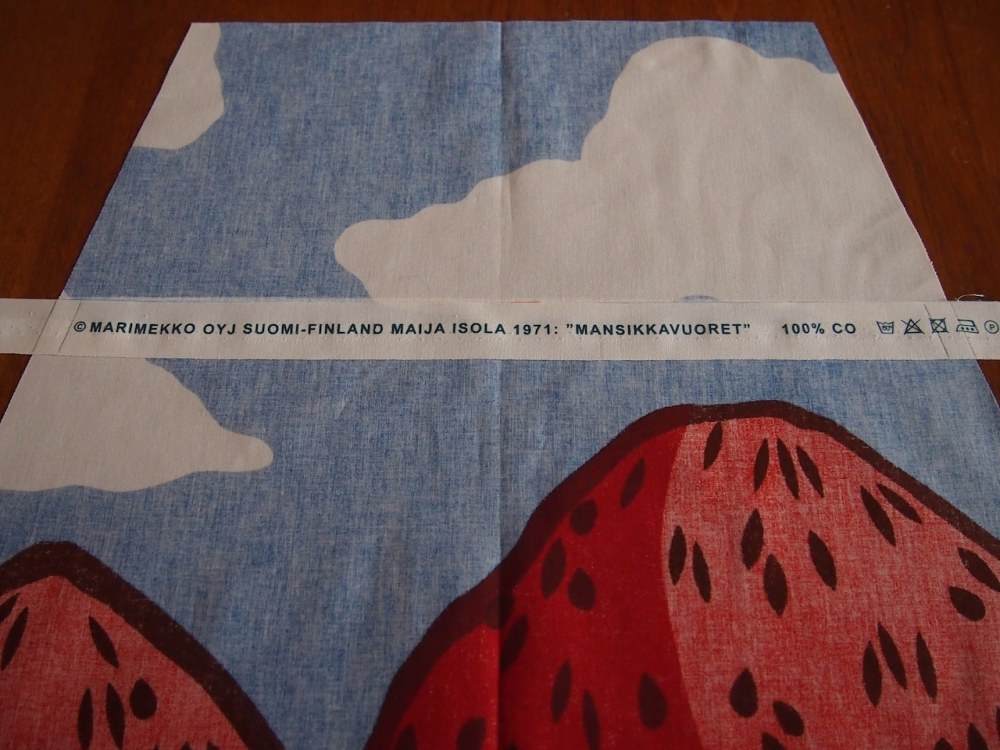
the fabric isn't cheap, but at the NY flagship store, it's on sale. i ended up with just over a yard of an adorably huge, oversized strawberry print. right away i wanted to make an apron, and i had the pattern in mind:

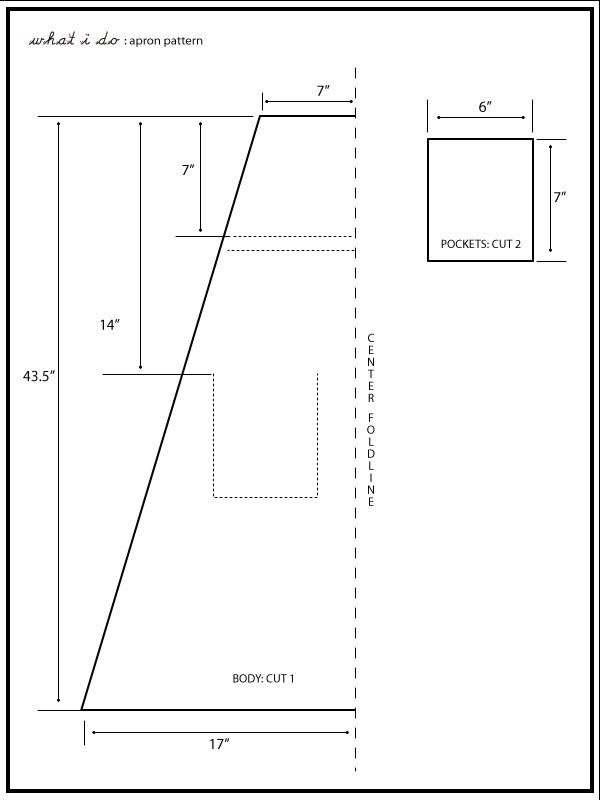
because the scale of the print was so large, i went with the long apron, minus the ruffle. the last time i made this, the fit was really unflattering. i've updated the pattern to a cuter cut. i should mention that i'm the size of a 7th grader, and these measurements are based on my height and weight. please feel free to adjust the scale for child's size or adult size.
materials:
- 1 1/2 yd fabric
- approximately 8yds 7/8" wide single fold bias tape
- thread matching the binding color, and a fabric color
- sewing machine, iron
- rulers, scissors, pins, taylor's chalk
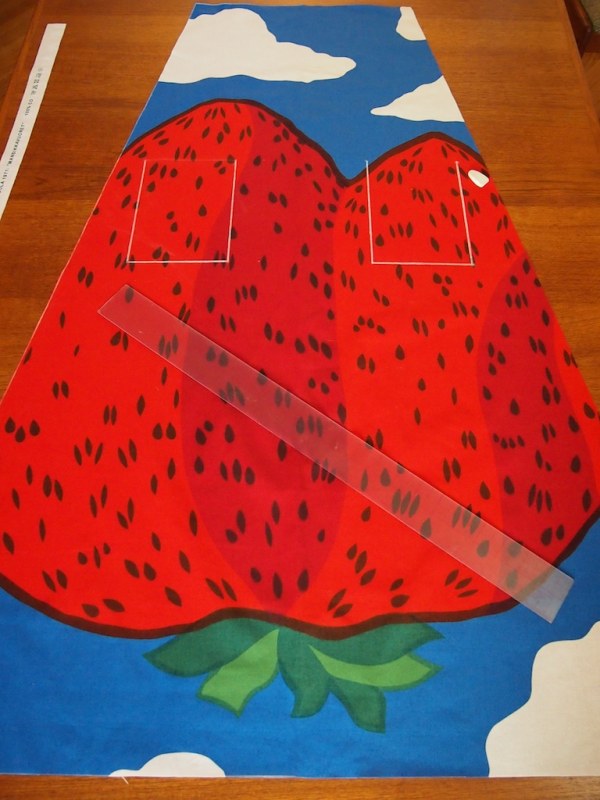
cut pattern:
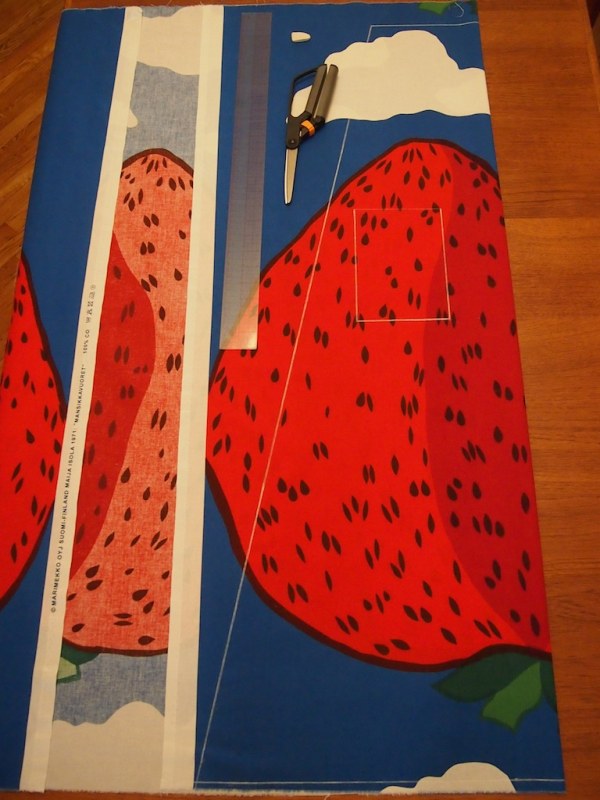
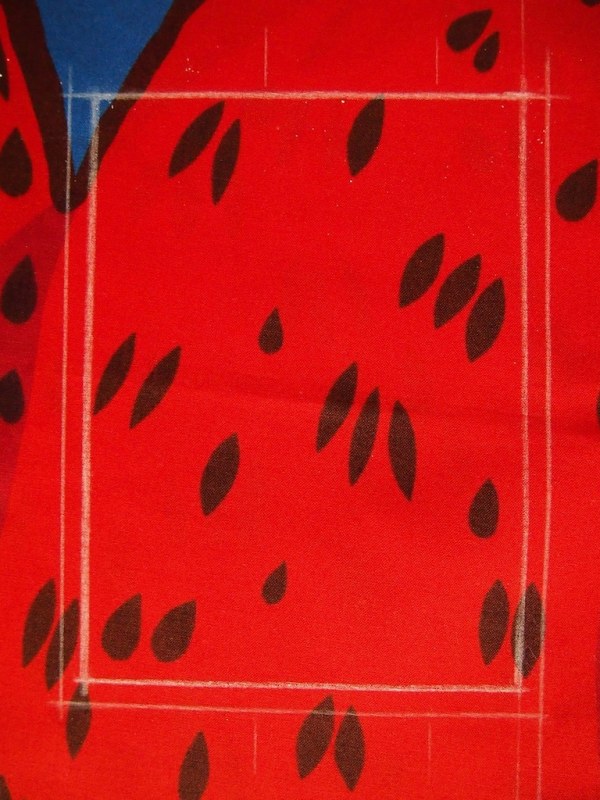
- draw body piece onto fabric, using rulers to connect the top and bottom corners
- draw pocket placement on left side
- cut out body piece
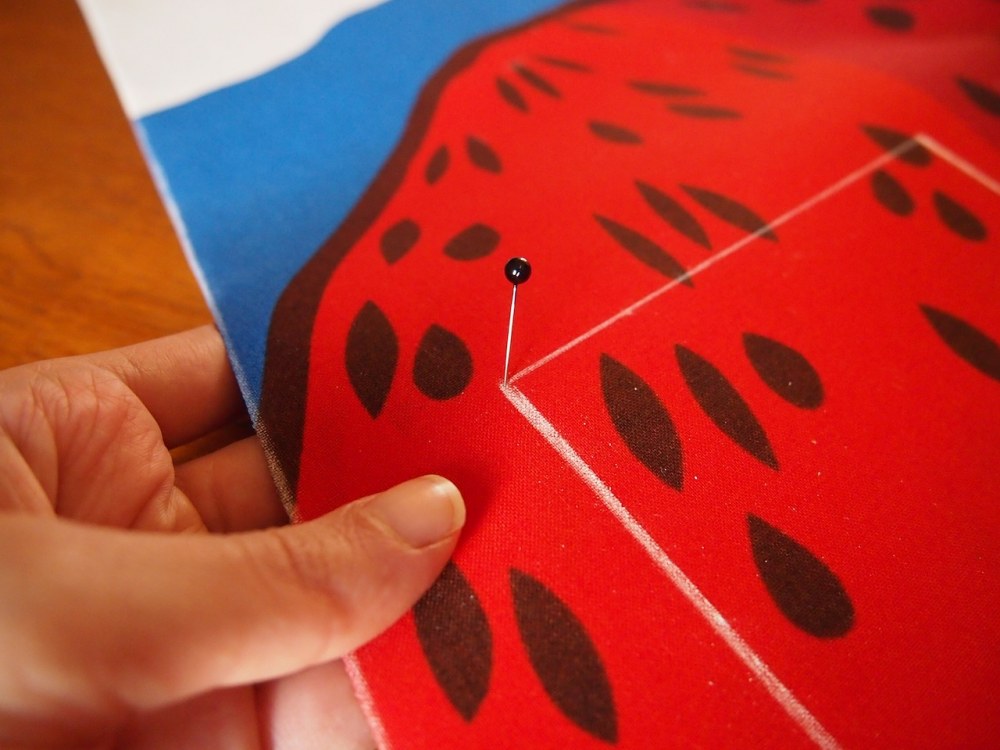
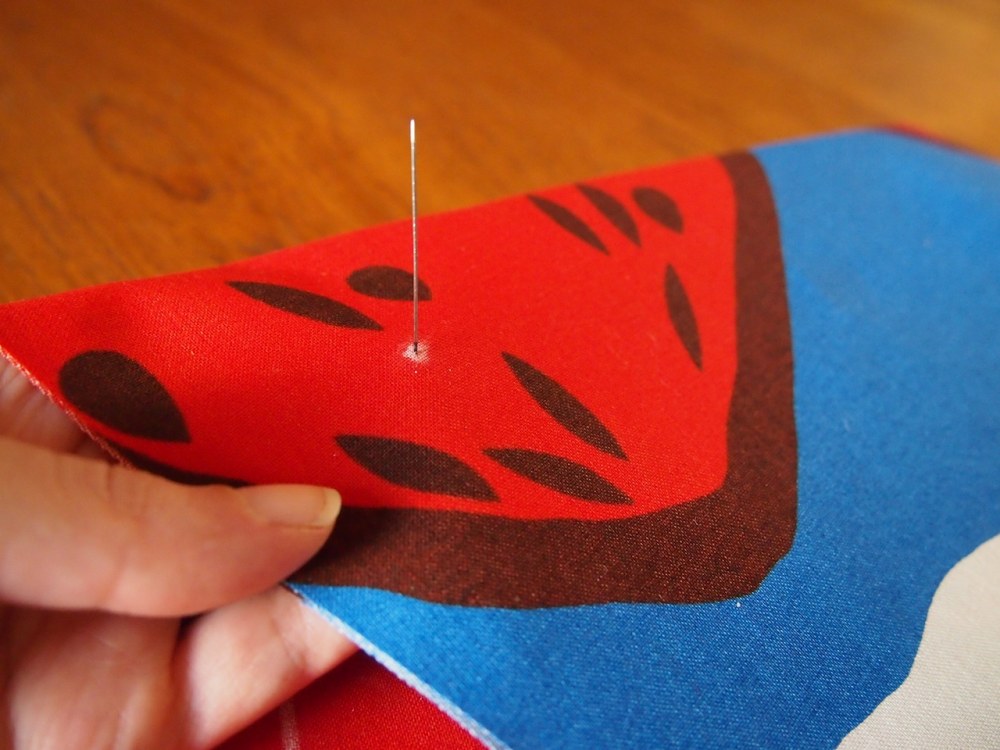
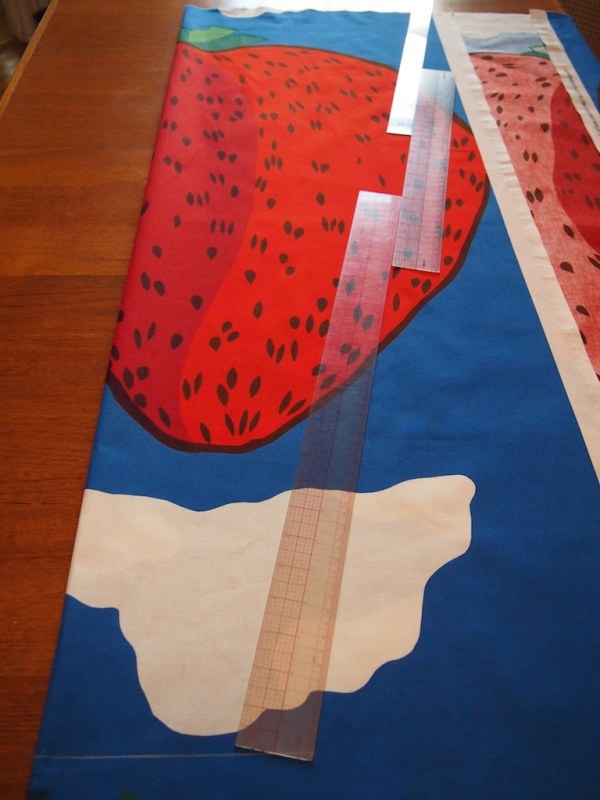
to transfer the pocket placement to the right side:
- poke a pin through both layers of fabric at the pocket corner and mark the opposite side
- repeat with the following corners
- using a ruler, connect the dots for the second pocket placement
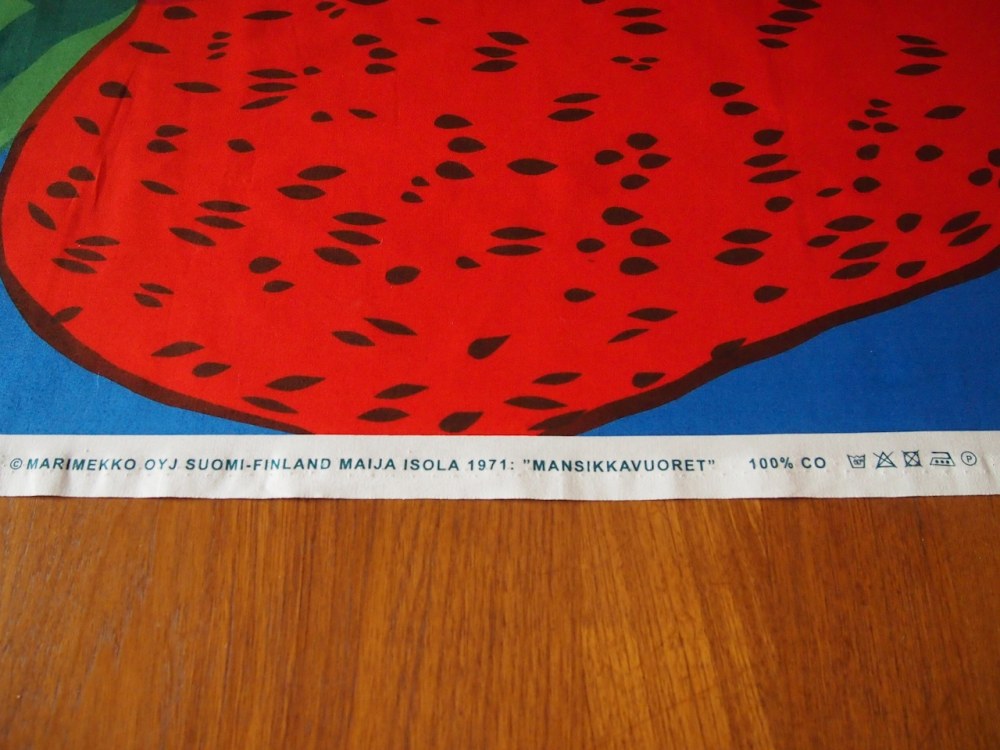
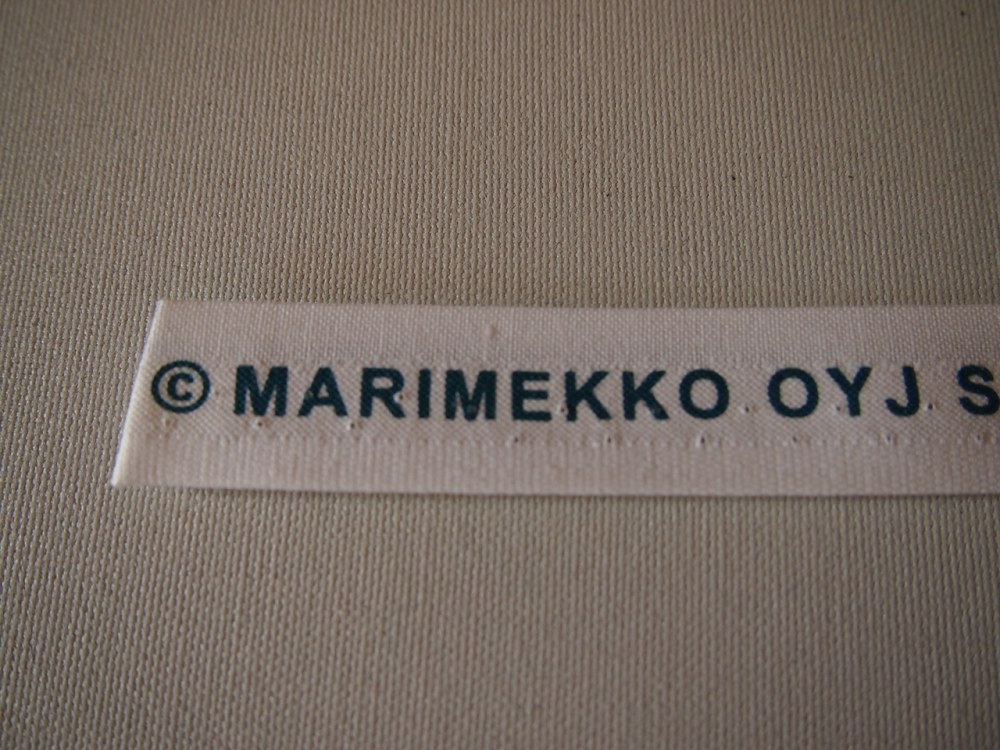
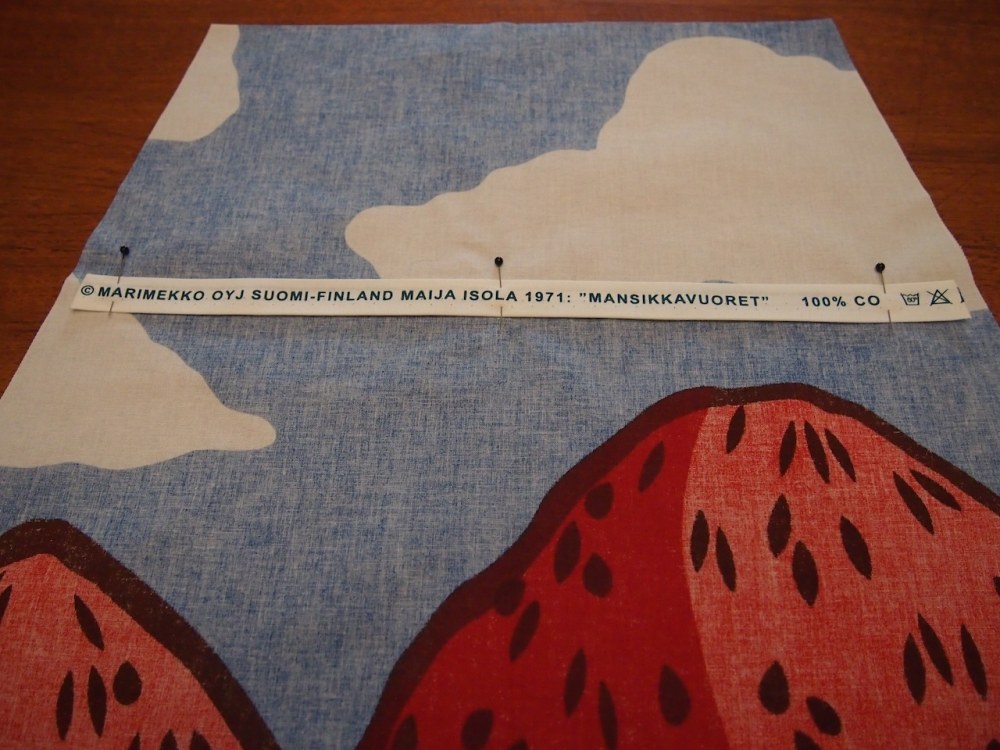
- for the drawstring channel at the back of the main piece, i've decided to use the selvage from the fabric. this piece could also be made out of flat bias tape, but since they've gone to the trouble of naming and dating the piece, i think it's nice to keep the information with the print.
- on the pockets pieces: add a 1/4" seam allowance to the sides and bottom seam and cut them out
- you should now have a body, 2 pockets, and a drawstring channel.
pockets:
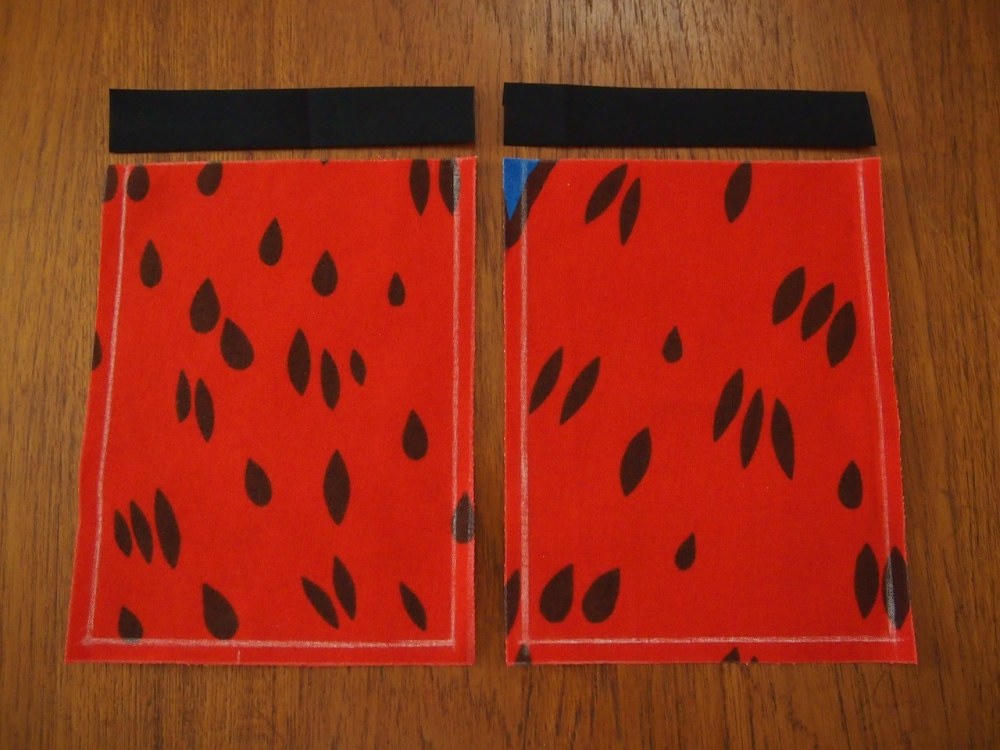
- cut bias tape the length of the top pocket for both pockets
- press tape in half lengthwise (wrong sides together), slightly off center.
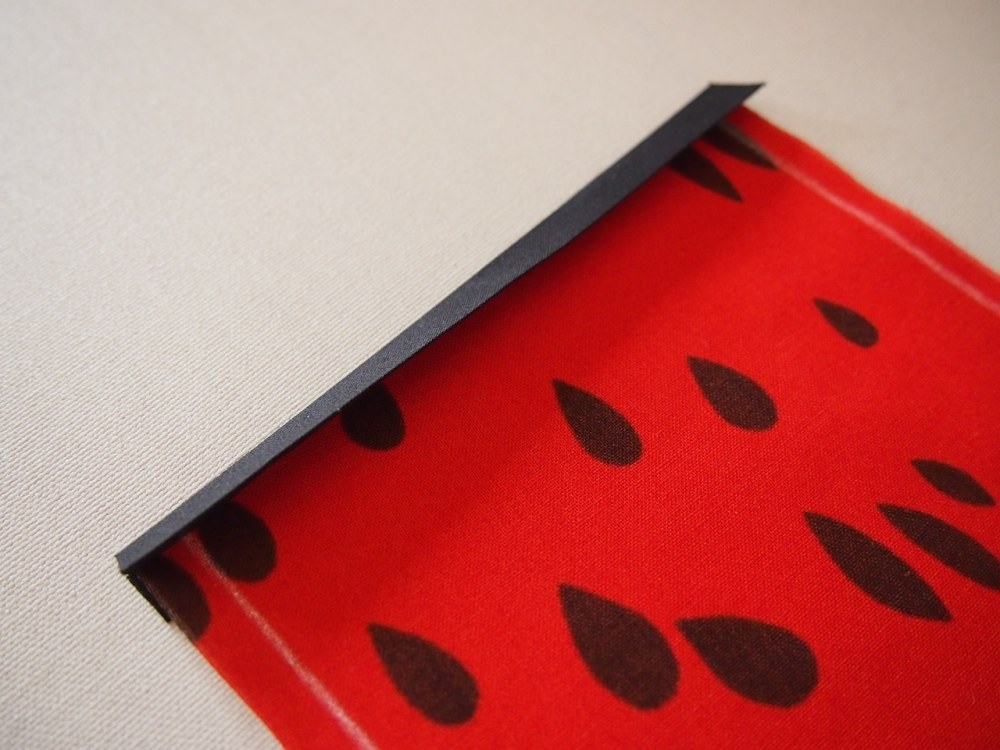
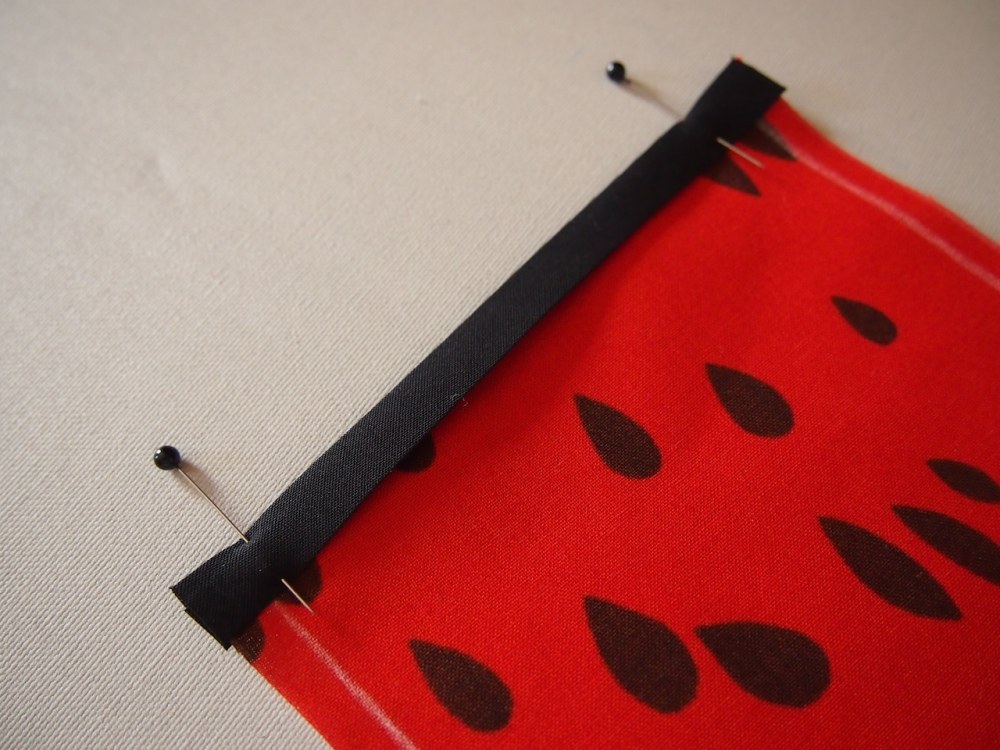

- encase top edge of pocket with binding, wider half on the back side
- pin in place and topstitch on the outside, going through all layers
- press 1/4" seam allowance at sides and bottom edge towards the back.
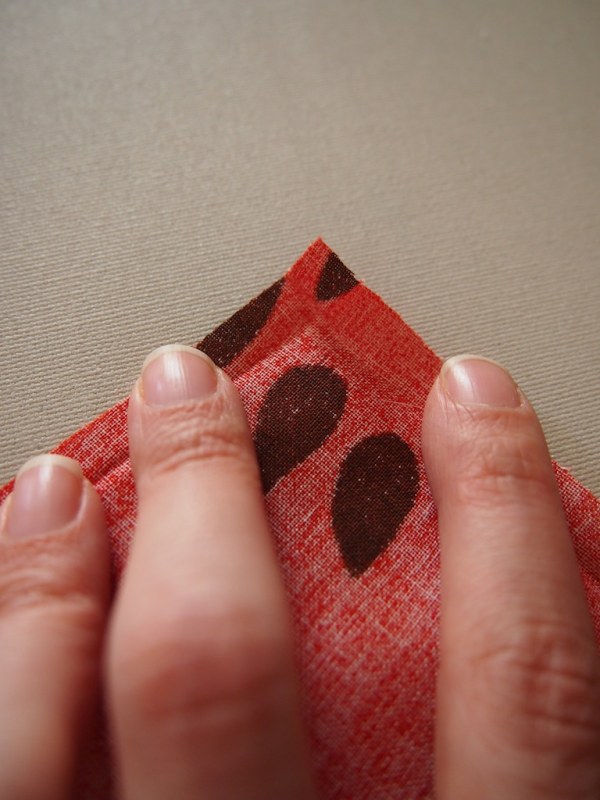
to miter the corners:
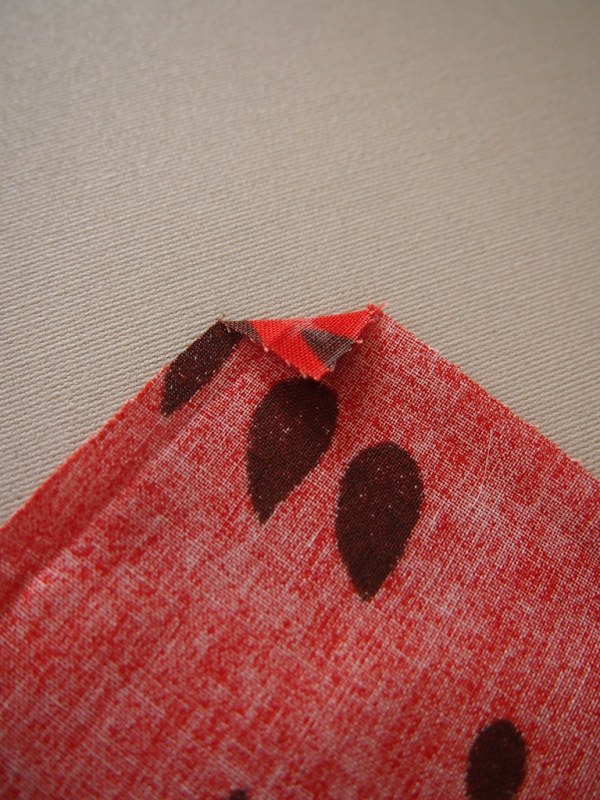
- open up the seam allowances, and fold corner in at a 45 degree angle
- press
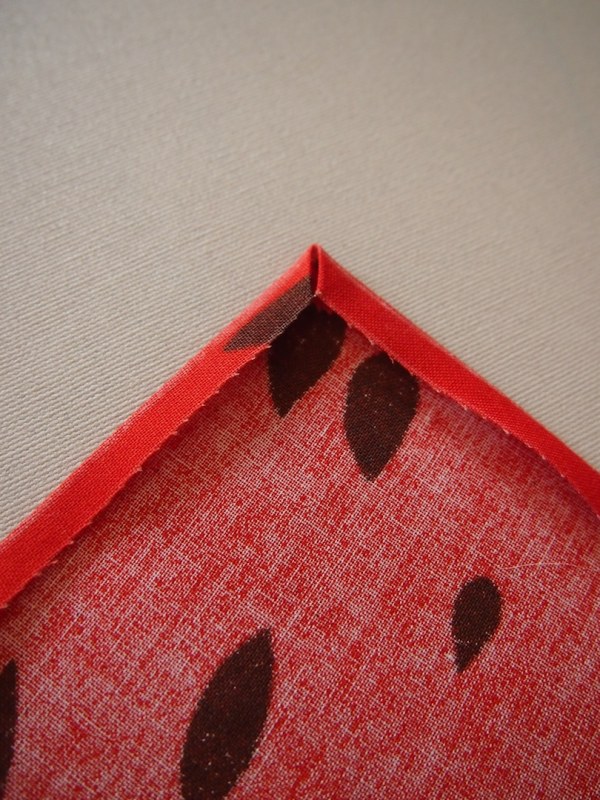
- fold seam allowances towards back again, and press a second time.
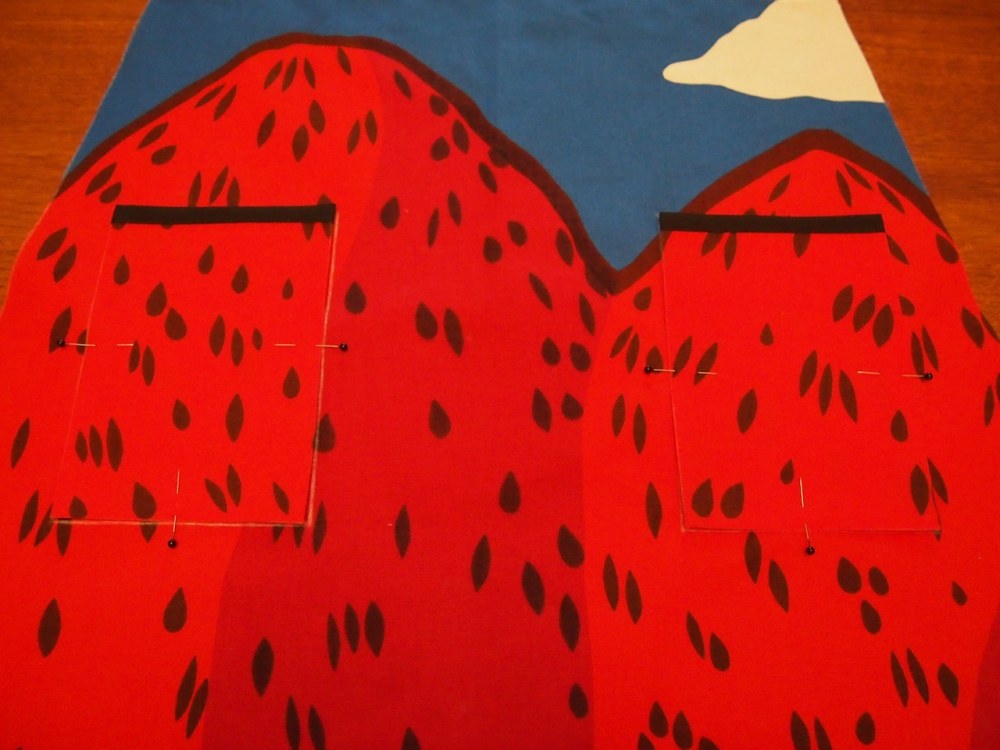
- pin pockets to body at the placements indicated
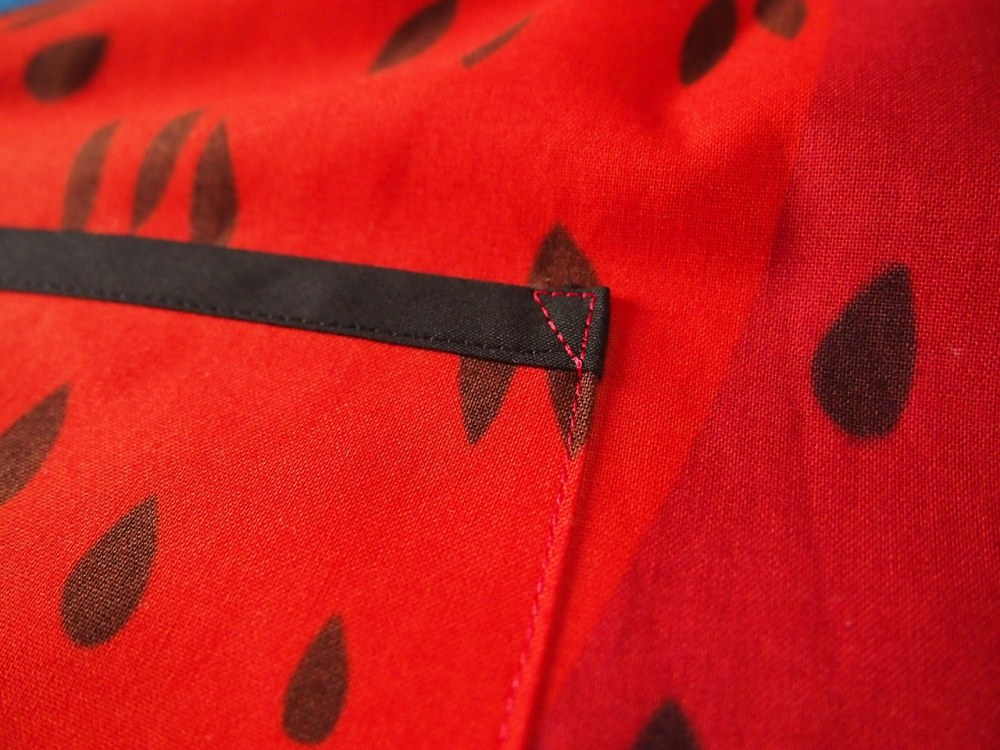
- top stitch the sides and bottom to body (i reinforced the top corner of pockets with a triangle of stitching)
drawstring channel:
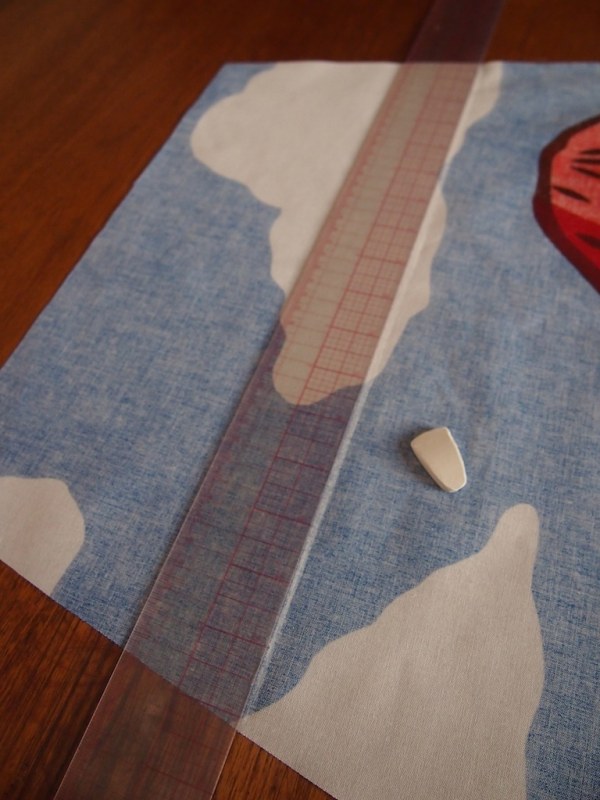
- mark channel placement on reverse side of body
- place channel piece on body and mark where it hits the edge
- add a second mark 1/2" in from each side

- press narrow seam allowances on top and bottom of piece (not necessary if using bias tape)
- press in 1/2" on each side of piece
- pin channel on placement line and topstitch through all layers.
that's as many photos as i can fit in 1 post- tomorrow i'll wrap it up with finishing the top edge, and binding the sides!
