muppet underpants
now that you've given your muppet legs, it's time to give them some dignity.
this pattern has the pieces for both boy's and girl's underpants. i recommend that you draw the pattern pieces onto the fabric, as opposed to blowing up the pattern to scale and tracing it. the pieces are easy to duplicate if you use a 24" clear plastic ruler.
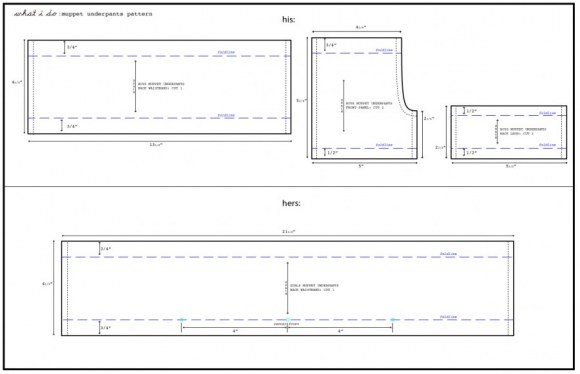
Click here for printable pattern
girl's underpants
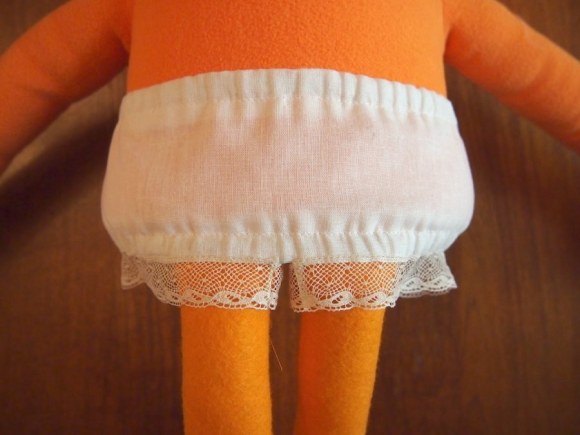
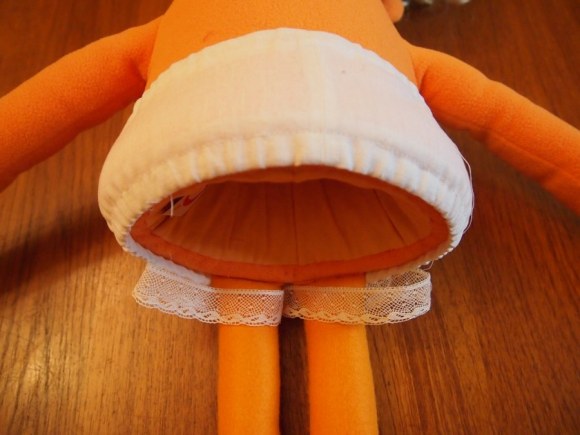
these are made from a single piece of fabric that wraps around the body, allowing you to still operate the muppet. the legs are made from lace trim.
materials:
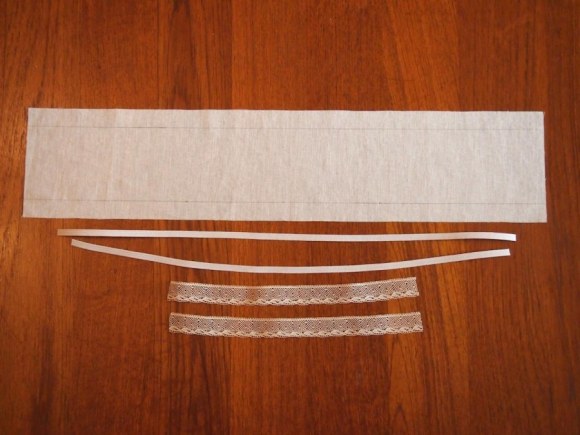
- fabric (old slips create hilarious underpants, but nylon can be a pain if you don't have a serger. the ones pictured are made out of a lightweight cotton voile)
- 18" of lace trim, cut in half
- 1 yd of 1/4" elastic, cut in half
set up fabric:
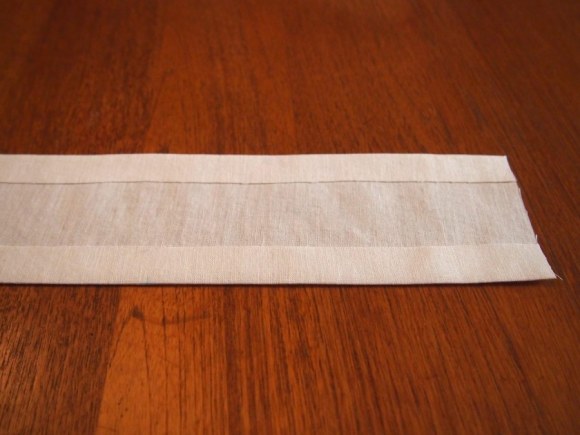
- draw pattern onto the back side of fabric and cut out.
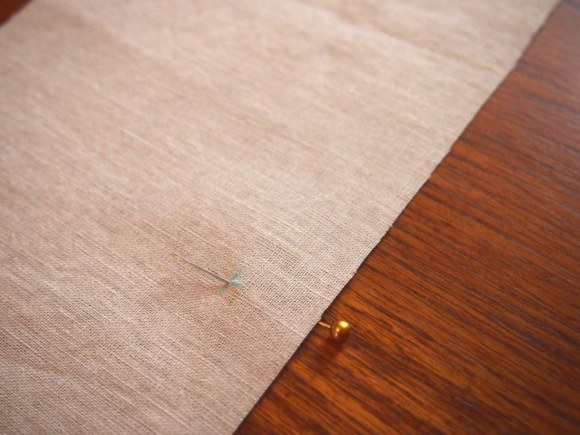
- transfer the three circles on the pattern's lower fold line to the front side of the fabric with a pin as a guide
- press the upper and lower fold lines towards the back side of fabric
sewing the legs:
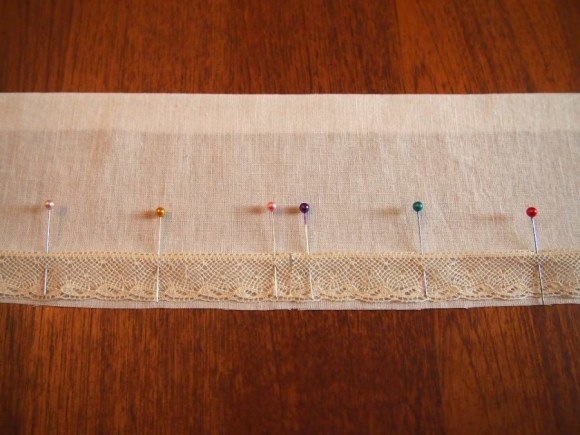
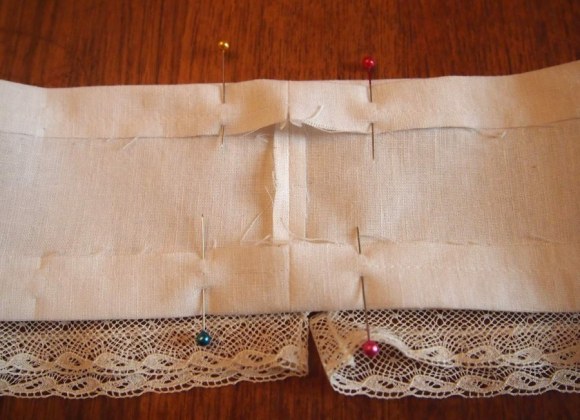
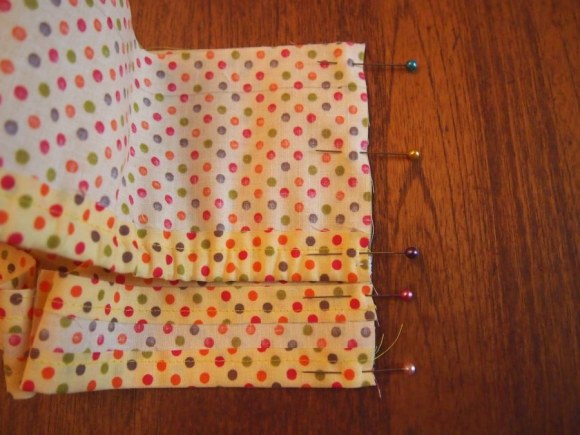
- open up the bottom fold line and pin each strip of lace to the front of the fabric, just above that line. match the lace up at center front, and pin to the outer markings. starting at the outer markings, machine sew lace to fabric, ending 1/4" from center front (in the photo, the lace is sewn from the white pin to the pink on the left, and the purple to the red on the right)
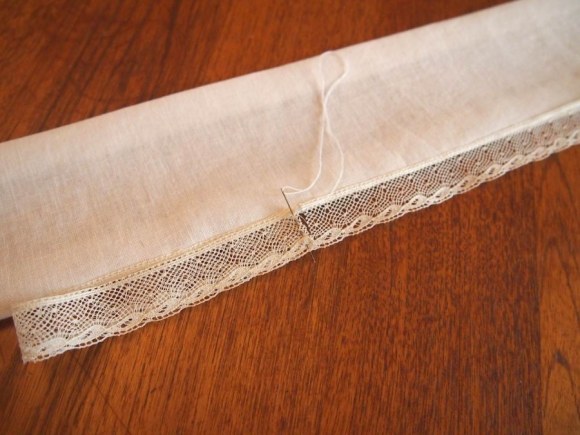
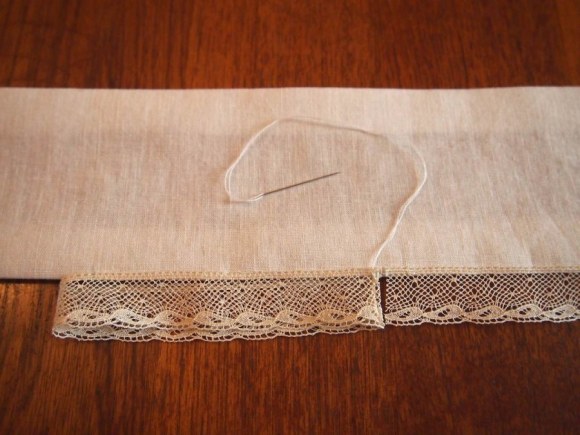
- fold over the lace, matching edges at center front. by hand, sew a seam in the lace with a running stitch.
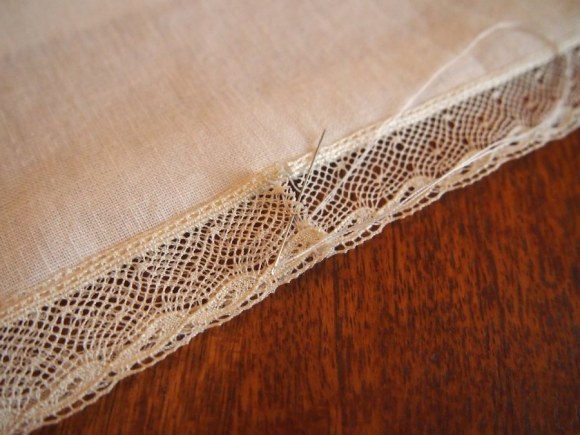
- take the needle back up the seam allowance, catching the edges.
- turn the lace right side out. the part that hasn't been sewn to the front should tuck behind the fabric naturally, creating a loop for the legs to slip into. add a couple of tack stitched to the front corner of the lace to secure.
- repeat for the other leg.
finishing:
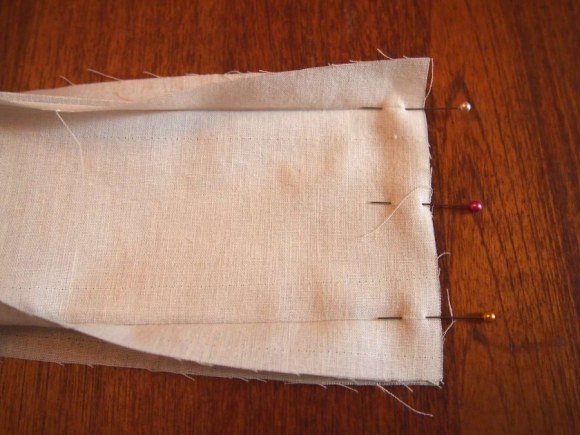
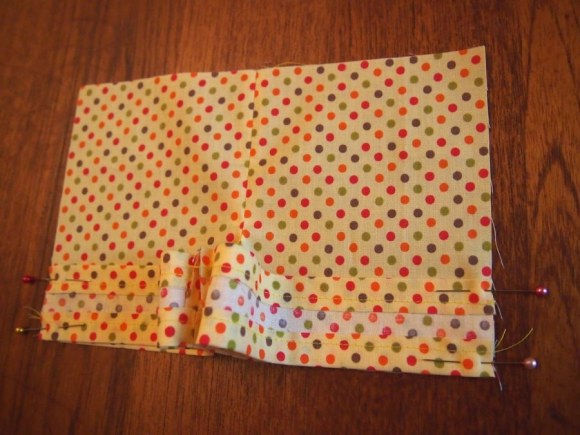
- unfold the top and bottom edge. match up the fabric, right sides together at center back. sew center back seam and press open.
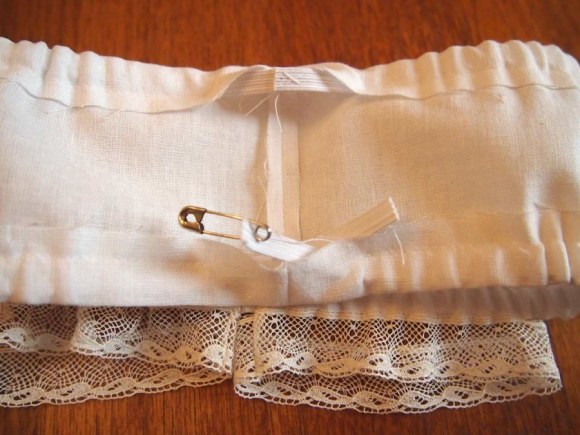
- fold in the top and bottom edges, and stitch, 1/2" from the edge, beginning and ending 1" from the center back seam. this will create a top and bottom channel for the elastic to go through.
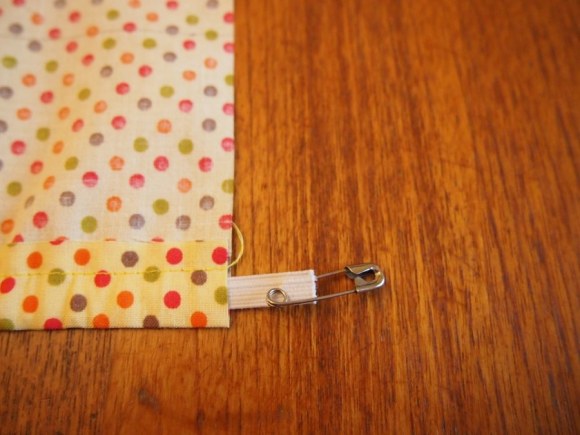
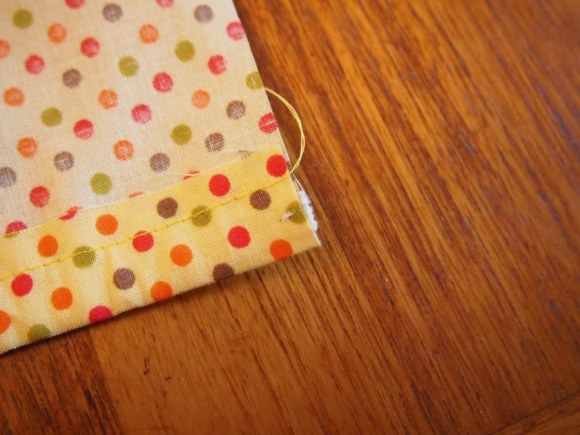
- feed elastic through the channels, using a safety pin to help. tack stitch the elastic to itself, making sure that it's laying flat all the way around, and there are no twists.
- sew the last 2" on the top and bottom channels to completely encase the elastic.
- put them on your muppet and admire what a lady she is!
boy's underpants
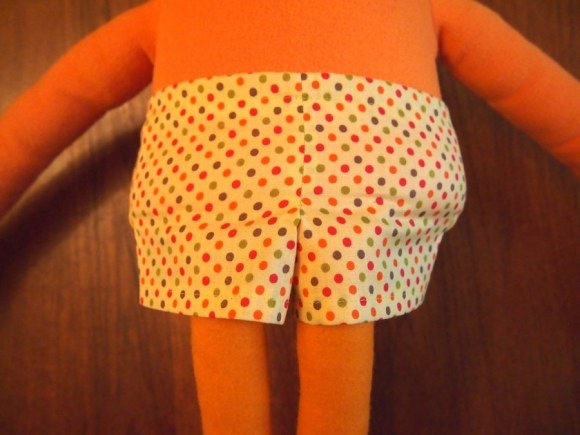
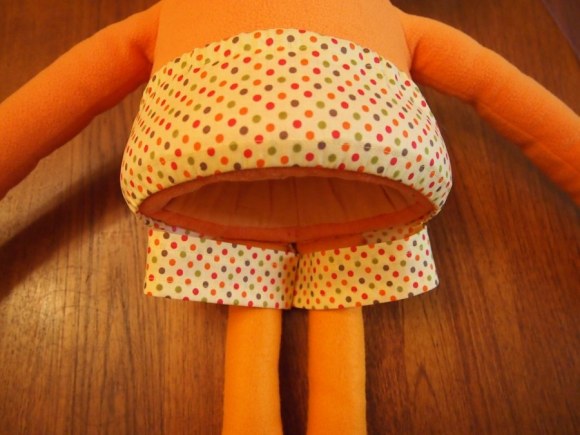
essentially, these are a pair of boxer shorts in the front, with an elastic panel around the rear to allow for access.
materials:
- fabric (light weight printed cotton is perfect)
- 18" of 1/4" elastic
- 11 1/2" of 1/4" elastic
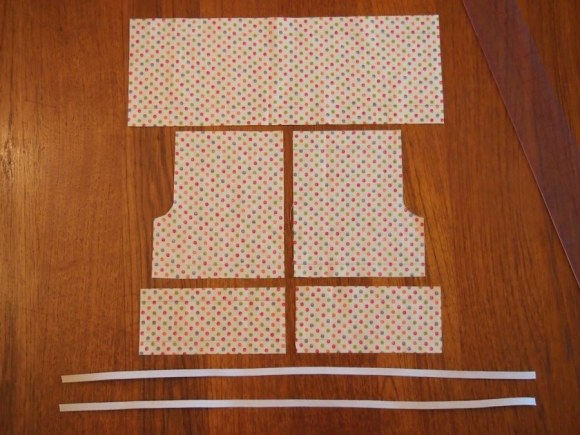
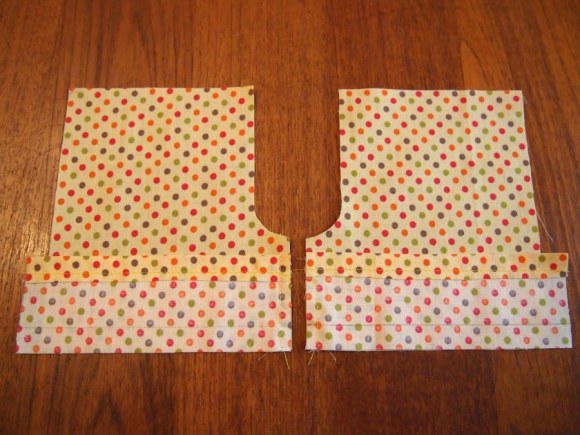
draw all pieces on the wrong side of fabric and cut out.
sewing the front:
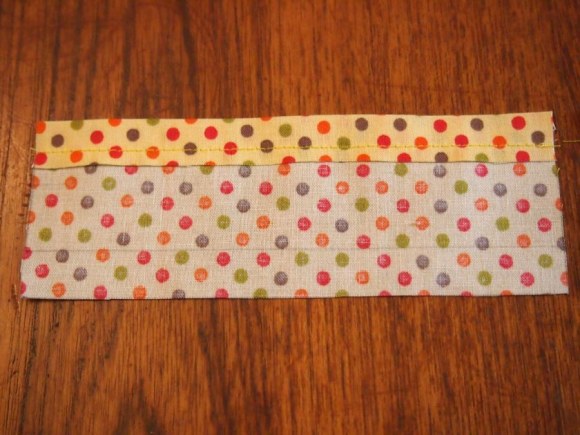
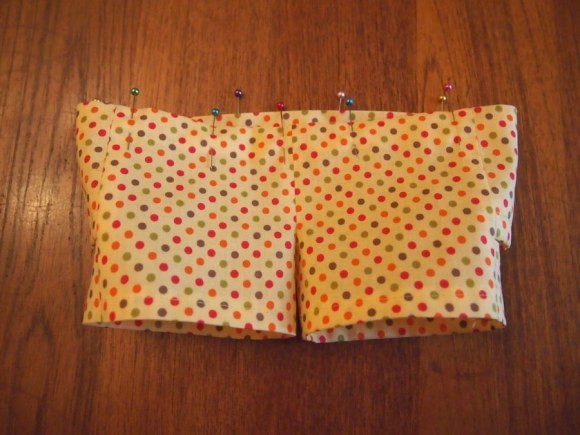
- press the top fold line towards the back of the fabric on both back legs and sew a hem 3/8" from the edge.
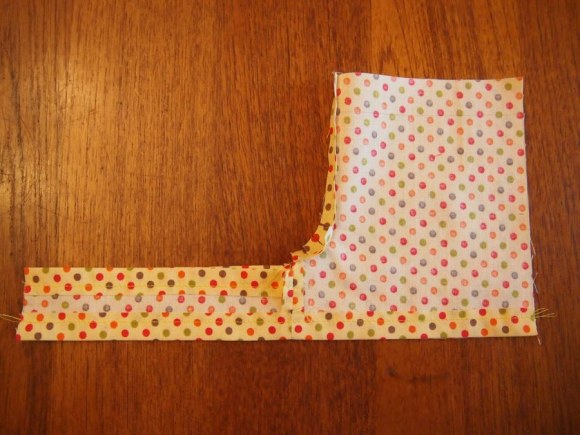
- right sides together, line up each leg with the corresponding front panel piece, matching up the bottom edges. sew inseams and press open.
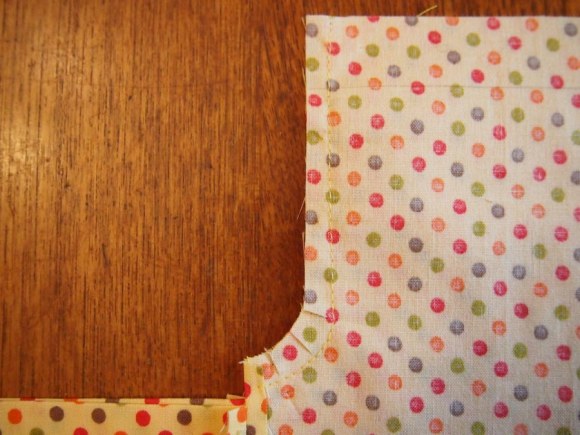
- right sides together, line up the left and right front panels at center front. sew seam and press open, clipping the area around the curve so it lays flat when open.
- press the bottom fold lines of the front panels and legs towards the back of fabric, and sew a hem 3/8" from the edge.
sewing the back:
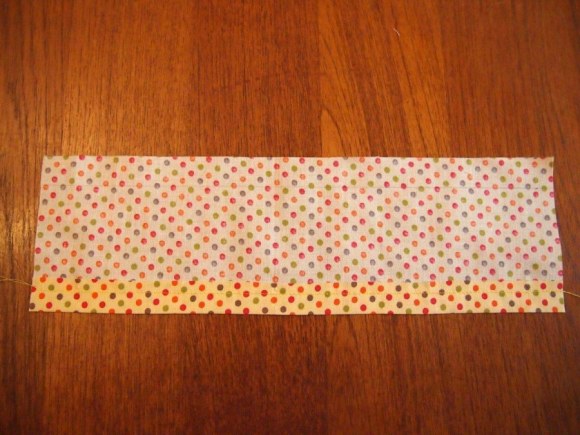
- press the bottom fold line towards the back side of fabric and sew 1/2" from edge.
- using a safety pin to help, insert the 11 1/2" piece of elastic through the channel.
- tack stitch the elastic close to the edges on both sides of the back panel.
attaching the back to the front:
- fold over each leg across the front panels, matching up the side seams with right sides together. pin.
- match up the front and back panels at the side seams, right sides together. pin.
- sew side seams, making sure to catch the elastic in the seam. press towards the front panels.
finishing the waist:
- press the top fold line towards the wrong side of fabric and pin. sew around, 1/2" from the edge, leaving a 2" gap between the beginning and end of stitch line.
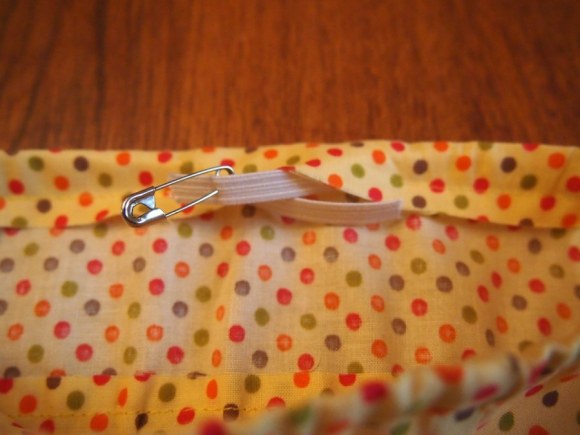
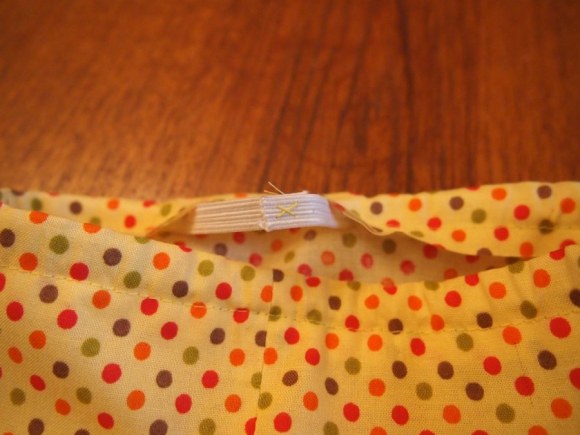
- feed elastic through the channel, using a safety pin to help. tack stitch the elastic to itself, making sure that it's laying flat all the way around, and there are no twists.
- sew the last 2" on the top channel to completely encase the elastic.
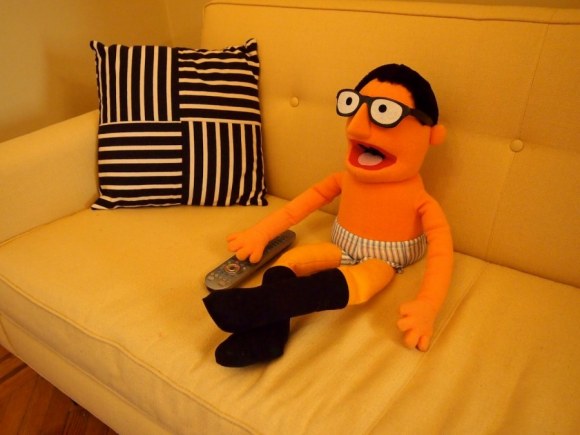
- put them on your muppet and admire what a dapper gentleman he turned out to be!
to make some real pants for your muppet (if for some reason he doesn't like to sit around in his underwear all day), just increase the length of the legs on the pattern to suit your needs.

