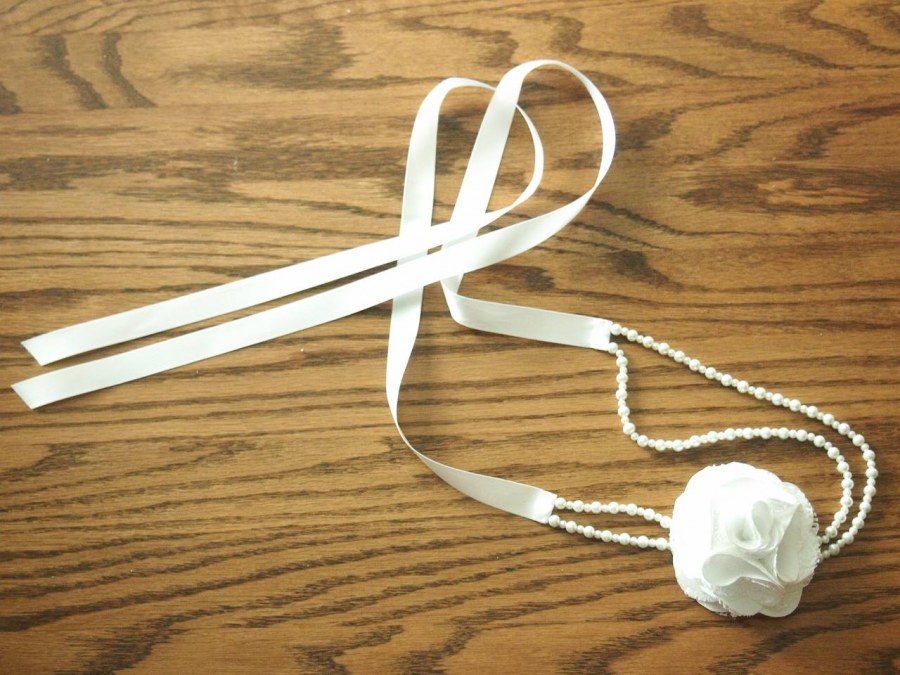
pearl and flower headband
March 20 2012, 3:14 pm

are you in need of a fancy pants hair accessory?
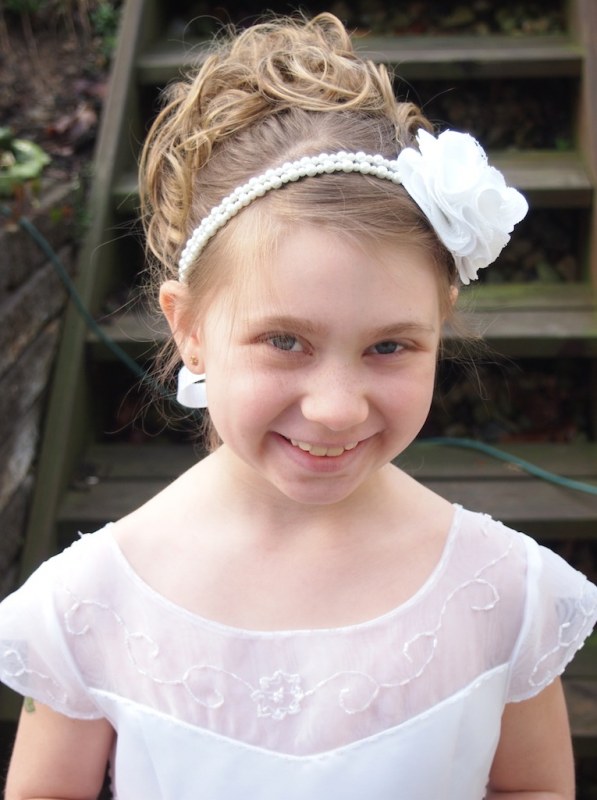
my cutie face niece is making her first communion next month. being a fashion avant garde, she was not interested in the wedding veil/ tiara options. so we worked together to make her the perfect fancy headband. it wasn't complicated, and i'm sure she's going to be the coolest kid at church.
materials:
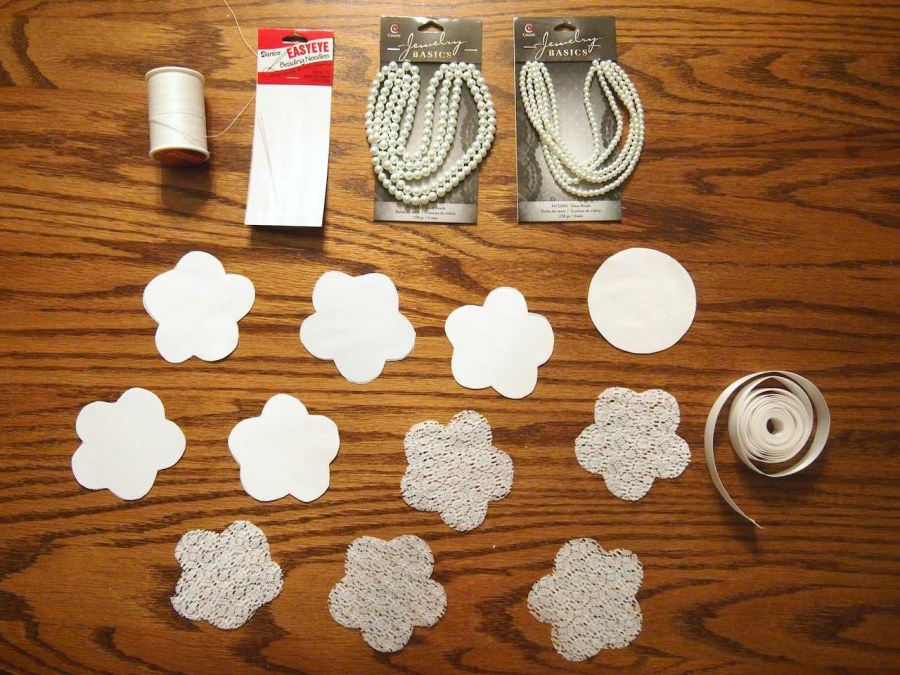
- big eye needle
, and possibly a sewing needle
- quilting thread
- 4mm white pearls
- 8mm white pearls
- 1/8 yd white heavy satin
- 1/8 yd white lace
- 2yds 1/2" double faced satin ribbon, cut into 2 29" pieces
- small circle of fusible interfacing
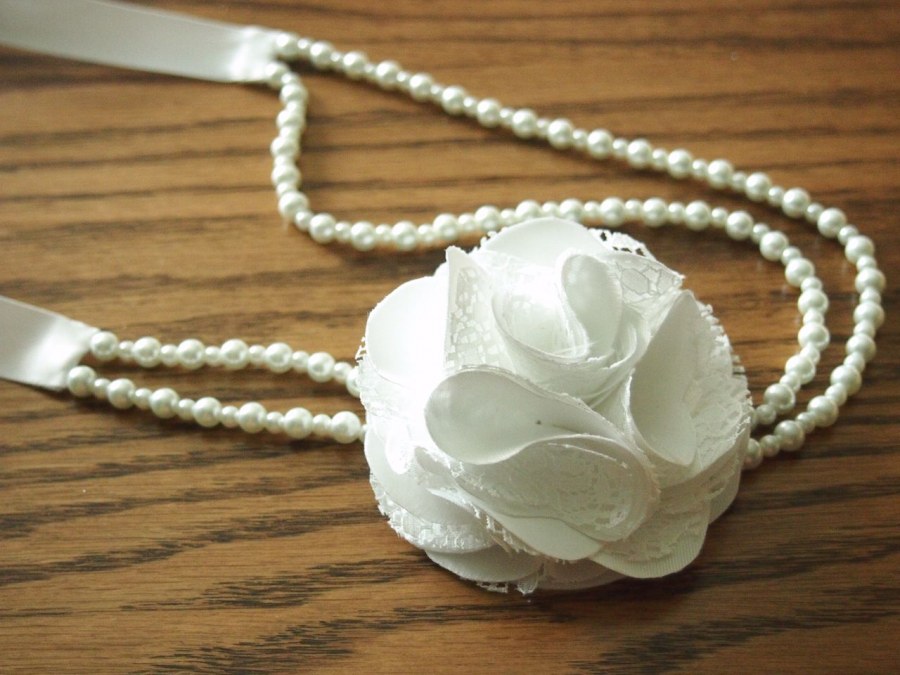
make the flower:
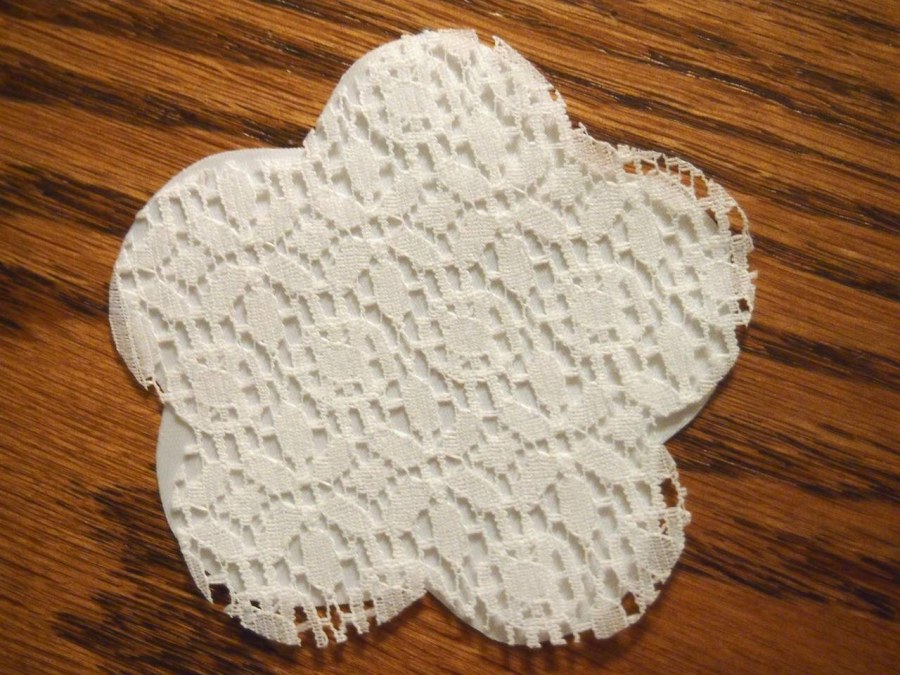
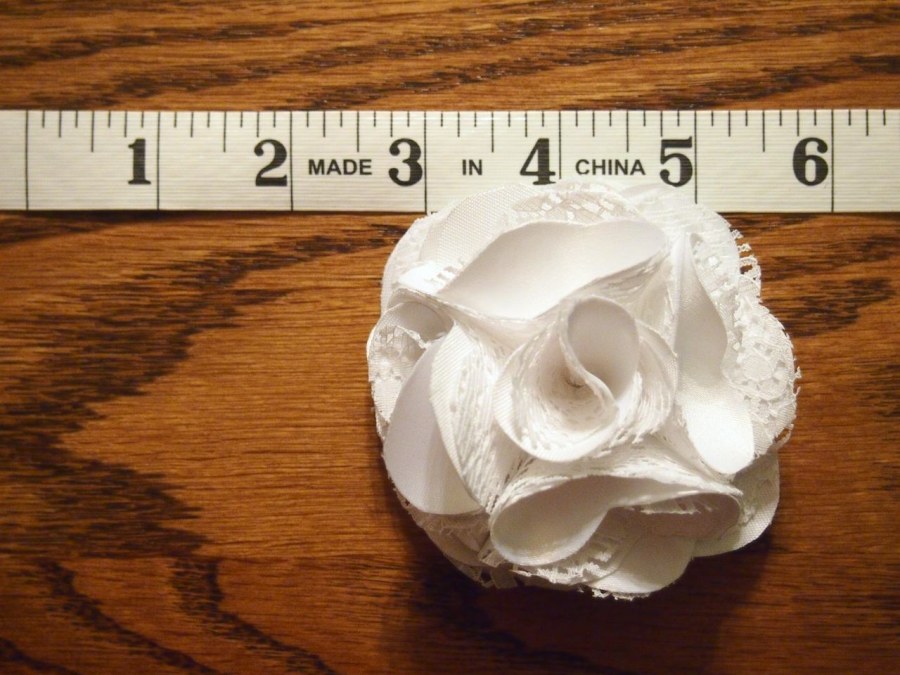
- we used great instructions from emily's little world. her flower is made from t-shirt fabric and a felt circle. we jazzed it up by using a piece of lace and satin for each petal. for the base i cut 2 1/2" circles from the satin and fusible interfacing and bonded them together with a hot iron. hot glue worked perfectly for attaching the petals to the base, and the whole thing was finished in no time at all.
finish the ribbons:
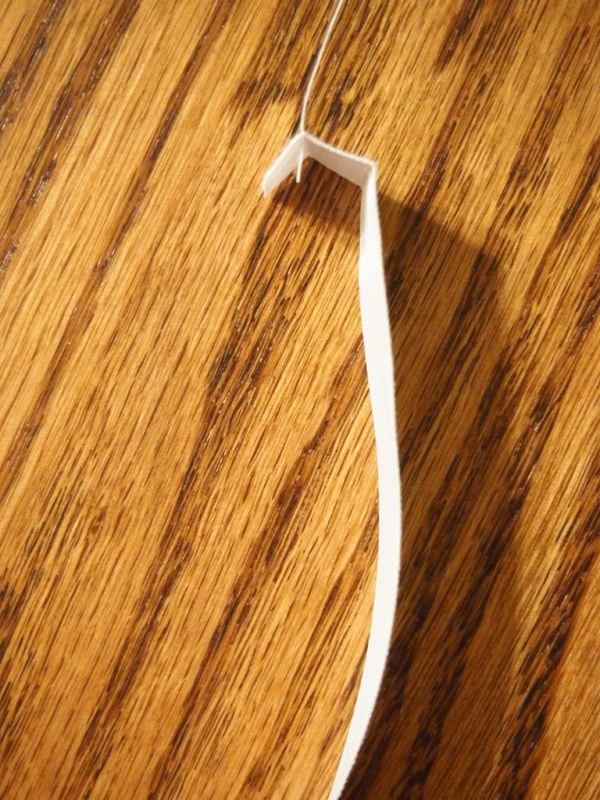
- cut one end of both ribbons at an angle.
- press 2 horizontal folds at the other end of the ribbons, about 1/4" and 1/2" from the edge.
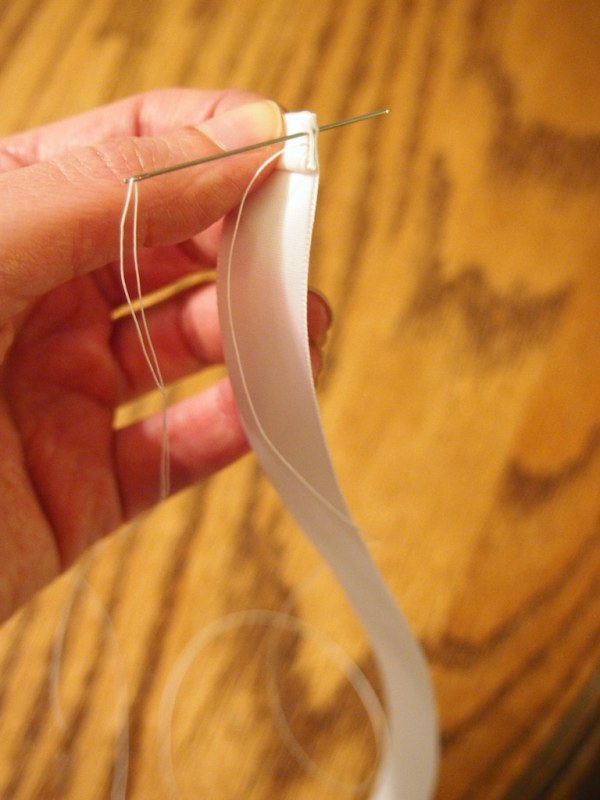
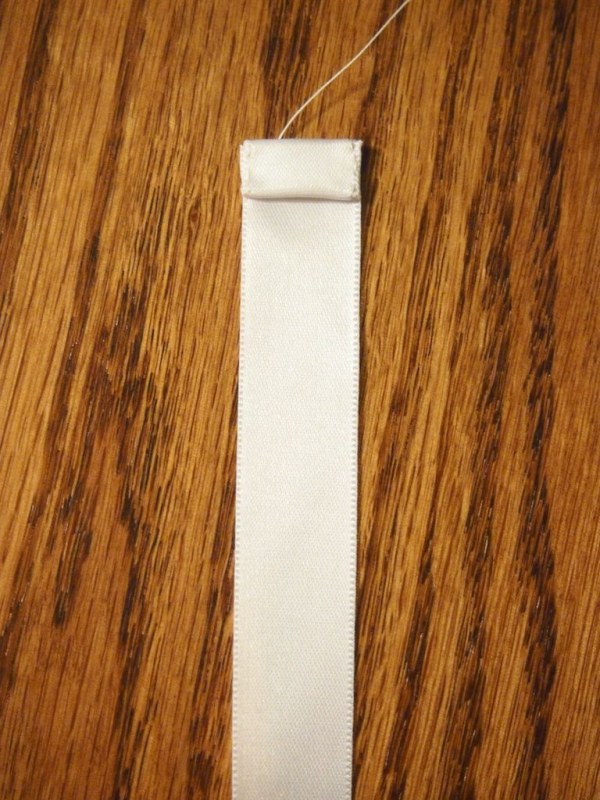
- thread your needle (my big eye needles were dull, so i had to use a sewing needle also) and knot the end. bring it through the fold 1/4" from the edge.
- crease both folds, creating a clean hem and use a running stitch to sew up the sides of the ribbon. when you reach the top, slide the needle under the fold, to the other side and repeat. when finished with that side, bring the needle out of the top fold, where you want the first row of pearls to begin.
string the pearls:
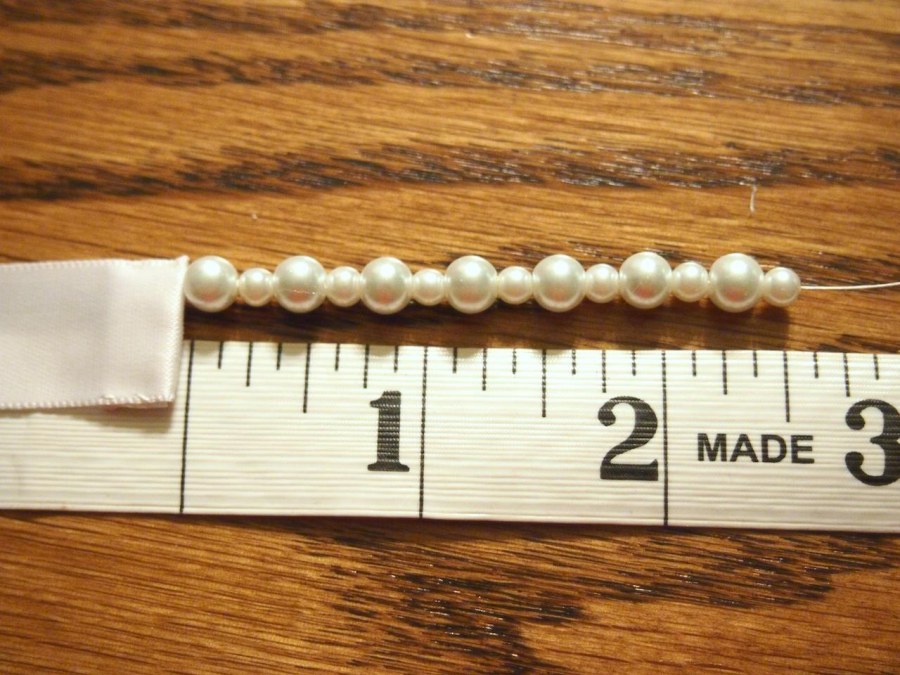

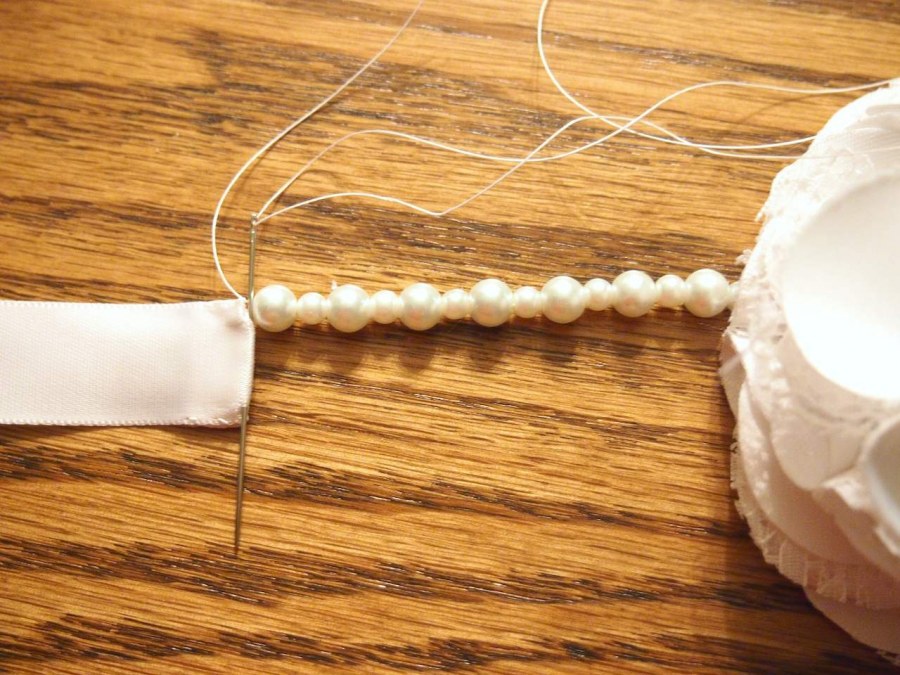

- start stringing the pearls, alternating big and little. figure out where on the headband you want your flower to sit. our pearl portion of the headband was 14" long, with the center of the flower at 4", so i strung about 2 1/2" of pearls on the short side.
- bring the needle through the base of the flower, about 1/4" in from the edge.
- thread the needle back through all the pearls, adjusting the tightness so the pearls aren't sliding around on the thread.
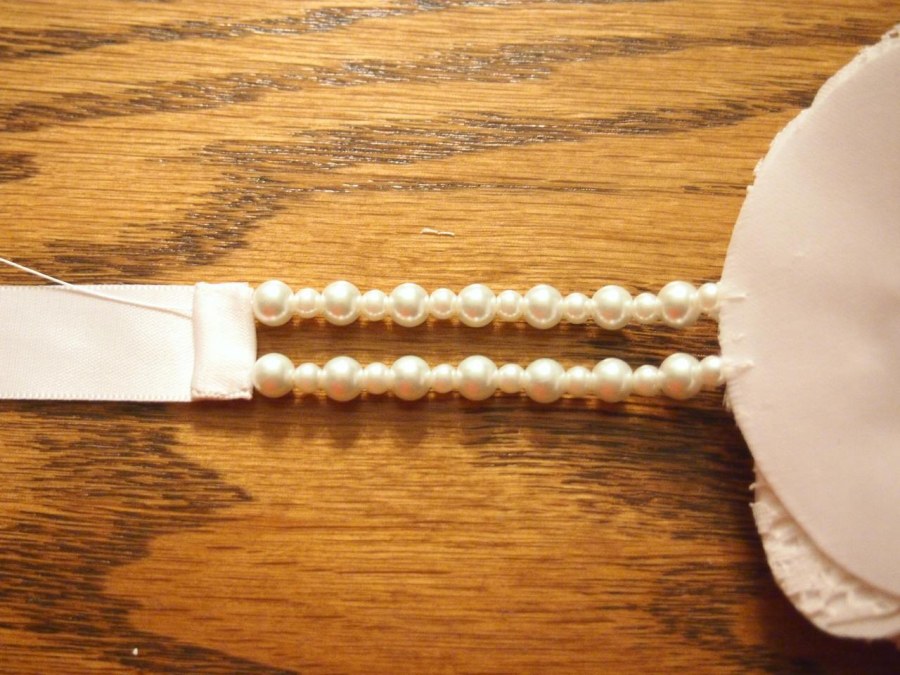
- bring the needle back through the fold on the ribbon, and come out at the spot of the second row of pearls.
- repeat stringing as before, going through the base of the flower and back through the pearls. tie off thread and hide the tail behind the hem.
- finish the second ribbon the same as the first, and string pearls on the longer side.
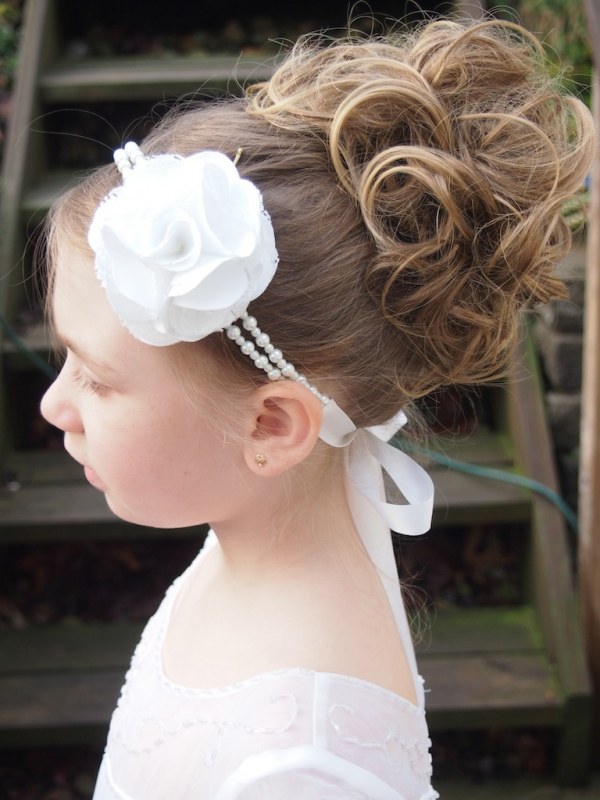
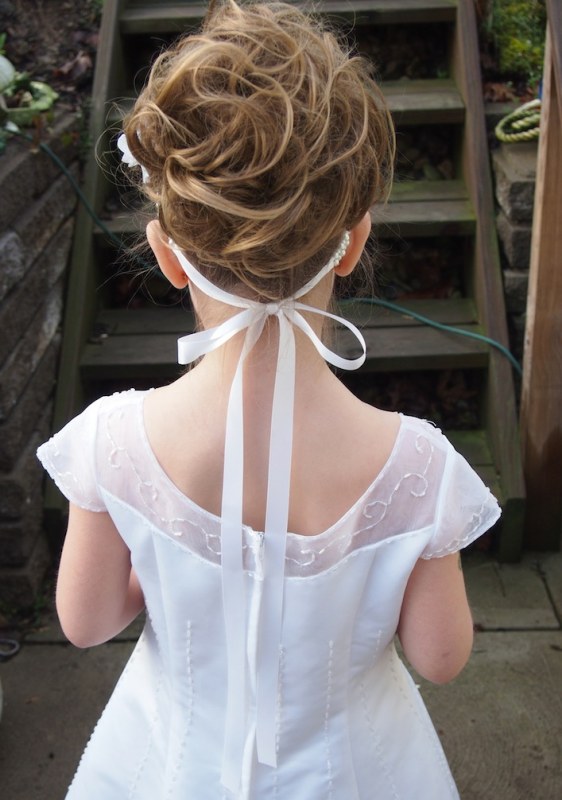
i had a lot of fun making this, and i love the way it turned out. more importantly, she loves the way it turned out- so everyone's happy!
