making silicone molds
March 14 2012, 5:49 pm
don't be scared of silicone.
even before i started experimenting with resin, i knew that making silicone molds was on the horizon. i was really nervous about working with silicone, but it was totally unfounded. if you can pour resin, you can pour silicone. it's especially helpful when there are video tutorials, which i highly recommend watching before you strike out on your own. the neatest part about this silicone is that once it's cured, it's food safe- so you can make fancy bakeware and ice cube trays, if you're into that.
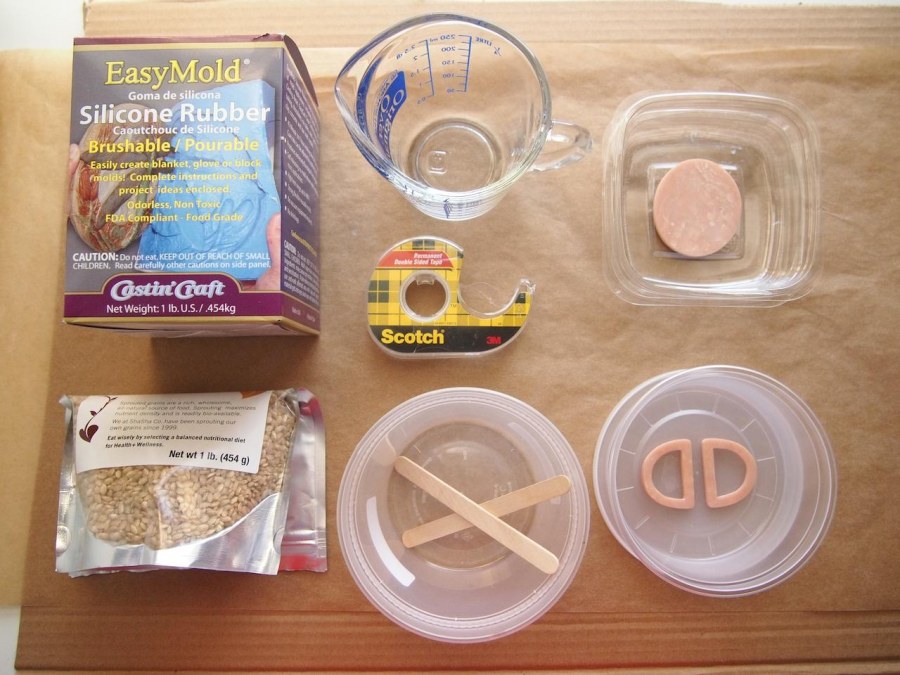
- easy mold silicone
- rice
- measuring cup
- mixing cup- a mixing cup with measurements would be ideal. i didn't have one on hand.
- double sided tape
- stir sticks
- pieces to mold
- disposable take out containers with their lids
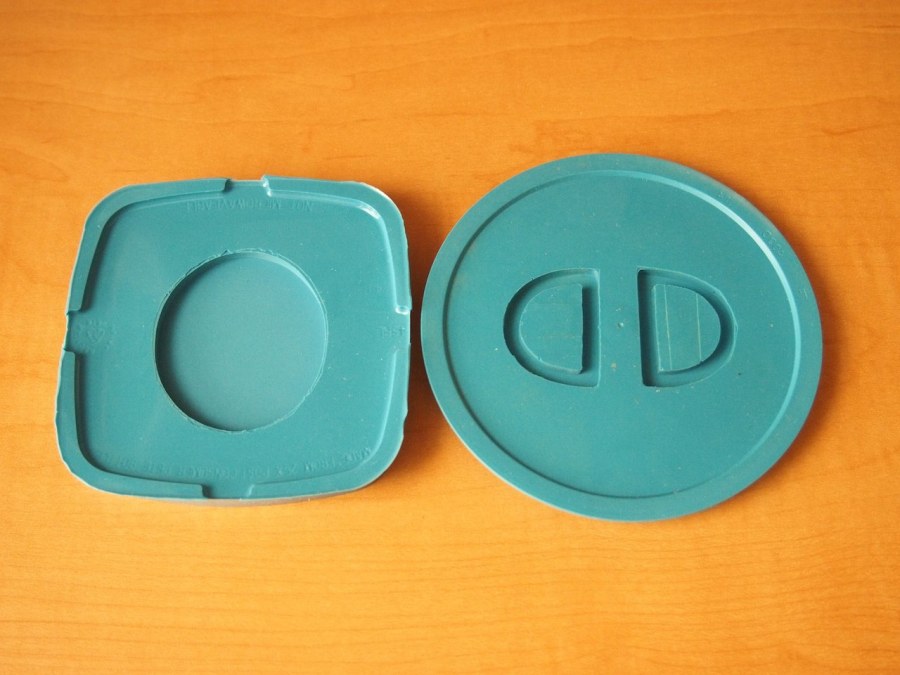
making the shapes
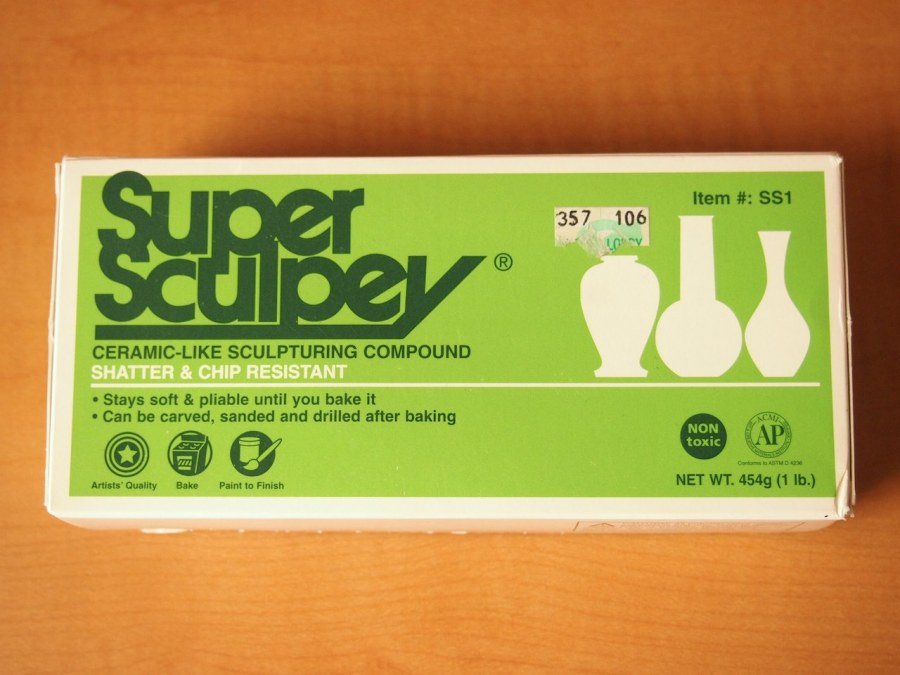
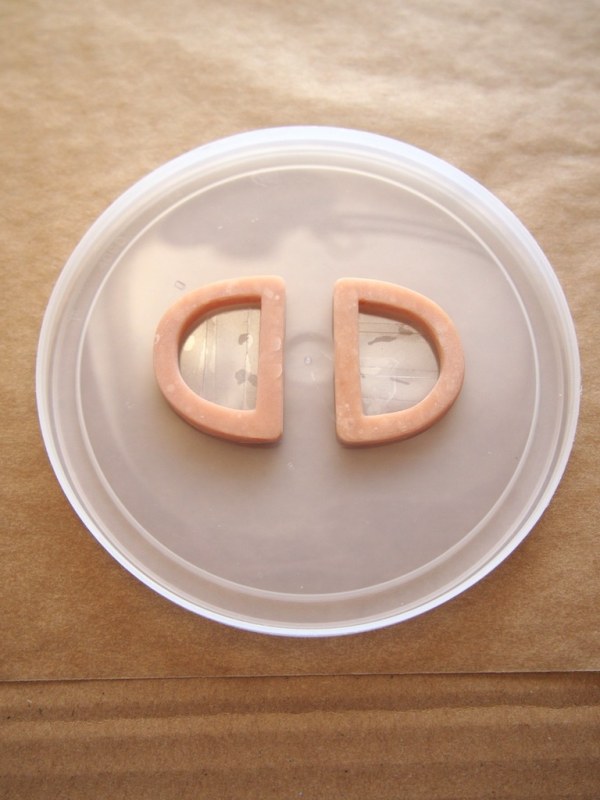
i looked all over manhattan for a simple plastic oval and D rings, but couldn't find anything that resembled what i wanted. i made them using super sculpey as a last resort.
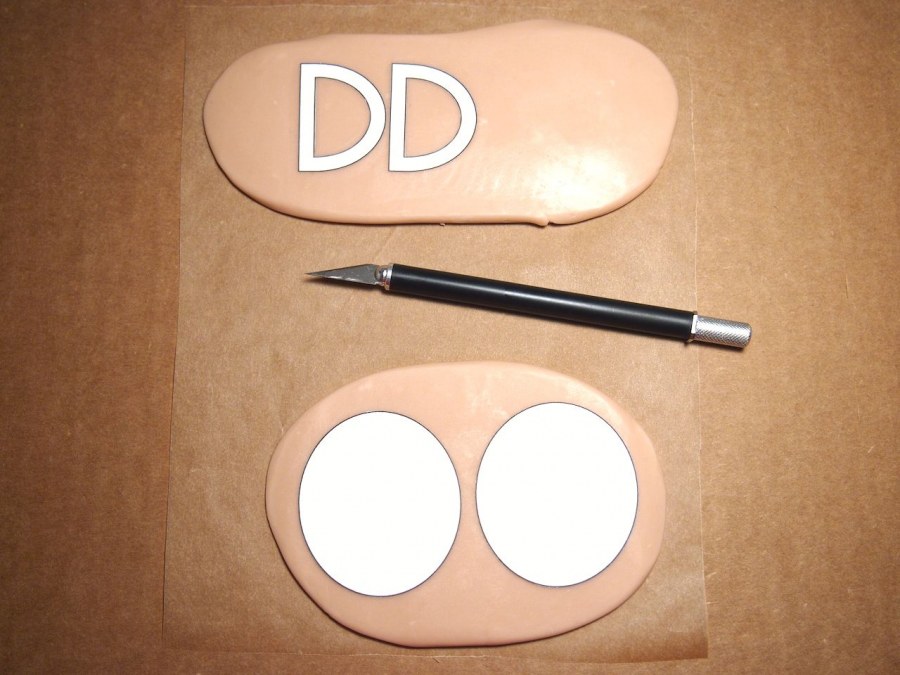
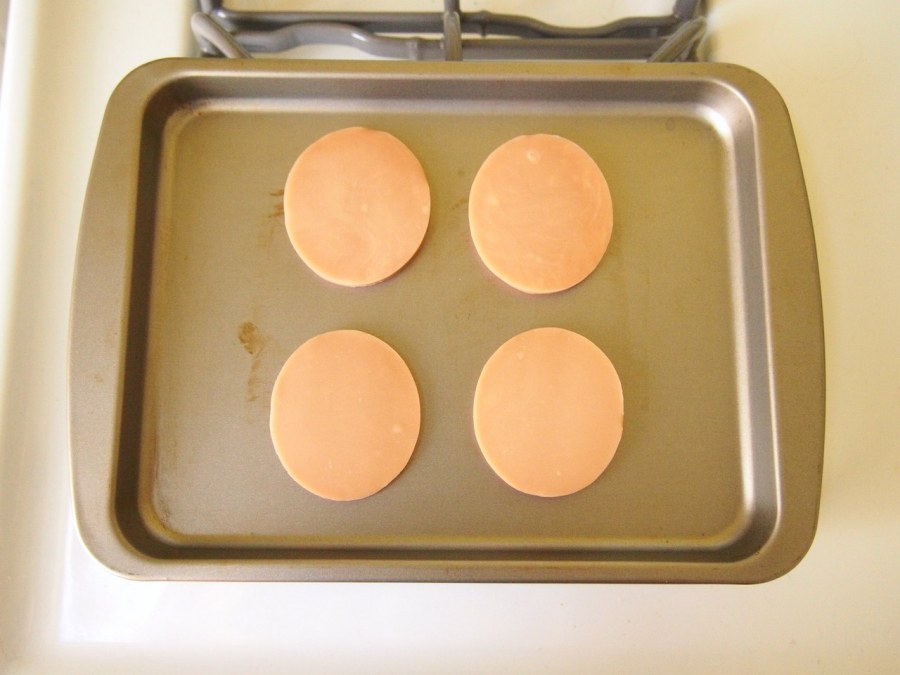
- soften sculpey by kneading with your hands. roll it out trying to keep the thickness as uniform as possible.
- cut pieces out of sculpey using templates and an exacto blade.
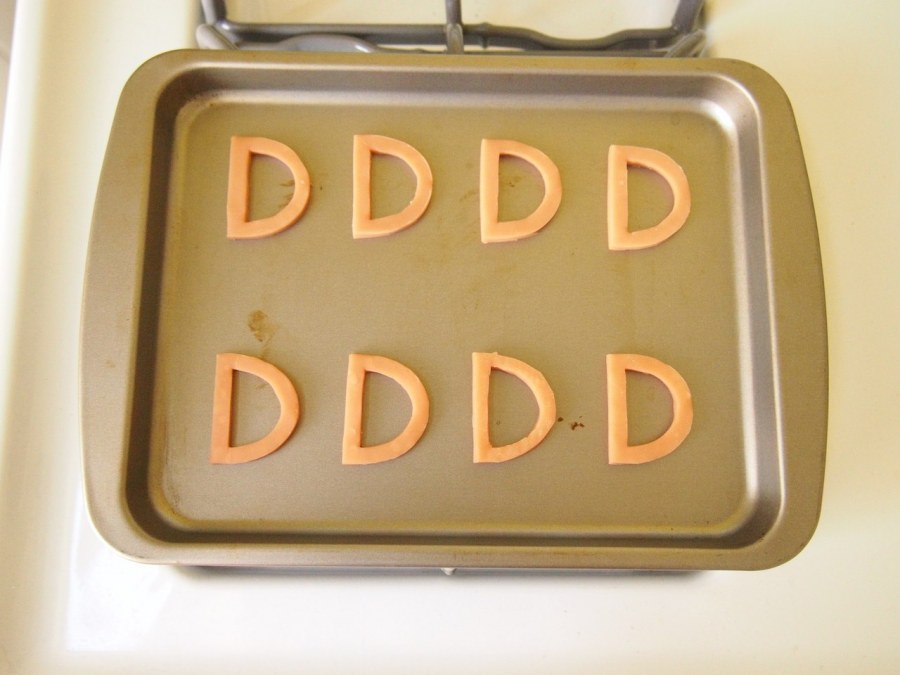
- bake for 15 minutes. let cool completely. i made multiples of each to have backups- it was worth it. most of them didn't look hot out of the oven.
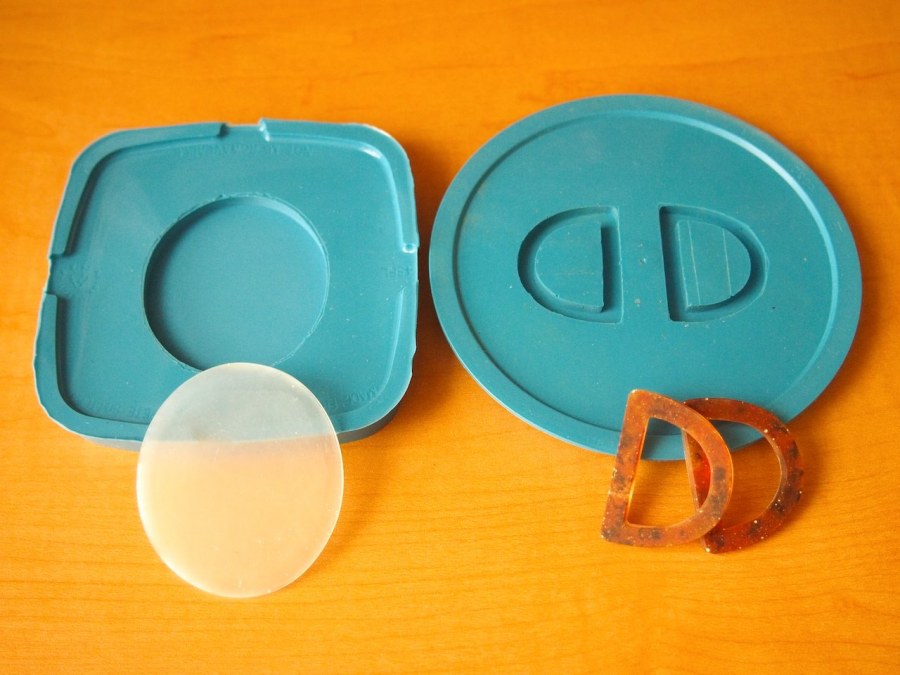
- file and sand pieces until they are perfectly smooth. the silicone copies the surface of the original piece exactly, so it needs to be exactly what you want.
measuring the molds

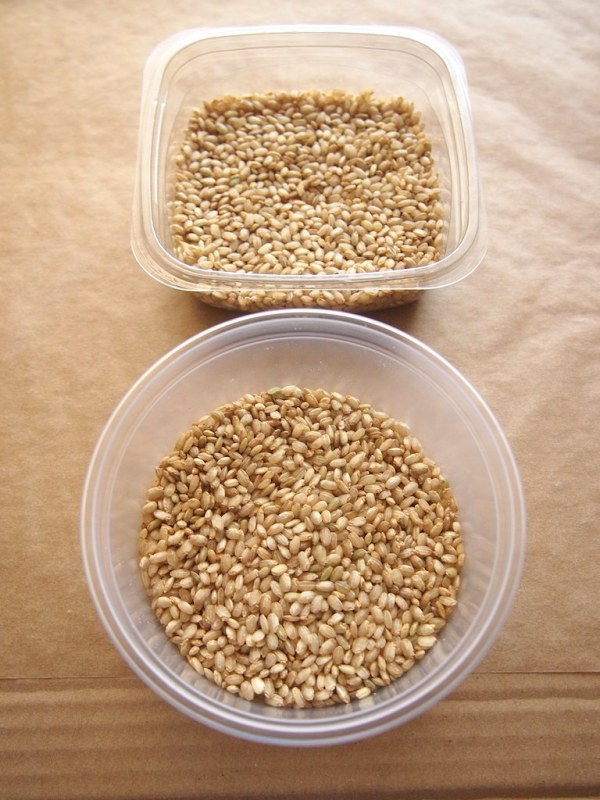
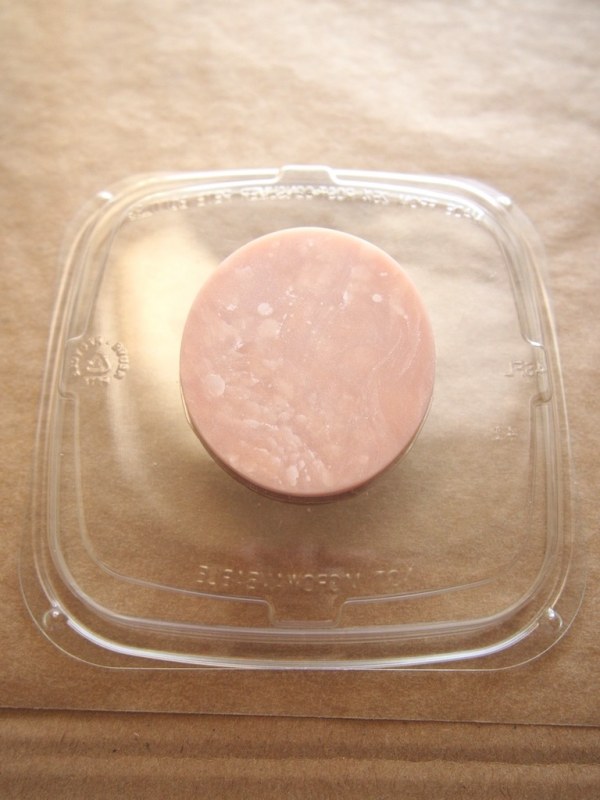
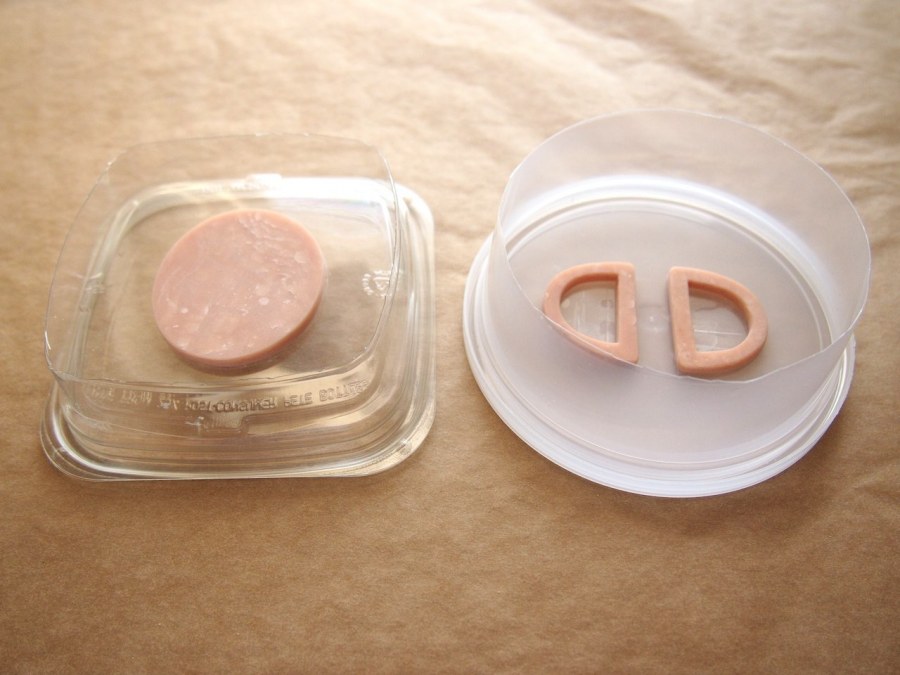
- place the piece in the container base.
- fill container up with rice so that the piece is completely covered.
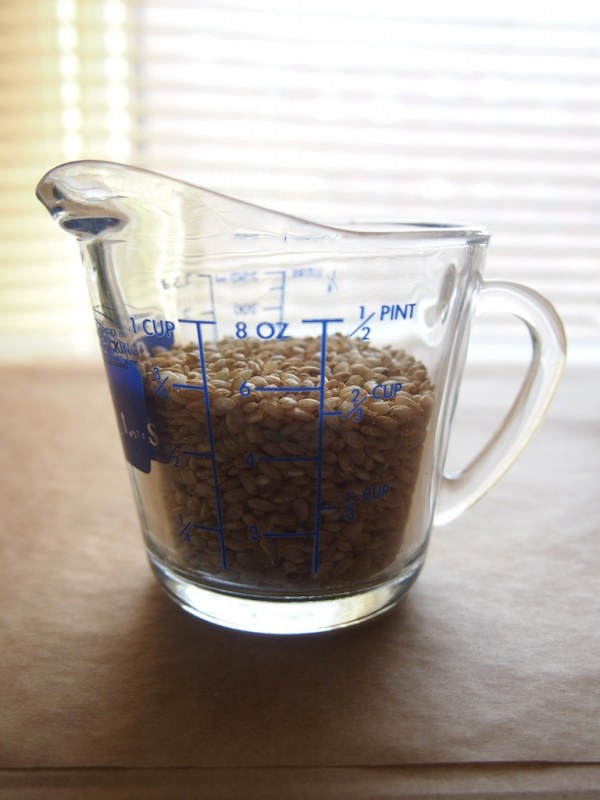
- remove the piece, and measure the rice to determine how much silicone you need for the mold. round up slightly if the container is wider at the top.
the set up

- add a layer of double stick tape to the back of the piece.
- tape securely to the inside of the lid.
- cut the bottom out of the containers, and snap them into the lids.
pouring the molds
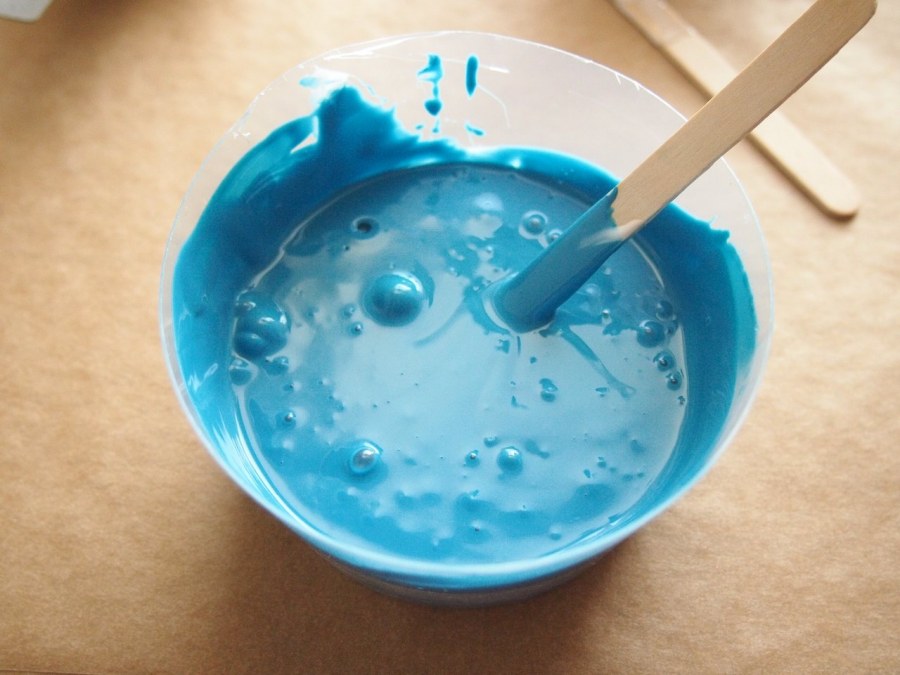
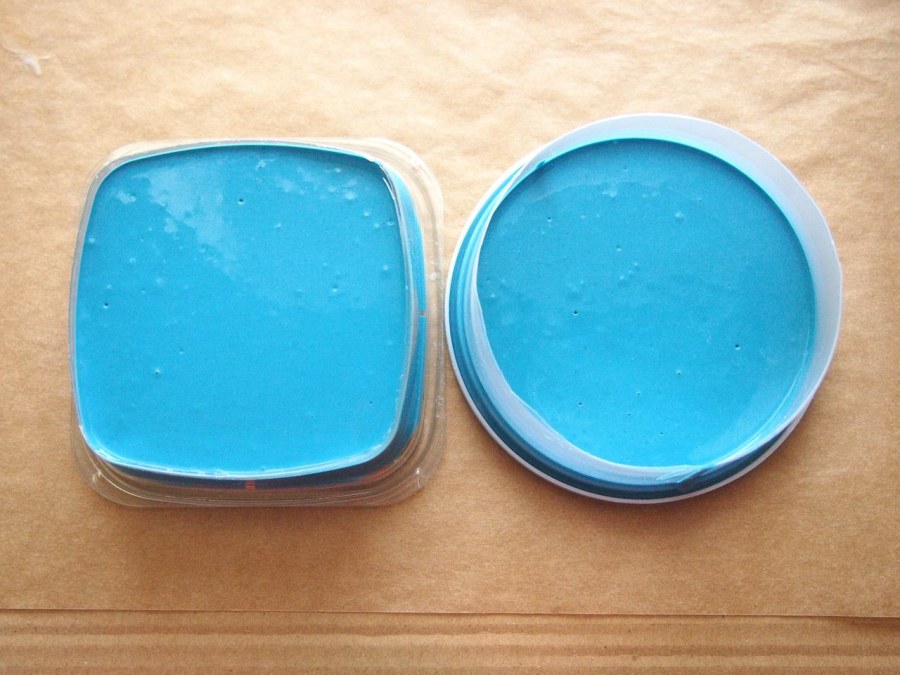
- mix equal parts of A and B thoroughly.
- pour from a height, hitting the mold to one side, not at center. this helps with air bubbles.
- let cure for 24hrs. remove lid and cut away base from mold.

