soft blocks and bricks
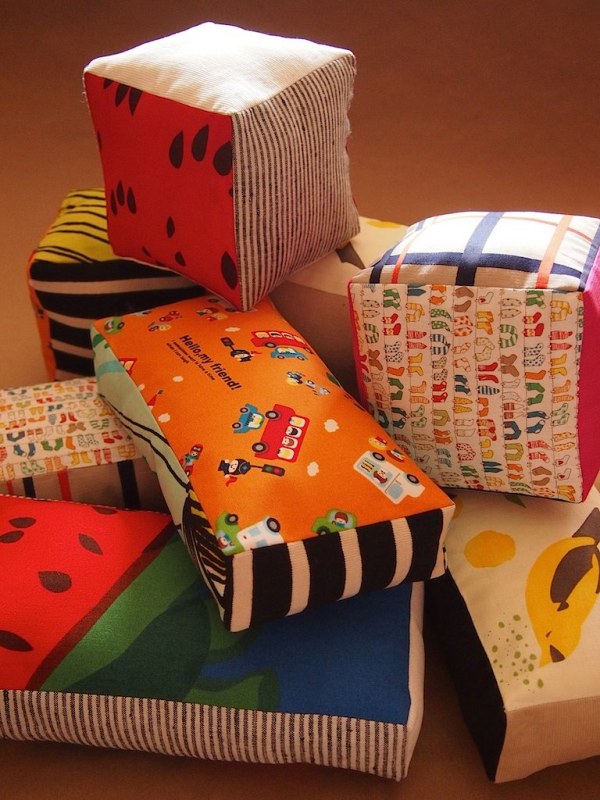
huggable construction (or demolition).
it was a certain mr. wonderful's birthday, and he asked for a set of soft blocks and bricks. who am i to deny this kid? fortunately, there's a super tutorial over at flickr.
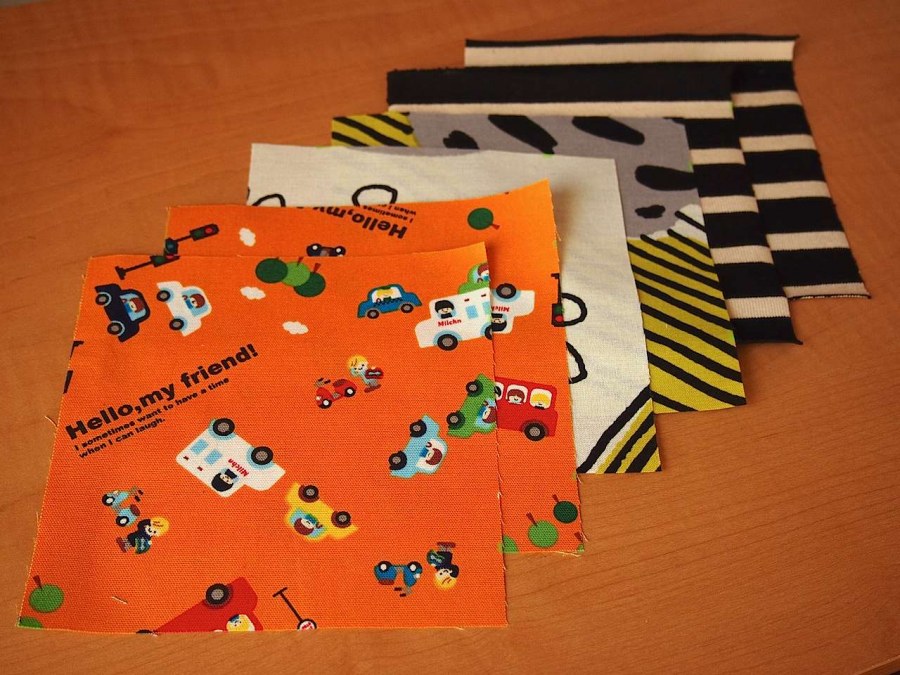
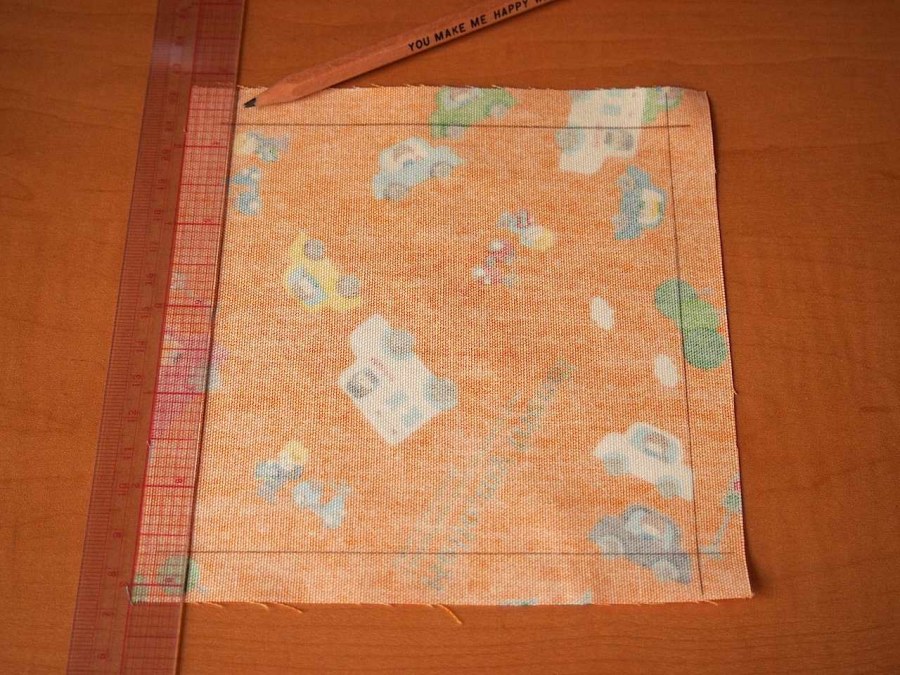

- as with most sewing projects, the time consuming part is cutting and marking the fabrics. the blocks use 6 pieces of fabric, cut into 6" squares. i used 3 prints, and cut 2 squares of each. on the wrong side of every piece, mark a 1/2" seam allowance on all sides.
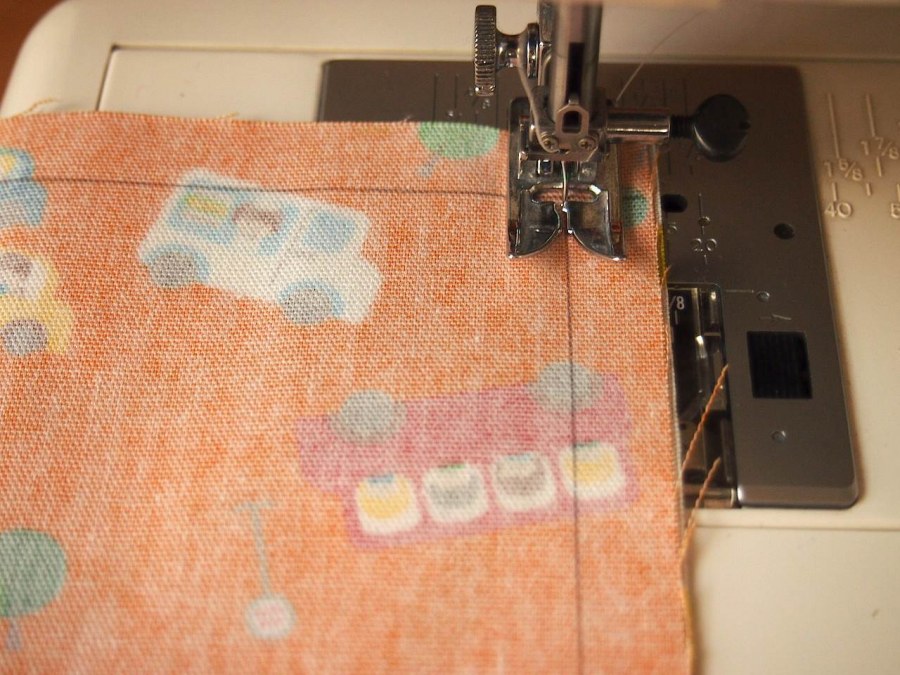
- the most important step to sewing these is to only stitch between the cross points.
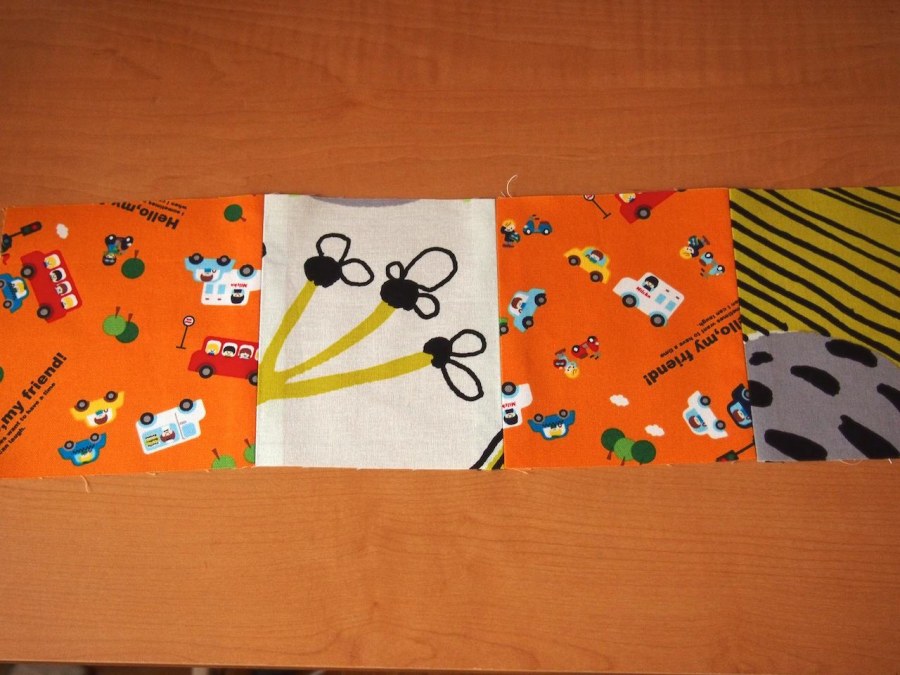
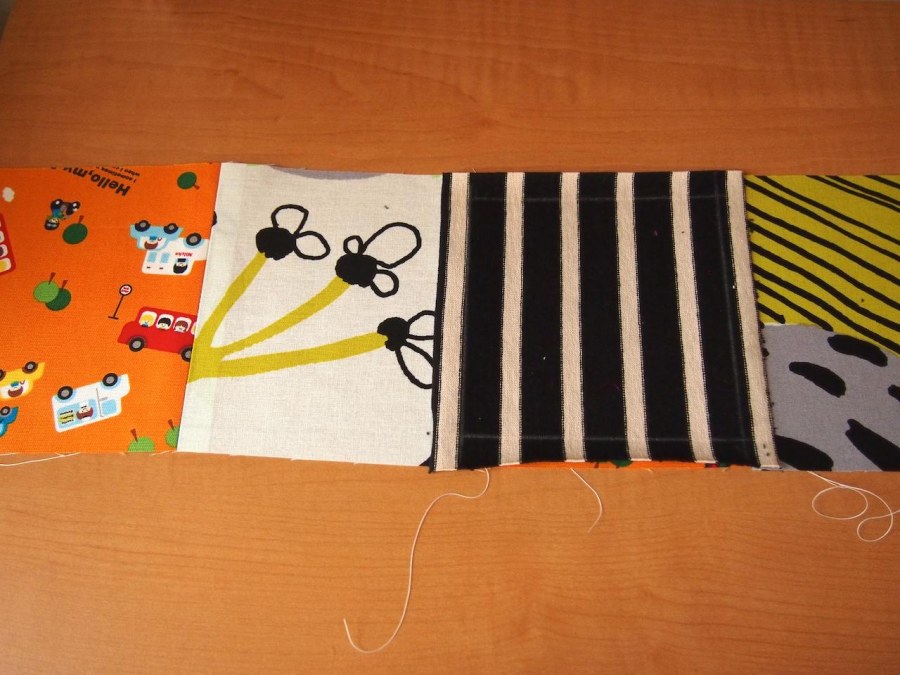
- sew together 4 squares, alternating between 2 of the fabrics, to create a long strip. backstitch each seam at the cross points, and press all seams open.
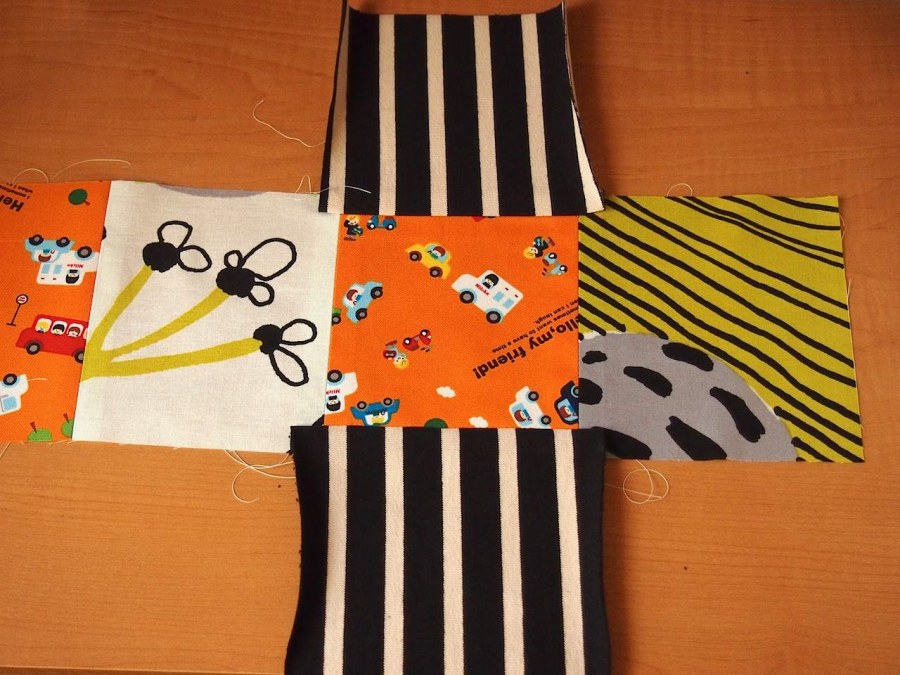
- lay one of the remaining squares face down on either of the middle squares in the strip. stitch together at the top, only between the cross points, making sure not to catch the other side's seam allowance. press seam open.
- repeat with the last square, sewing it to the bottom edge of the same square in the middle of the strip.
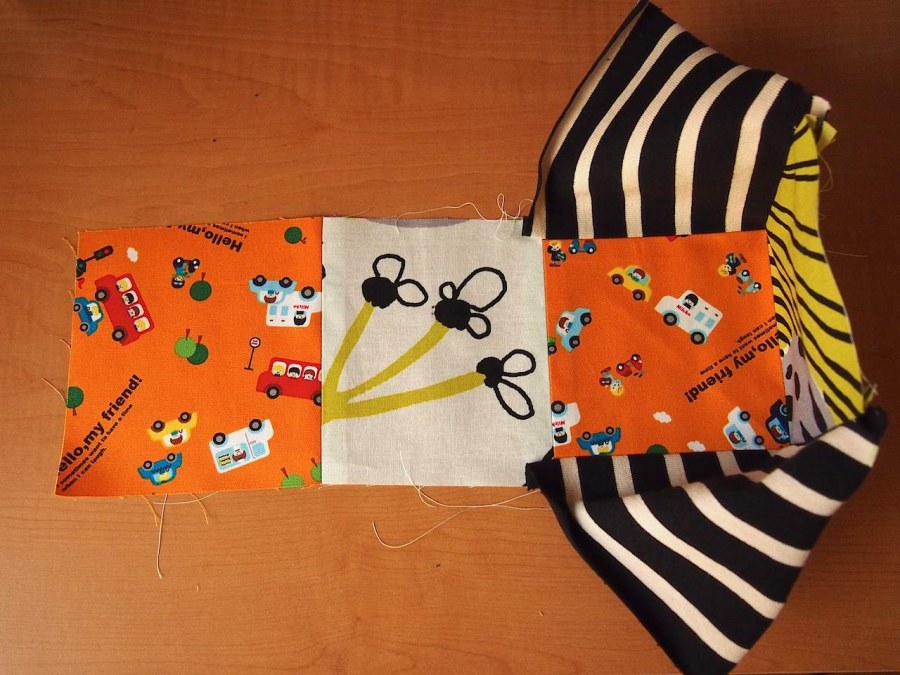
- stitch the sides of the new squares to the top and bottom edge of an adjacent square. this will create the first 2 corners.
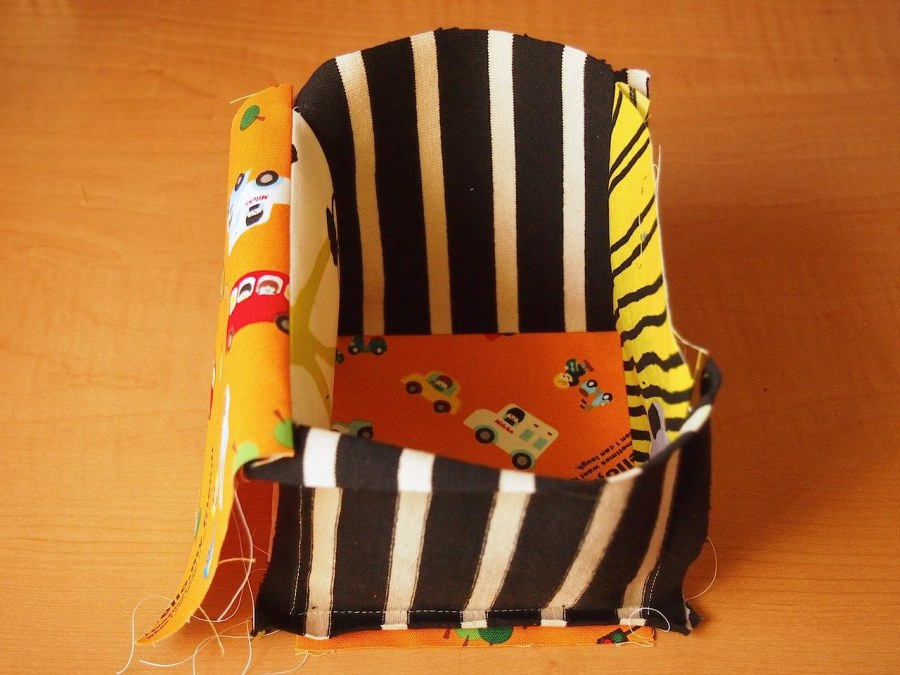

- continue stitching up the other side, so you have an open box with a lid.
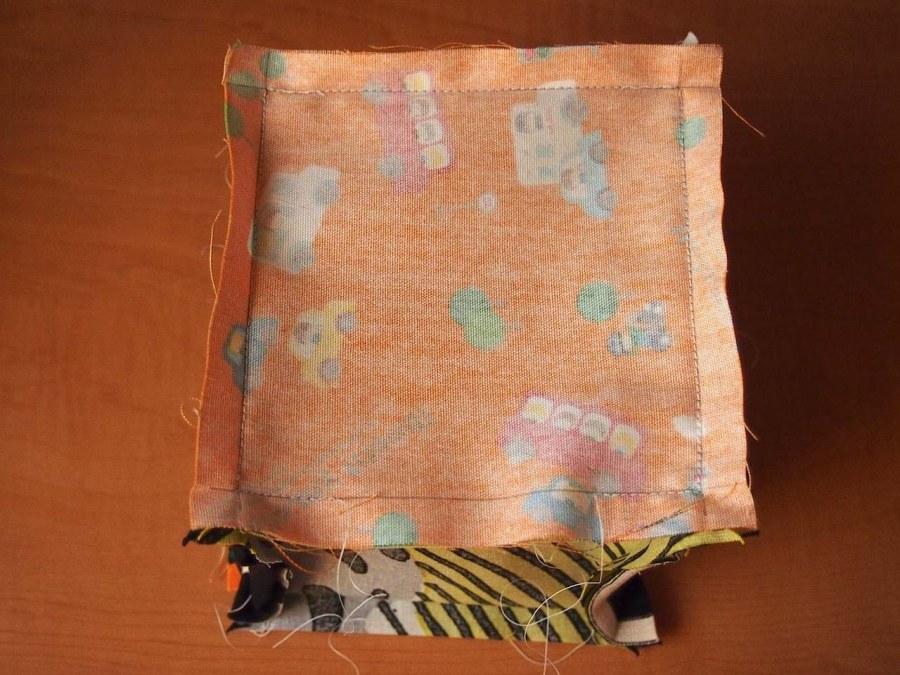
- fold the lid closed, and stitch up 2 sides, leaving the third side open. (the one pictured, has an inch in on either side of the last seam sewn, but it was more difficult to turn right side out and fill. when the seam is left entirely open, it's much easier)
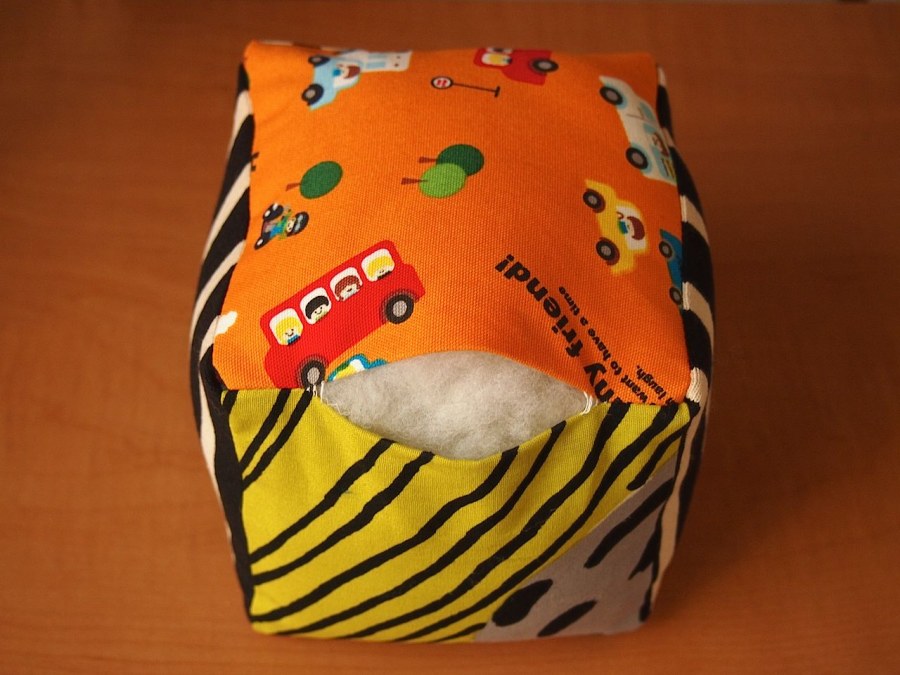
- turn the block right side out, making sure all corners are pointy, and fill'er up.
- stitch the last seam closed by hand, and be thorough about it. these will be thrown and chewed and beaten up by a ruthless child, so make certain that seam is secure.

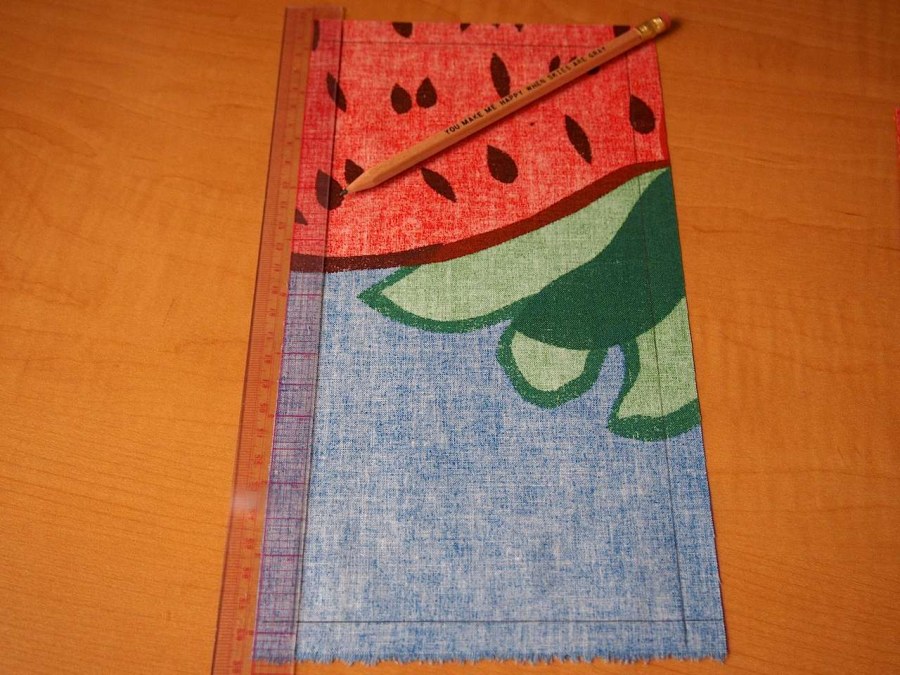
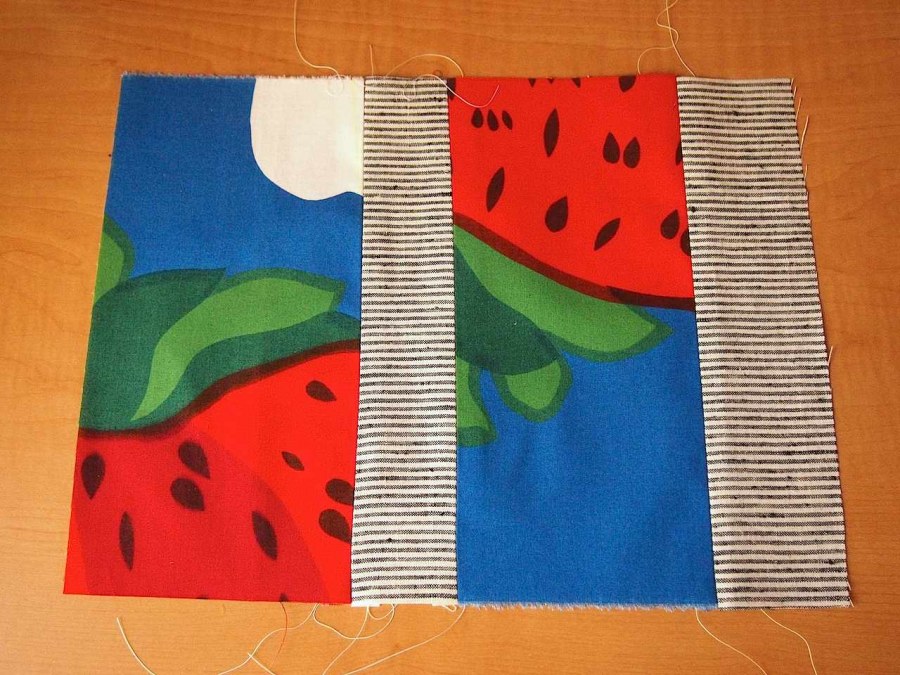
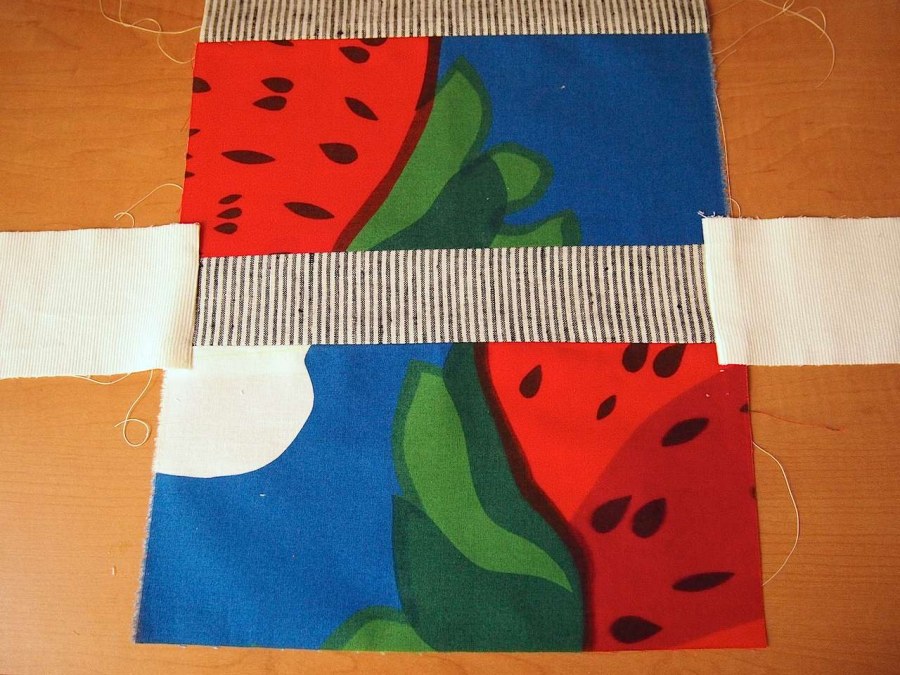
the bricks were constructed the same way as the blocks. the initial measurements for the brick pieces are:
- 2 sides= 6"x11"
- 2 sides= 3"x11"
- 2 sides= 6"x3"
again, it's super important to mark the 1/2" seam allowances on all sides, and to only stitch between the cross points. the layout is basically the same too, but the fastest way to make it happen is to stitch the longest sides together first. then lay the shorter pieces at the top and bottom to start making it 3D. to make turning and stuffing easy, leave one of the long seams open and stitch it closed by hand after stuffing.
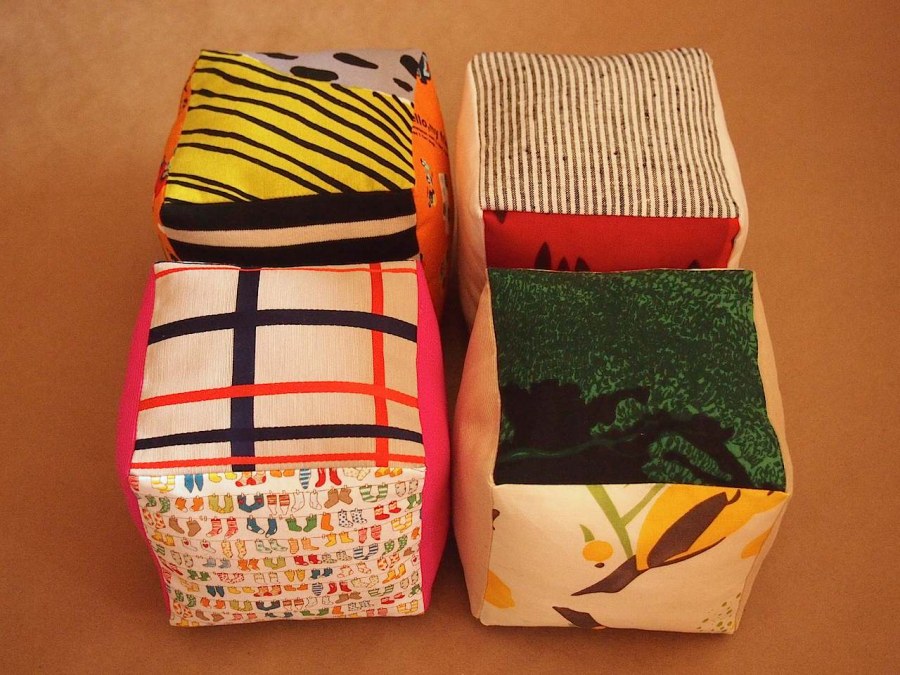
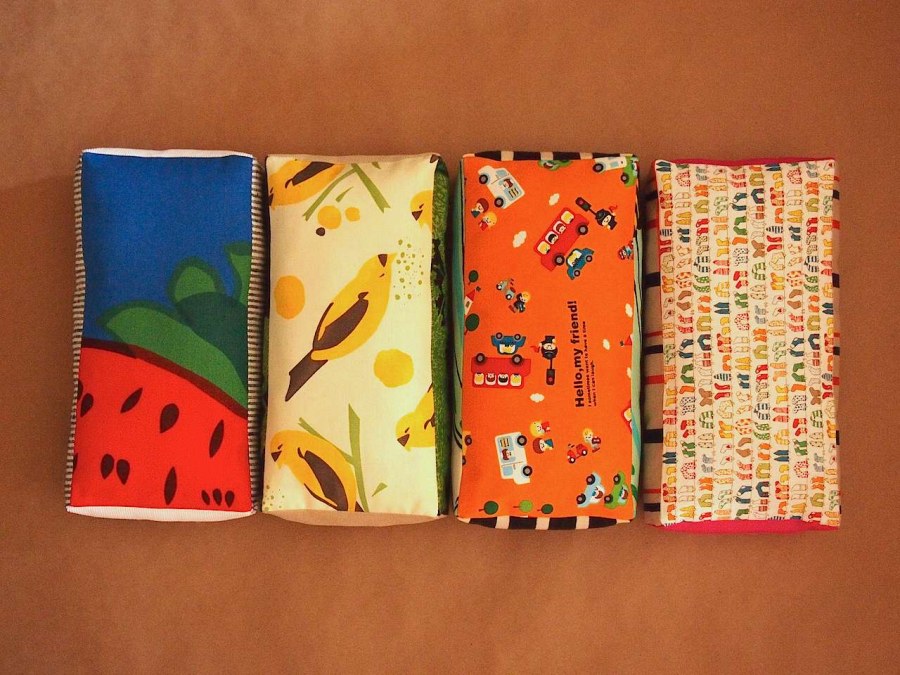
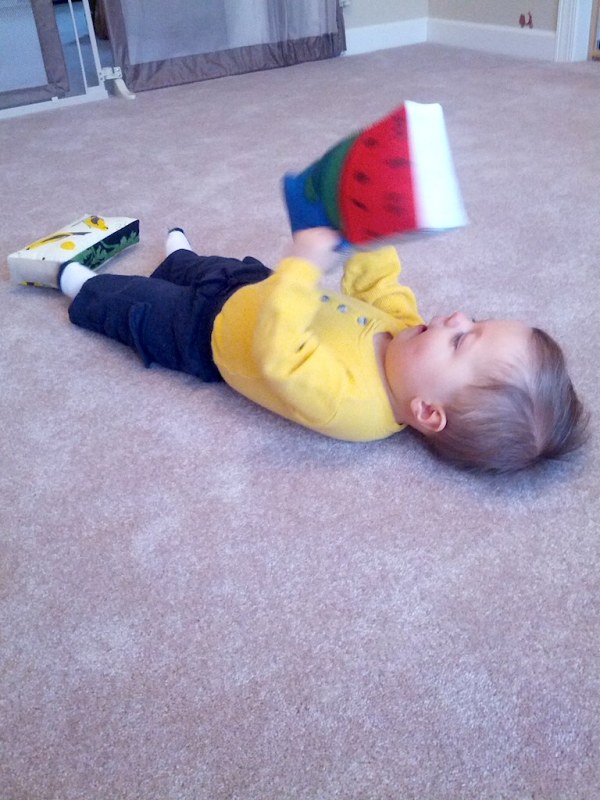
in the end, there were 4 of each, which stack up to a nice heaping pile. no complaints from the little guy:
