drawstring camera pouch
chunky monkey with a lot of funky.
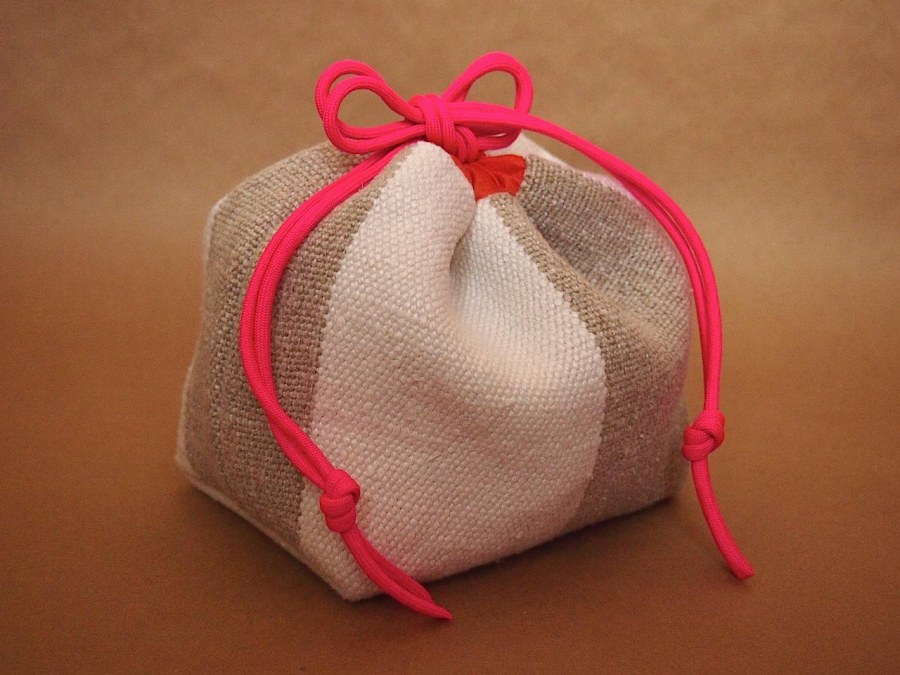
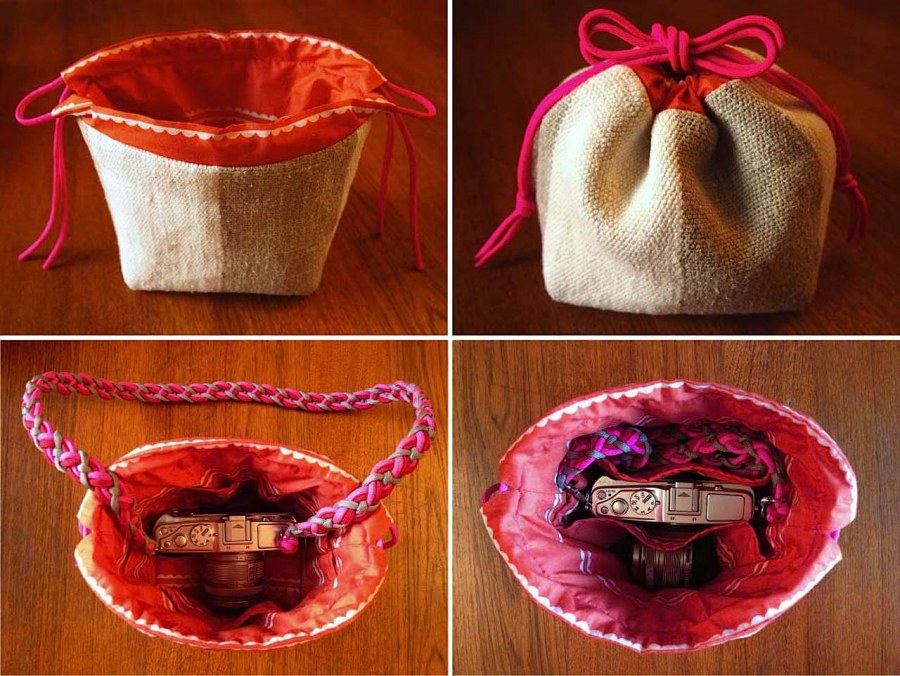
one more anniversary present for my camera. a new protective home, masquerading as a sweet little pouch. don't be fooled by it's chubby cuteness- there is a lot of function is this lil' guy. the camera is a bit chunky when the lens is attached, and when the lens is off, it really needs some extra care not get banged up. so instead of a big cavernous space, this pouch has 3 compartments that easily expand when needed. and the whole thing is padded, without a hint of vera bradley.
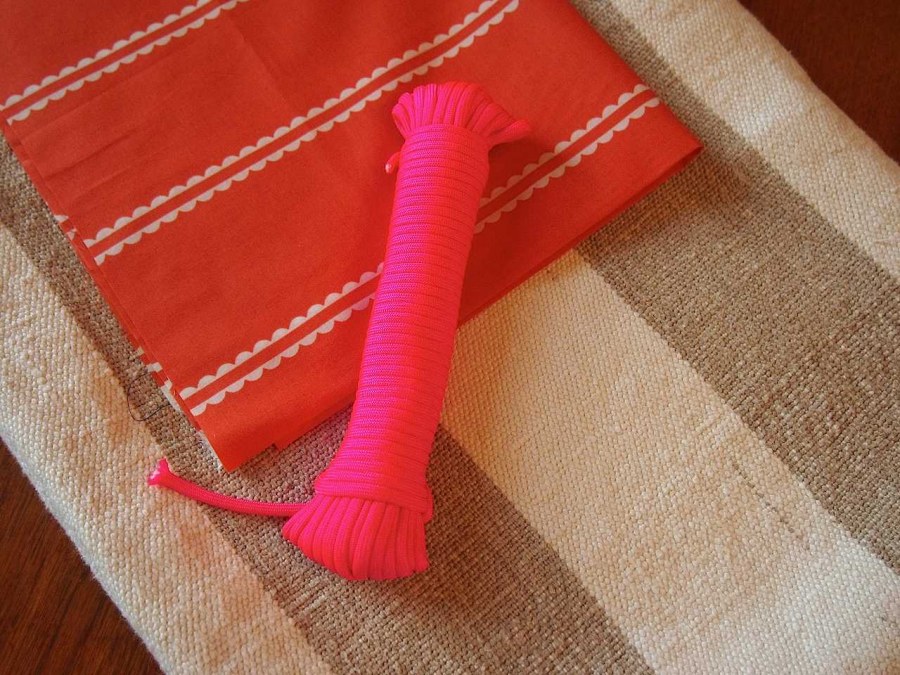
the exterior fabric is a heavy weight woven cotton, that's been sitting in the stash for years. the lining is anna maria horner voile pastry lines stripe- also been sitting in the stash for a year. the paracord is left over from the camera strap.
cut fabric:
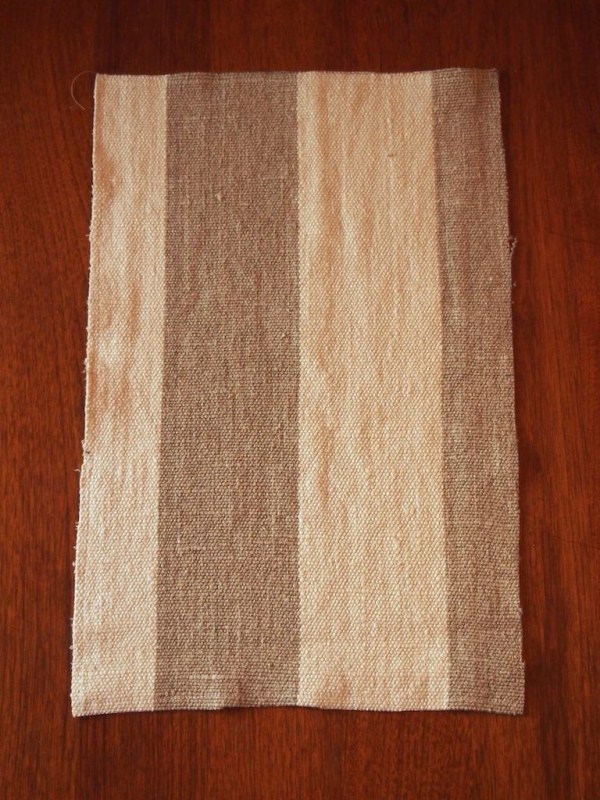

- exterior fabric= 17"x 11"
- interior pocket= 23" x 11"
- lining fabric= 21" x 11"
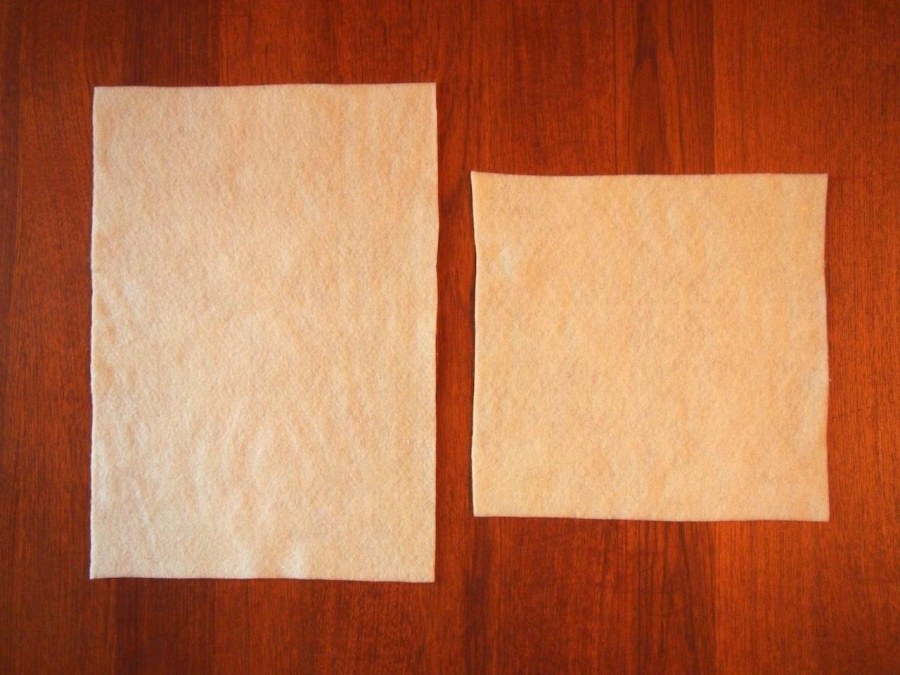
- quilt batting for body= 16" x 11"
- quilt batting for pocket= 11" x 11"
these measurements all include a 1/2" seam allowance. mark the center of each piece horizontally in the seam allowance- this is the center bottom line.
note- if the exterior fabric is a large weave, like the one pictured, it helps to do a stay stitch around the perimeter, 1/4" from the edge to prevent unravelling.
exterior:
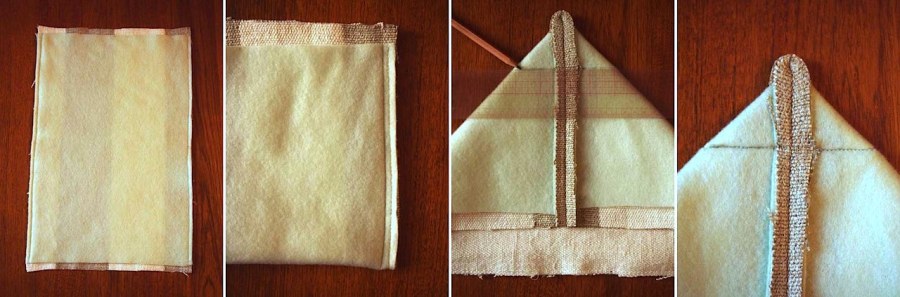
- place the 16" long batting on the wrong side of the exterior fabric, lining them up at the center bottom. the exterior fabric should extend past the batting, 1/2" at the top and bottom. baste the batting to the exterior along the sides only, leaving the top and bottom open.
- fold the fabric in half crosswise, so the batting is on the outside. sew the first side seam from the fold line all the way to the top. press it open.
- line up the new seam with the center bottom, creating a point at the fold. mark the seam 2" from the point and draw a line across to create a triangle at the tip.
- stitch this line. you can trim the corner off, leaving a 1/2" allowance, but since i was looking for extra protection, i left the excess on.
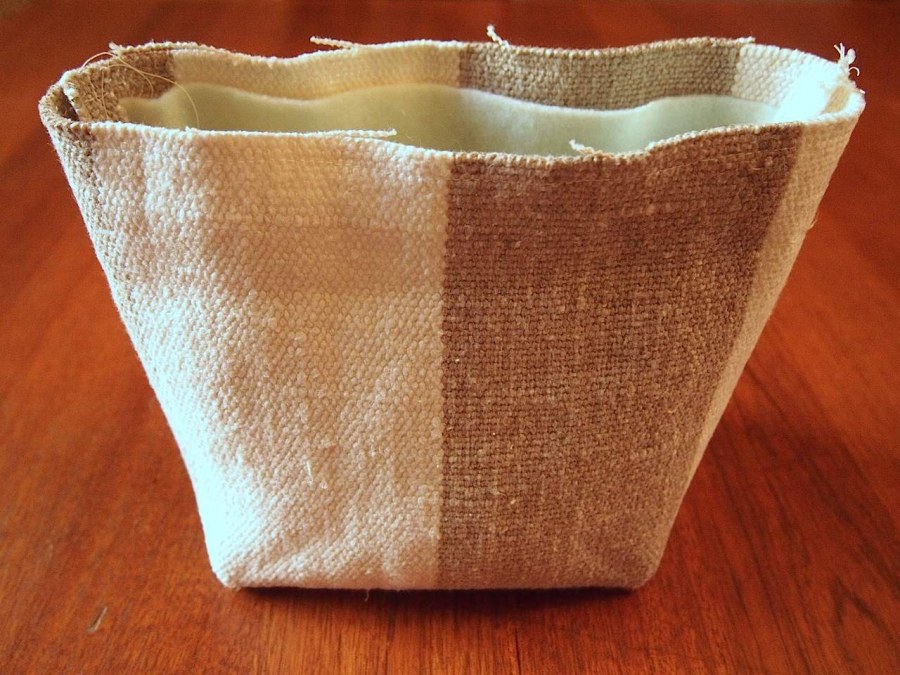
- repeat on the other side, sewing the side and bottom seam. turn it right side out, and you now have a T-bottom pouch exterior:
interior pockets:

- fold the 23" long pocket piece in half crosswise, right sides together. sew a seam along the top edge. press it open, and turn the piece right side out.
- line up the new seam with the center bottom line, creating folds at the top and bottom. press each fold.
- fill the tube with the 11"x11" batting. if it's a bit too long, trim it to fit the tube exactly filling from fold to fold.
- top stitch each end, 1/4" from the fold. these are the tops of the pockets.
lining:
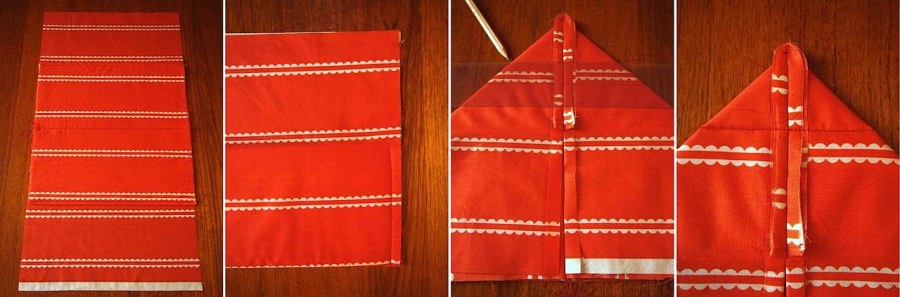
- line up the pocket piece on the right side of the lining fabric, matching the center bottom lines. stitch the pieces together along that line.
- fold the lining in half, crosswise, so that the pocket piece is on the inside. stitch a side seam from the fold line up to the top of the pockets only. press open the seam, and the seam allowance above the stitch line.
- line up the new seam with the center bottom, creating a point at the fold. mark the seam 2" from the point and draw a line across to create a triangle at the tip.
- stitch this line. trim the corner off, leaving a 1/2" allowance.
- repeat on the other side, sewing the side and bottom seam. you now have a T-bottom pouch interior with a pocket on each side:

attaching the lining to the exterior:
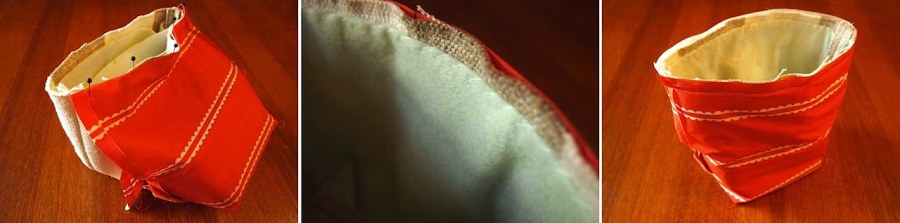
- keep the lining inside out. pin it to the exterior along the top edge, right sides facing each other. with center fronts aligned, the folded seam allowance of the lining should match up to the side seams of the exterior. stitch along the top edge, keeping the batting out of the way.
- baste the batting to the stitch line around the opening. press the seam towards the batting.
drawstring channel:

- carefully and gently turn the bag right side out through the folded sides of the lining. tuck the lining into the bag, matching up the bottom corners. the lining will stick above the exterior about an inch. press the lining's fold line, keeping it equidistant from the top edge of the exterior all the way around.
- hand stitch the lining's side seams closed. to help keep everything straight while sewing the channel, baste the lining together at the opening just above the exterior around the top of the bag, and pin the lining to the exterior about 1" below the seam.
- sew the lining together by stitching directly in the previous seam, all the way around the top of the bag. remove the basting stitches and the pins.
done!
- cut 2 lengths of paracord, about twice as long as the open circumference of the bag. feed the first through the channel at the top, going completely around the top of the bag. repeat with the second cord in the other direction. tie each cord's tails together with an overhand knot. singe the ends with a lighter to prevent fraying.
totally sweet. it fits the camera like a glove when it's assembled. and when it's in pieces, everything has its own home. looks great with the new strap, and the drawstrings are long enough to use as a shoulder strap when they aren't tied in a bow. they're really sturdy too.

