Felt Gnome Ornament
December 10 2012, 9:03 pm
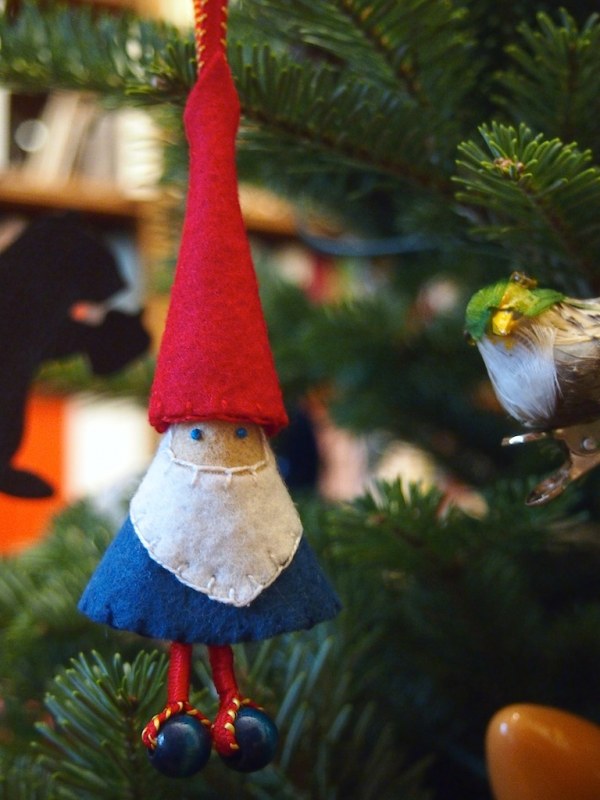
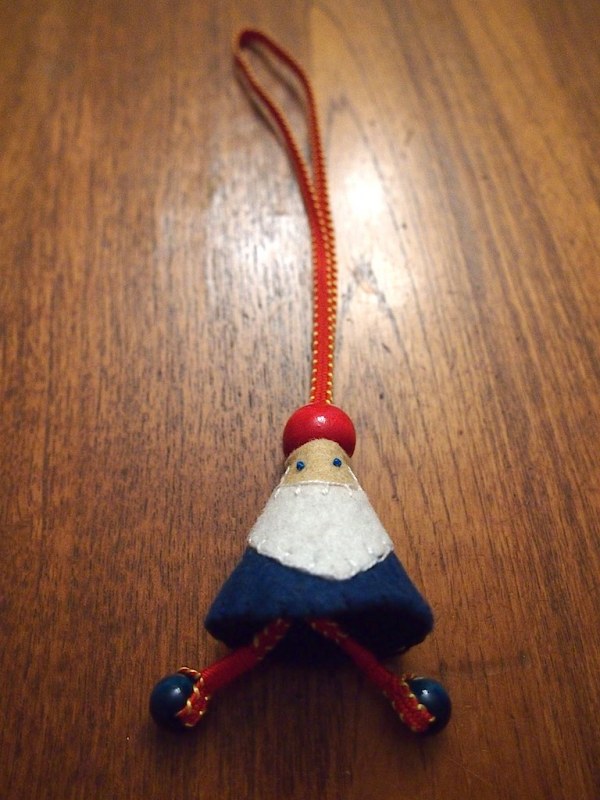
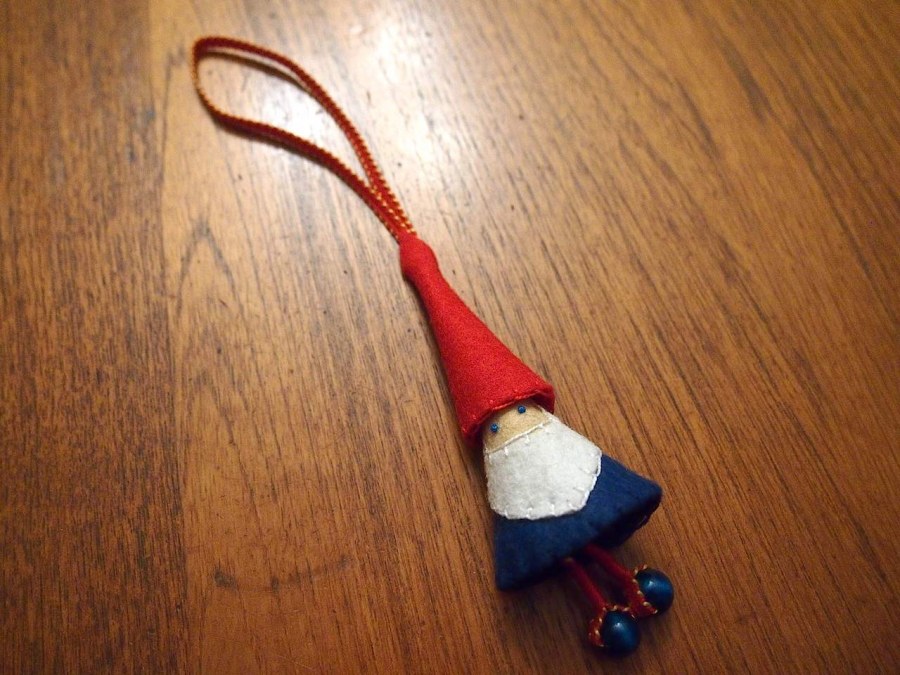
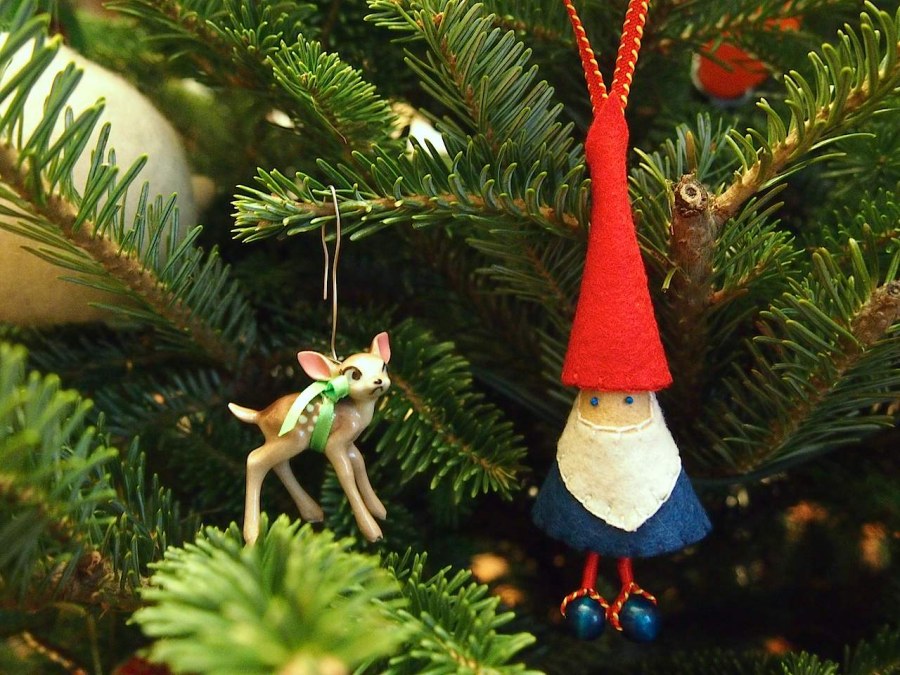
Christmas is the best excuse to break out some felt. It just feels right. The critter tree needed the dominating presence of a gnome. He'll put things in order, and keep everyone in line. All while looking sharp and approachable.
Materials:
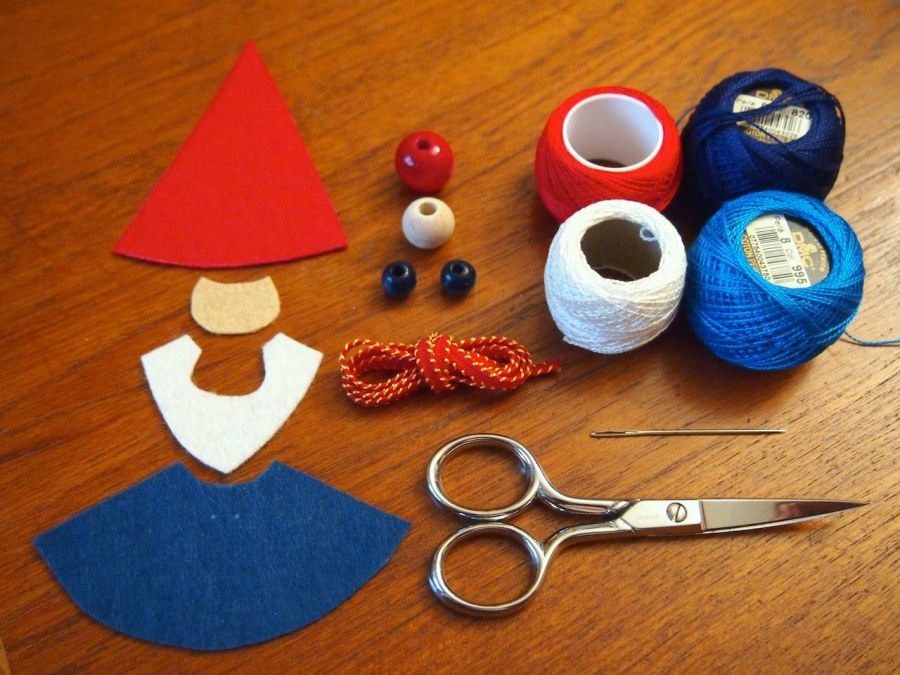
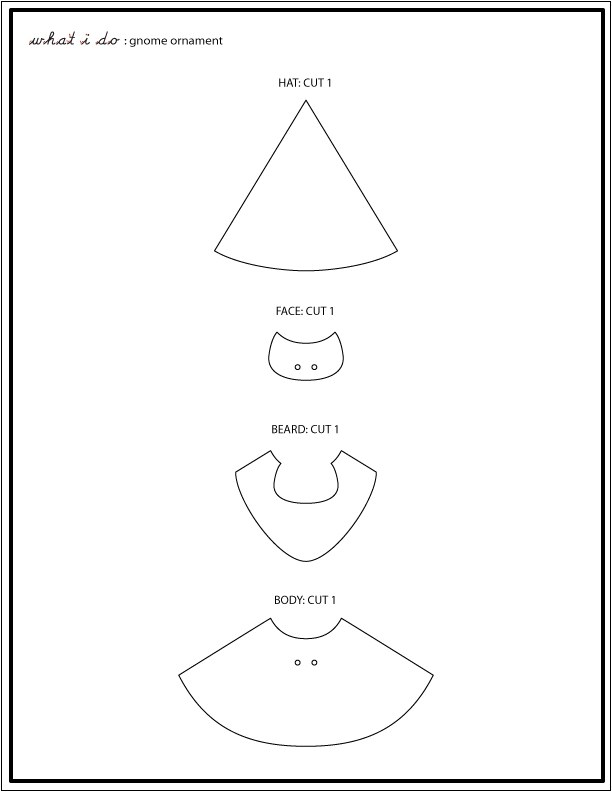
- Felt, cut out using the gnome_pattern.pdf
- 16mm Wood bead with large hole, 15mm wood bead with large hole, 2 10mm wood beads with large holes
- 22" of 1/4" Ribbon
- Embroidery floss or cotton pearl to match felt colors
- Embroidery needle and scissors
Stitch the Body:
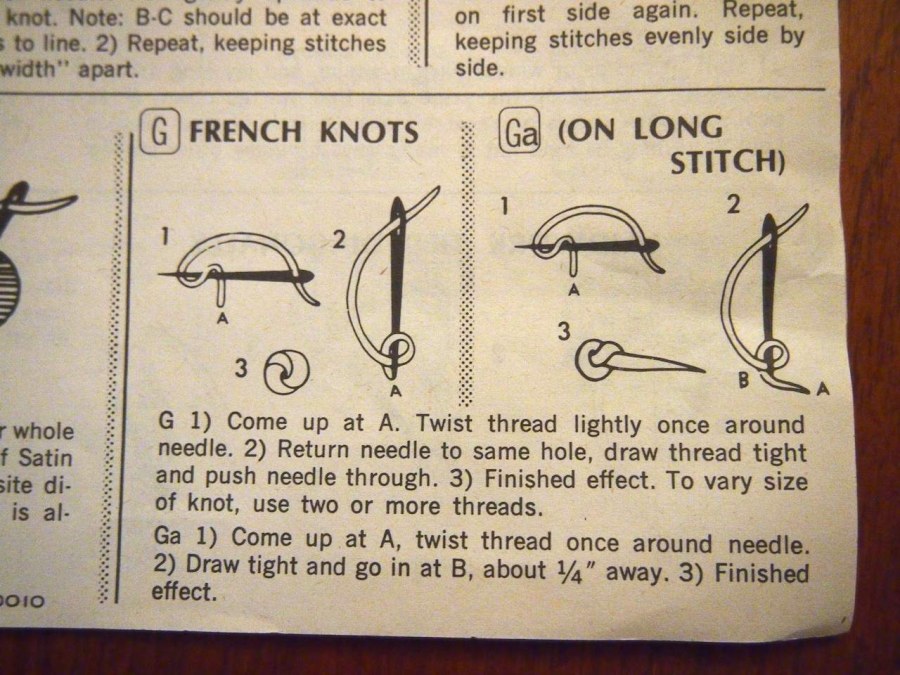

- The 2 important stitches in this little dude are the french knot and the buttonhole (blanket) stitch.
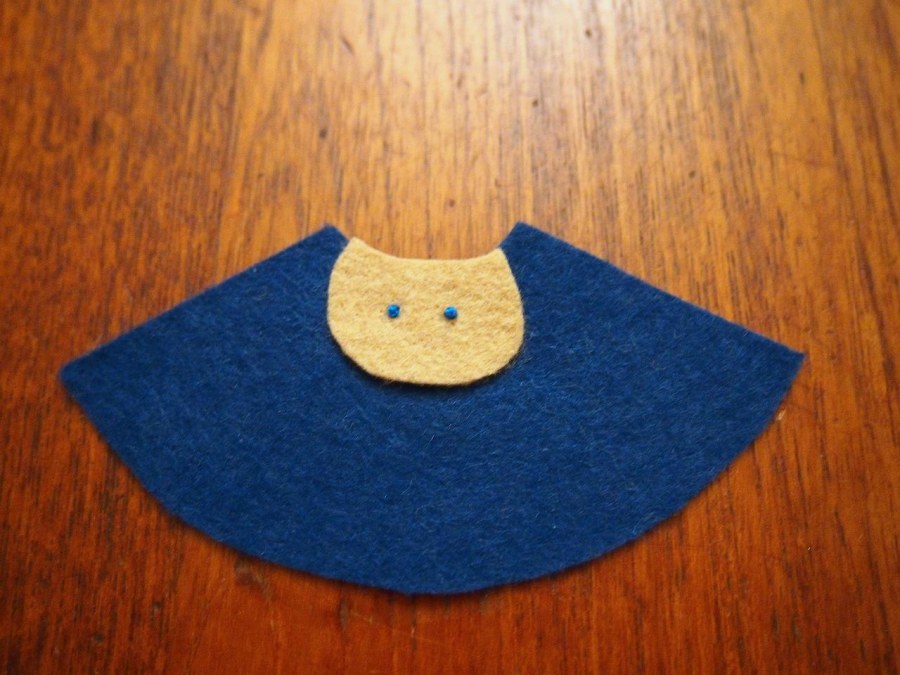
- Center the face at the top edge of the body, lining up the eye markings. Stitch 2 small french knots for the eyes.
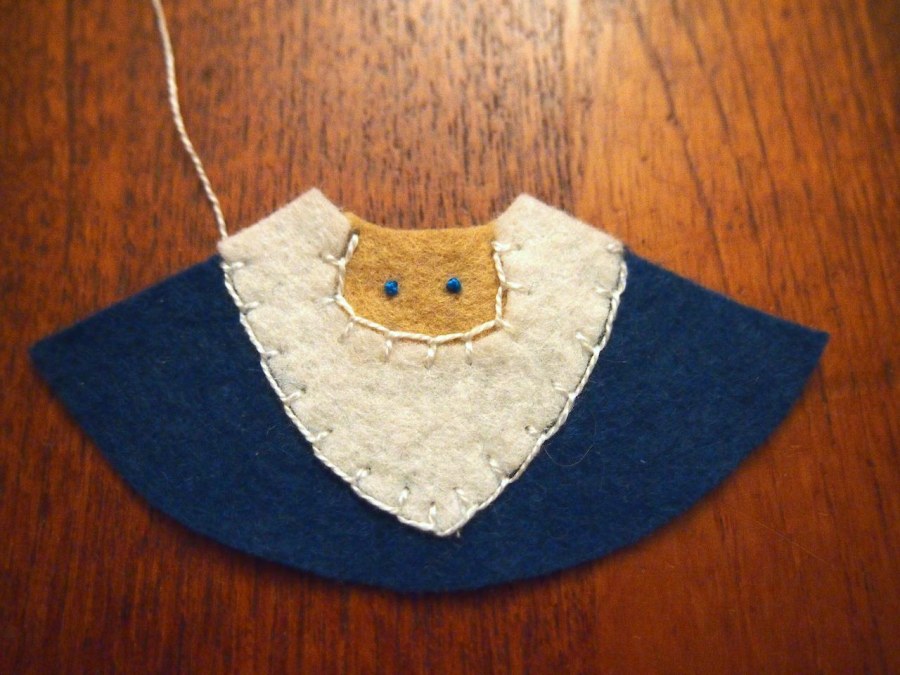
- Lay the beard over his face, and attach with buttonhole stitches first on the inside, then the outside curves. Don't bother to trim the white floss just yet.
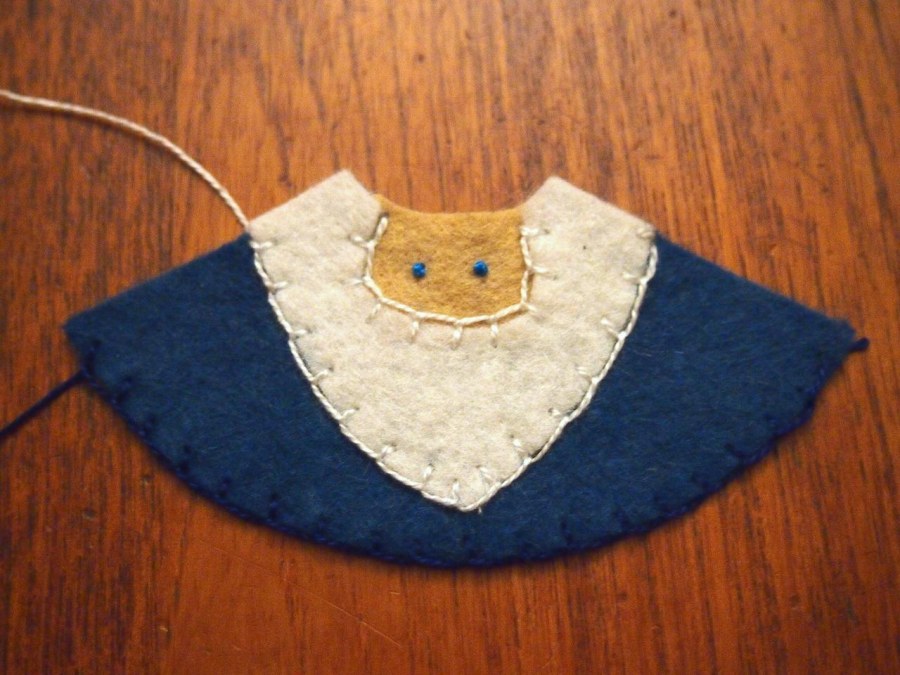
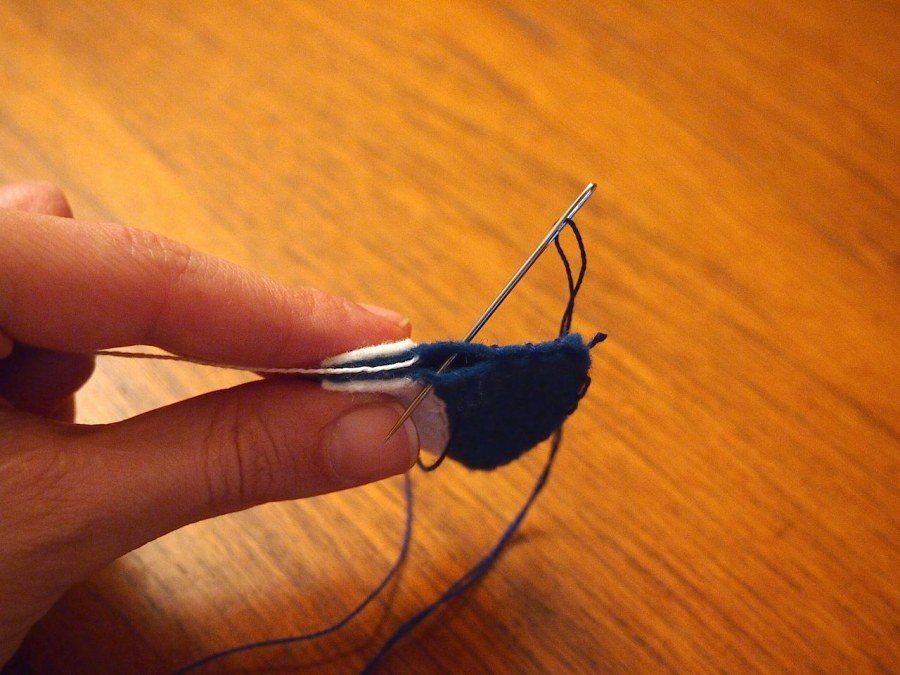
- Finish the bottom edge of the body with buttonhole stitches. Fold him in half, and stitch up the back. When you get to his beard, tie off the body color floss on the inside and trim the tail. Continue to stitch up the back, using the beard color thread. When you get to the top, tie it off and discretely clip the tail.

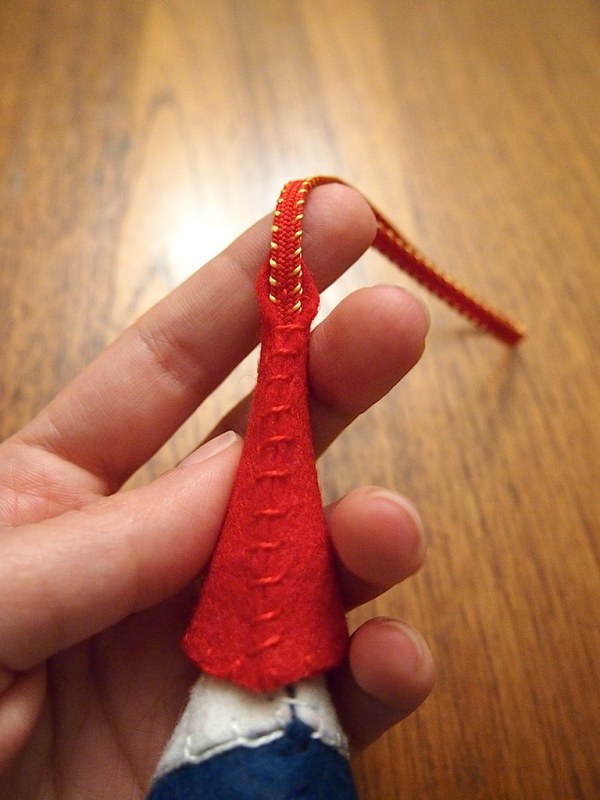
Stitch the Hat:
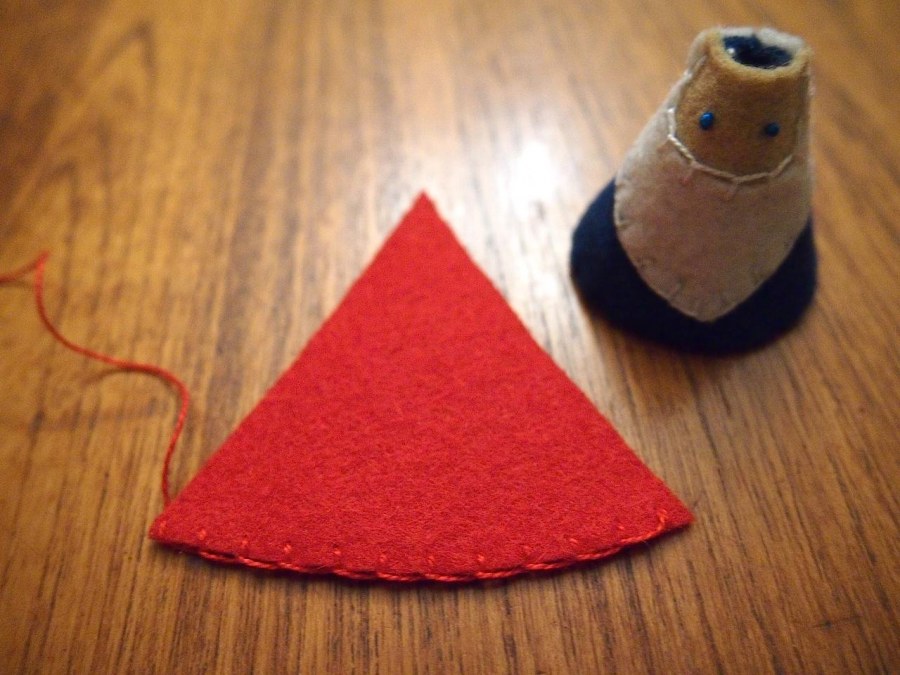

- Finish the bottom edge with buttonhole stitches. Fold the hat in half and stitch up the back the same as the body.
- Leave the top open, but don't tie off the floss or trim it.

Feets!
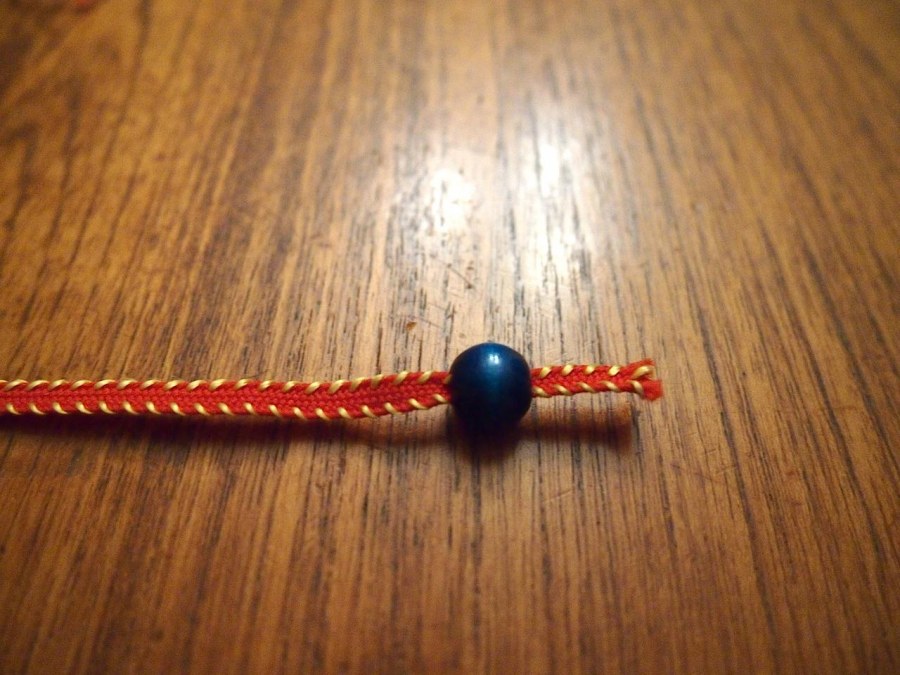
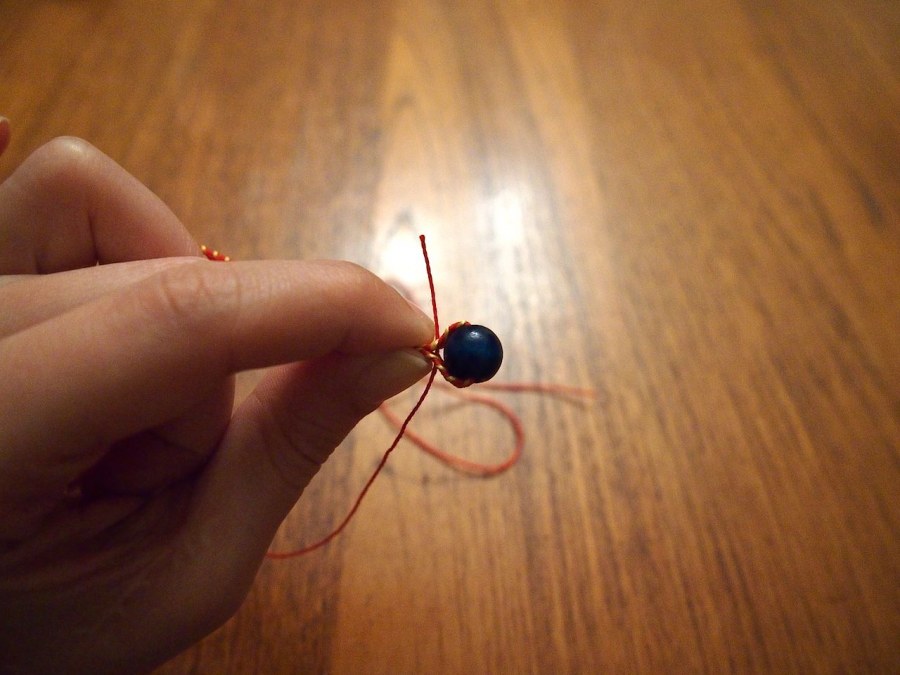


- String a 10mm bead onto one end of the ribbon about 1/2" from the edge. Fold the ribbon up, so the bead is centered, and stitch through both sides.
- Wrap the floss around the ribbons until the raw edge is completely covered. Bring the needle back through the wrapping and trim the end.
- Repeat on the other end.
Work that Body:
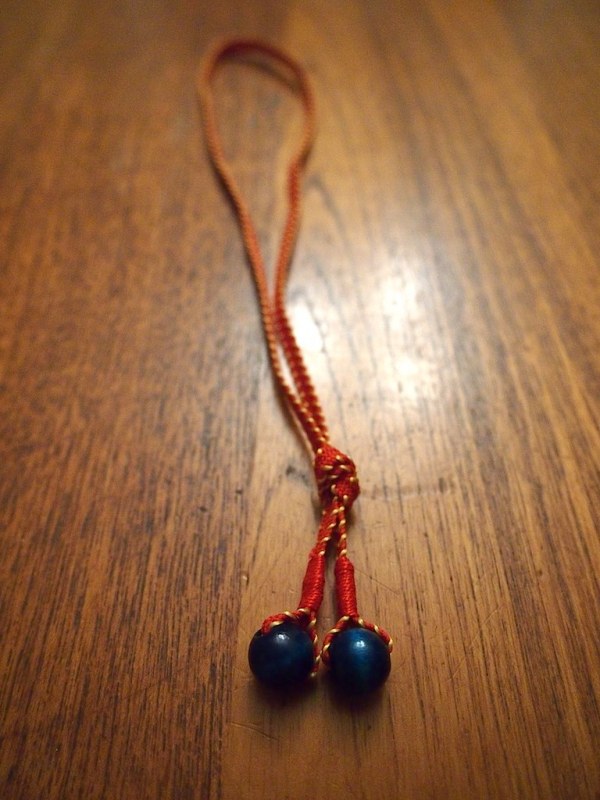
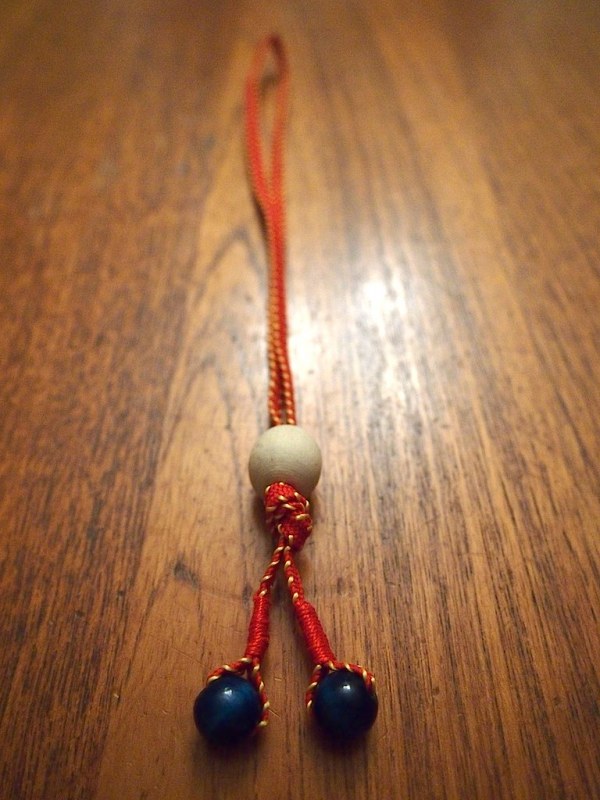
- Keeping the feet together and the middle of the ribbon untwisted, tie an overhand knot about 1/2" above the wrapped legs.
- Slide the 15mm bead onto the ribbon loop, followed by the body and then the 16mm bead.
- Slide the hat over the top bead, with the seam in the back. using the floss that sewed the back seam of the hat, tack stitch it to the ribbons (this stitch should not be visible from the front of the hat). Tie off the thread and bring the tail down through the inside of the hat. Trim any excess thread off.
