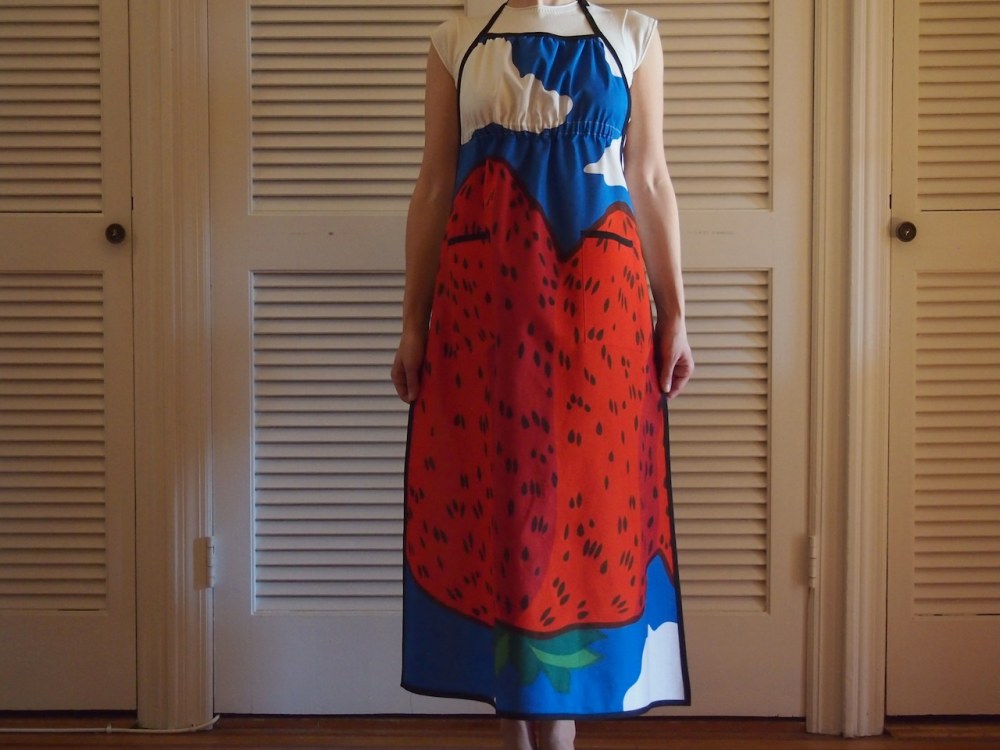
marimekko apron: part 2
January 11 2012, 4:56 pm
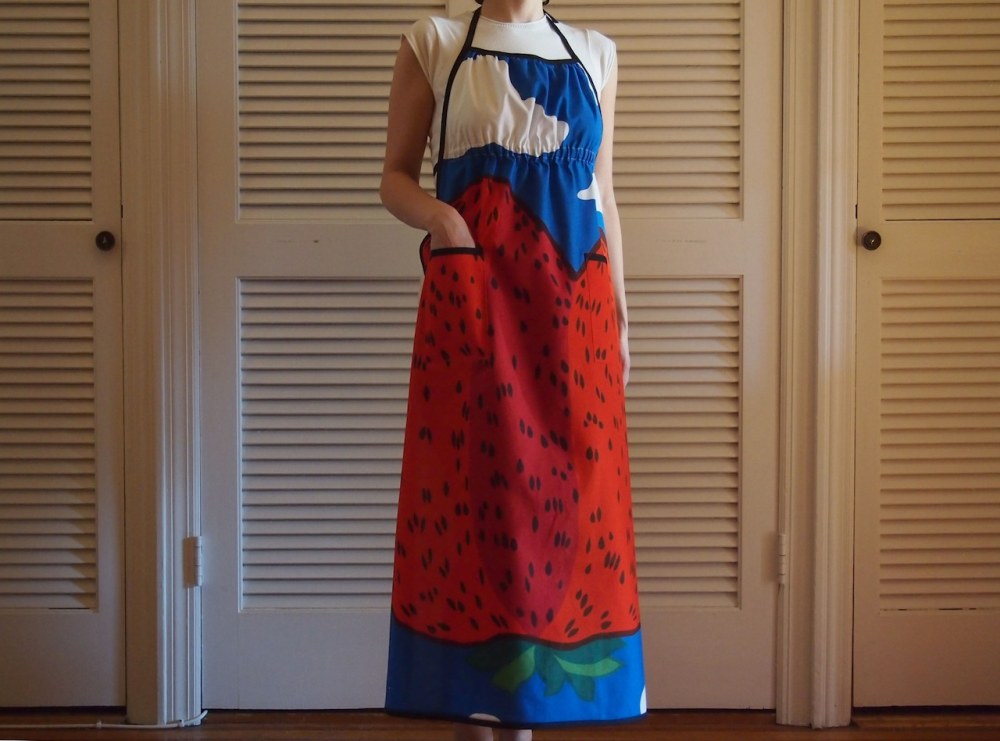
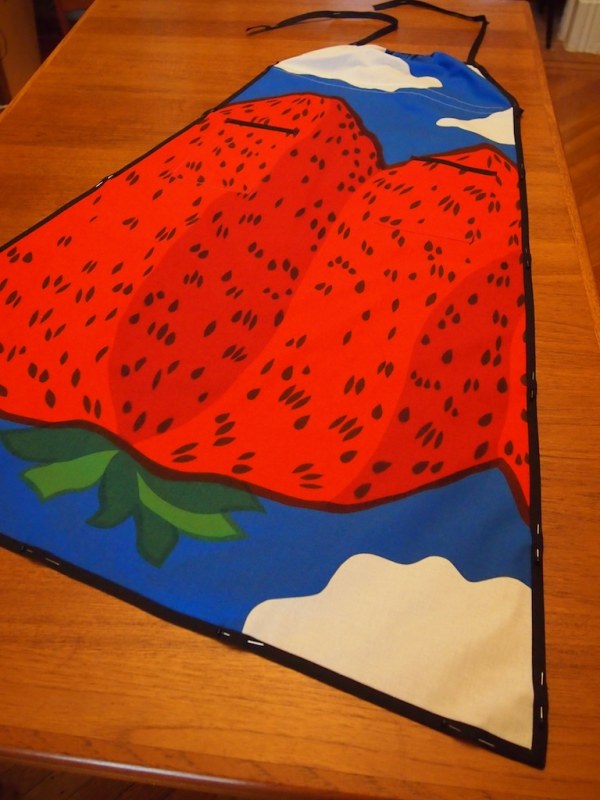
prance around your house, look good while you wash the dishes, answer the door in style! in an apron this cute, your housework will feel like playing dress up.
now that you've cut out your pattern, and attached your pockets and drawstring channel, it's time to finish her off with some binding. takes a little time, but it's pretty painless with some tips:
finishing the top edge:
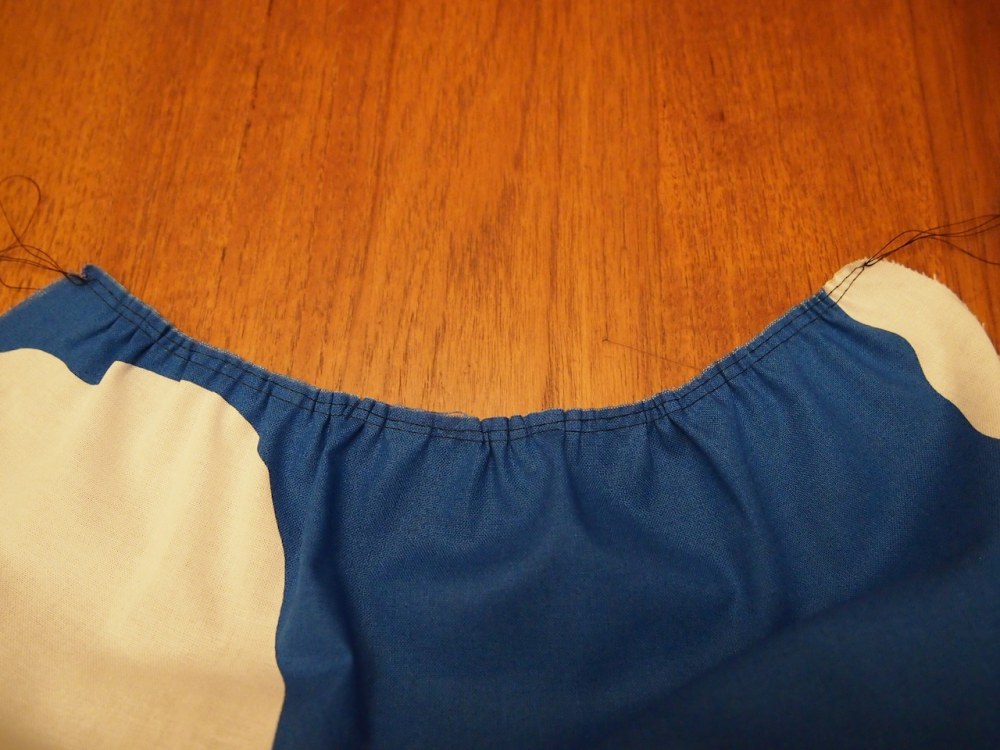
- run 2 lines of basting stitches along the top edge.
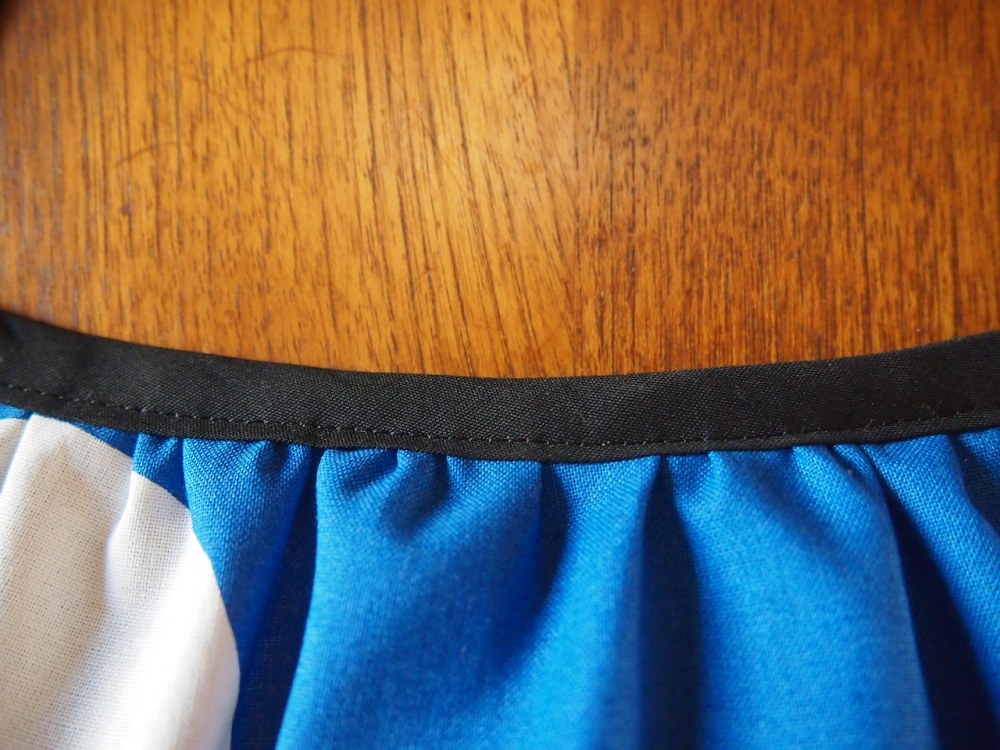
- pull threads to gather the neckline to 9"
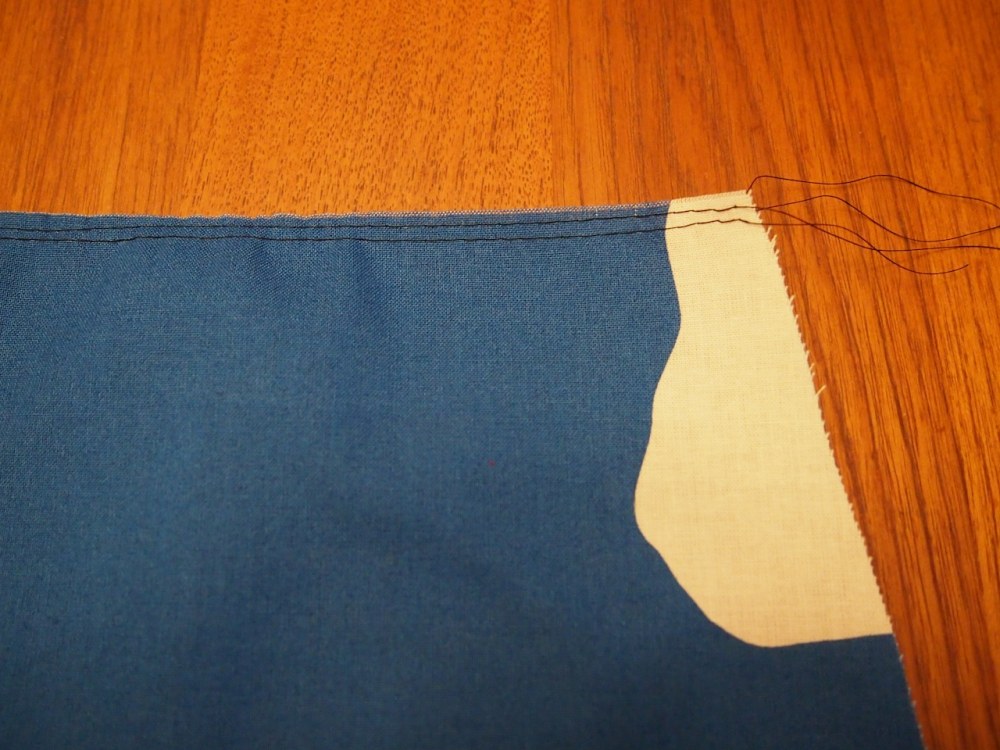
- cut a 9" piece of bias tape, and apply it the same way as the top of pocket
binding:
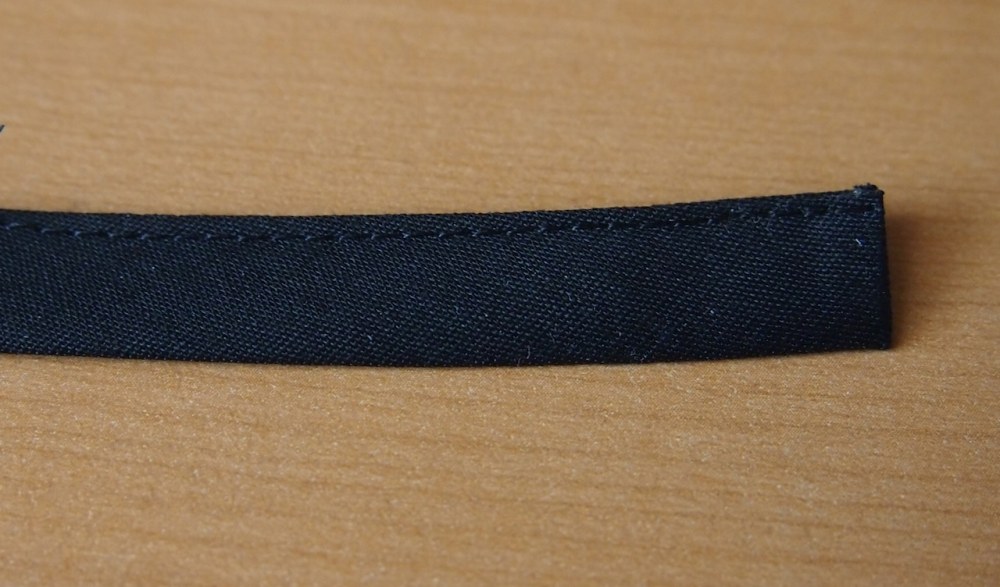
there are a few techniques that help when applying the binding: connecting strips to make a long piece, mitering corners, and finishing the ends neatly.
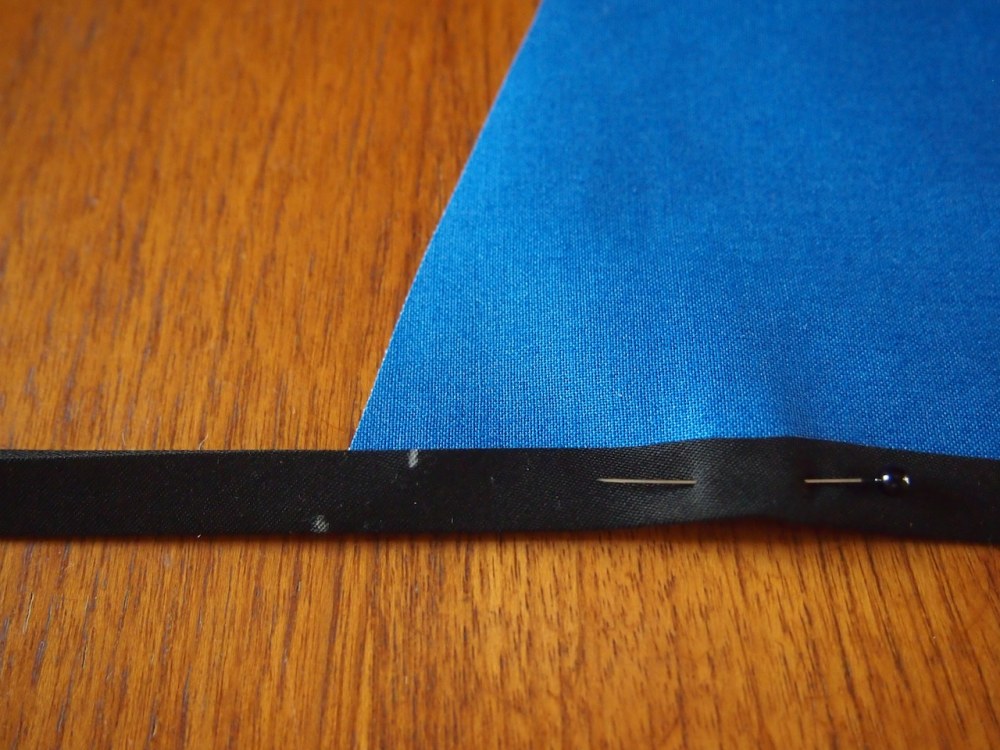
connecting bias tape:
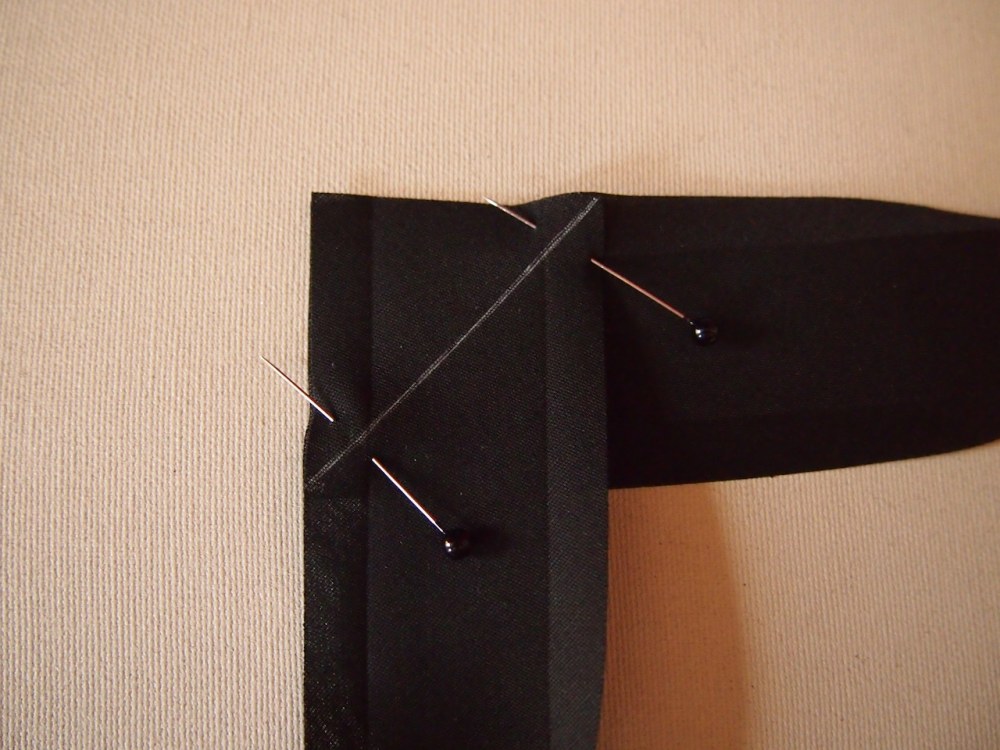
- press open your connecting strips of tape. with the wrong sides together, place on a right angle to each other and pin. drawing a diagonal line helps when lining on the machine.
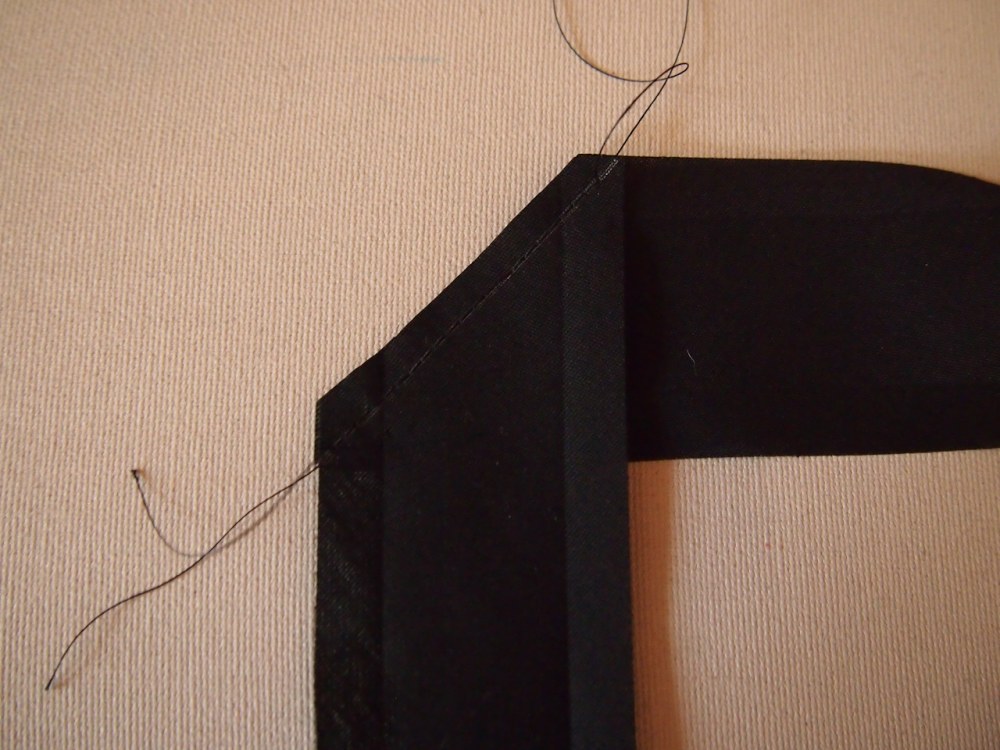
- stitch the line, and trim off the corner
- press open the diagonal seam
- fold the bindings top and bottom seam allowance back towards the center and press
- from the outside, you have a small diagonal seam that is very hard to detect in the final product
- press binding in half, wrong sides together, slightly off center
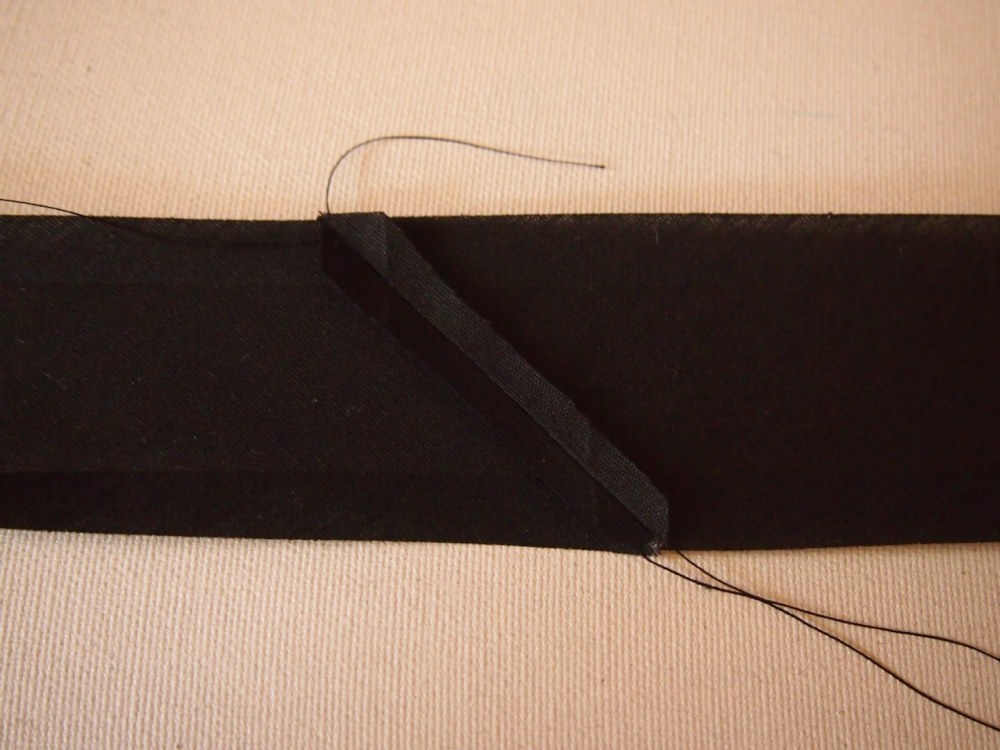
mitered corner:

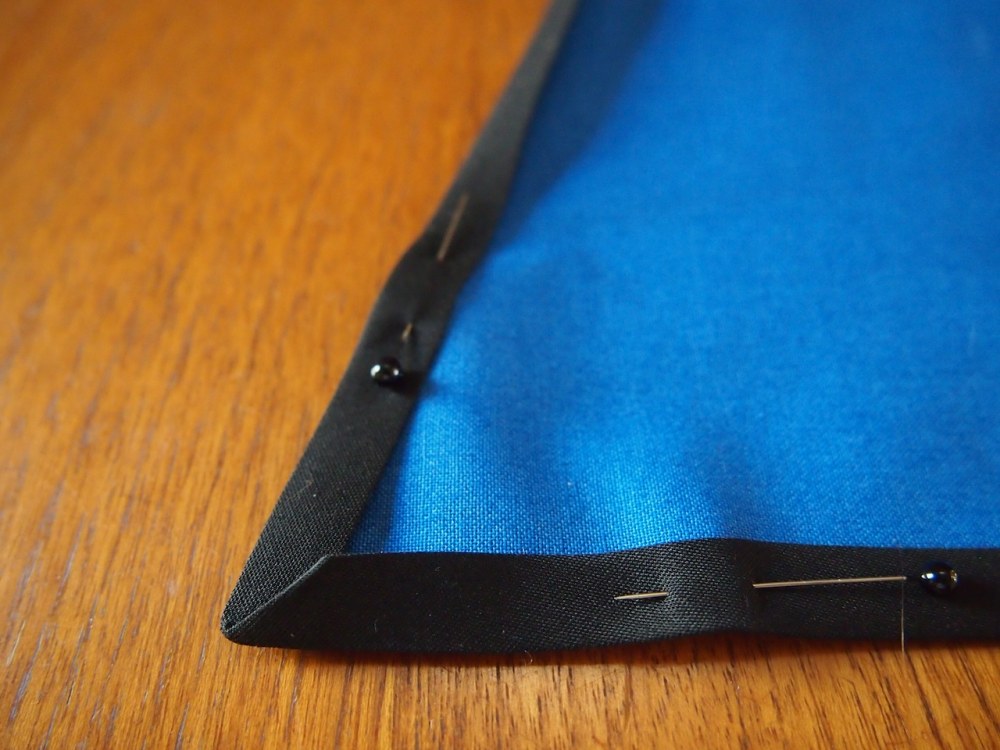
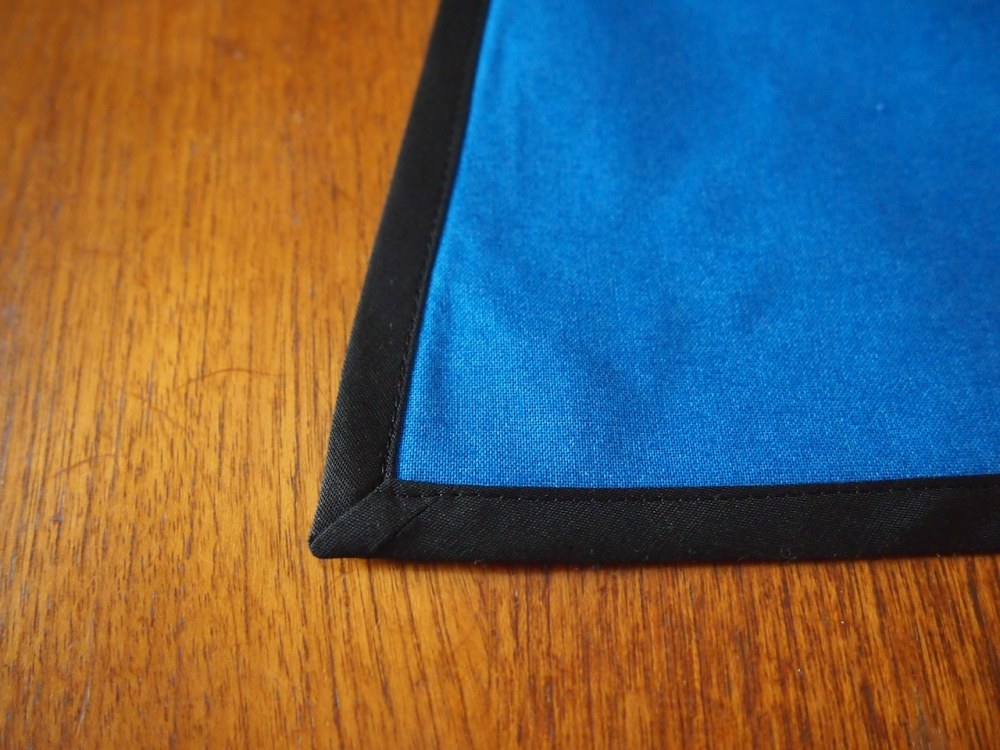
- find the center of your binding and pin it to the center of the bottom edge with wider side of binding on the reverse. continue to pin in both directions to each corner.
- mark the tip of the corner on the binding, also mark the inside corner where your binding will be folded.
- crease line between points on front and back side of binding with your fingers
- fit fabric into corner and continue to pin binding along the sides
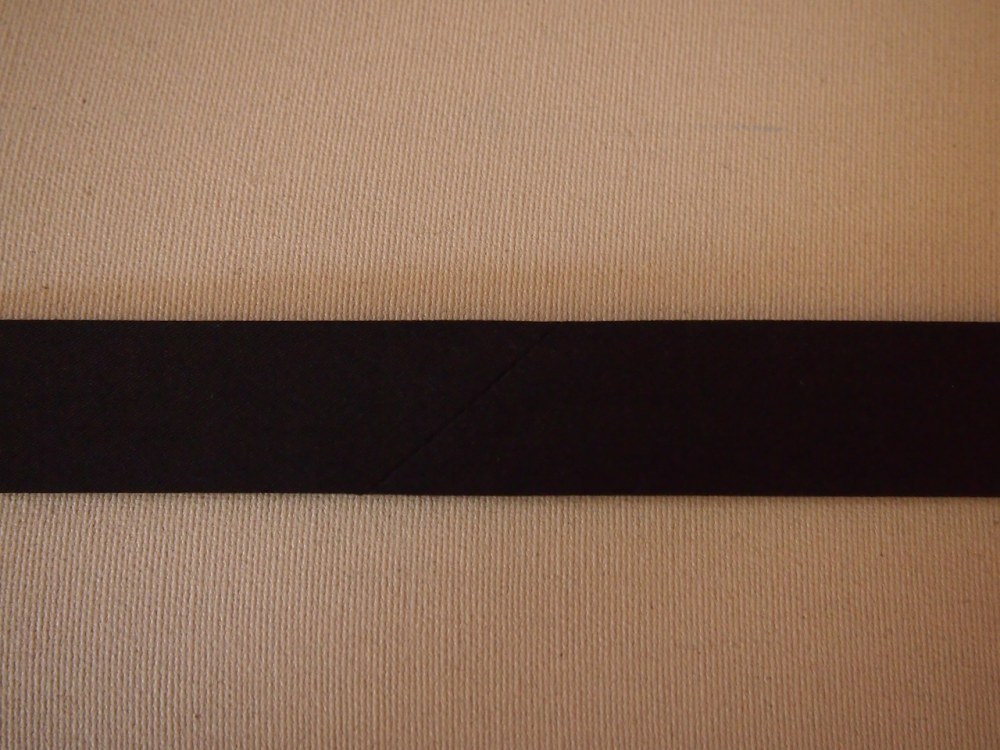
(in the last shot, you can see where my binding pieces are joined- totally unnoticeable when worn)
ends of binding:
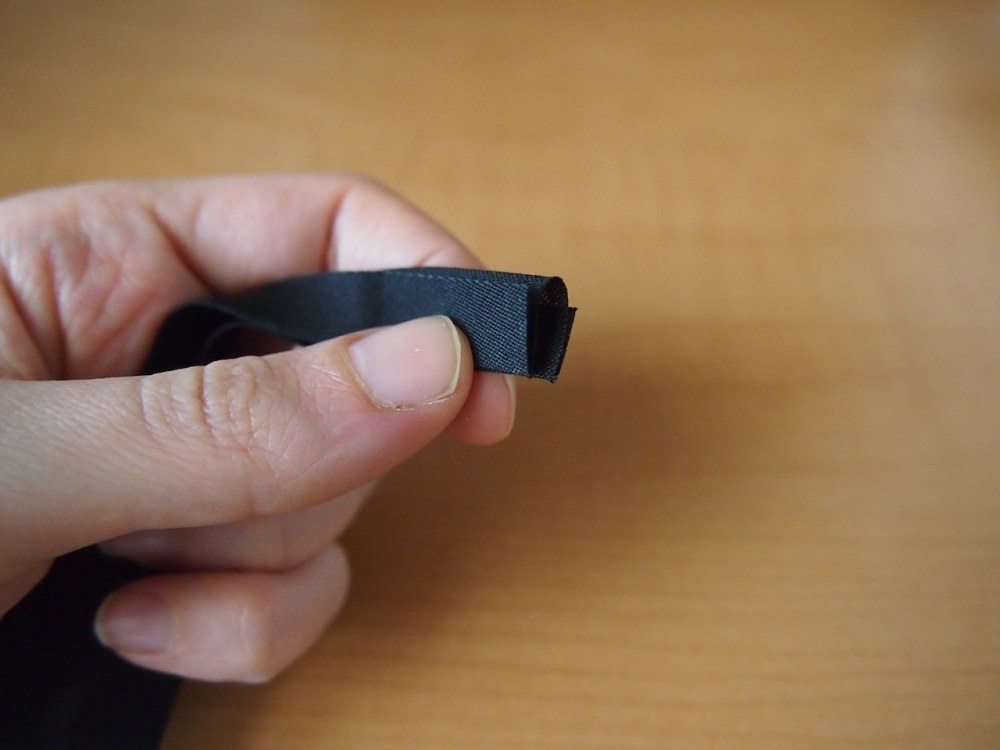
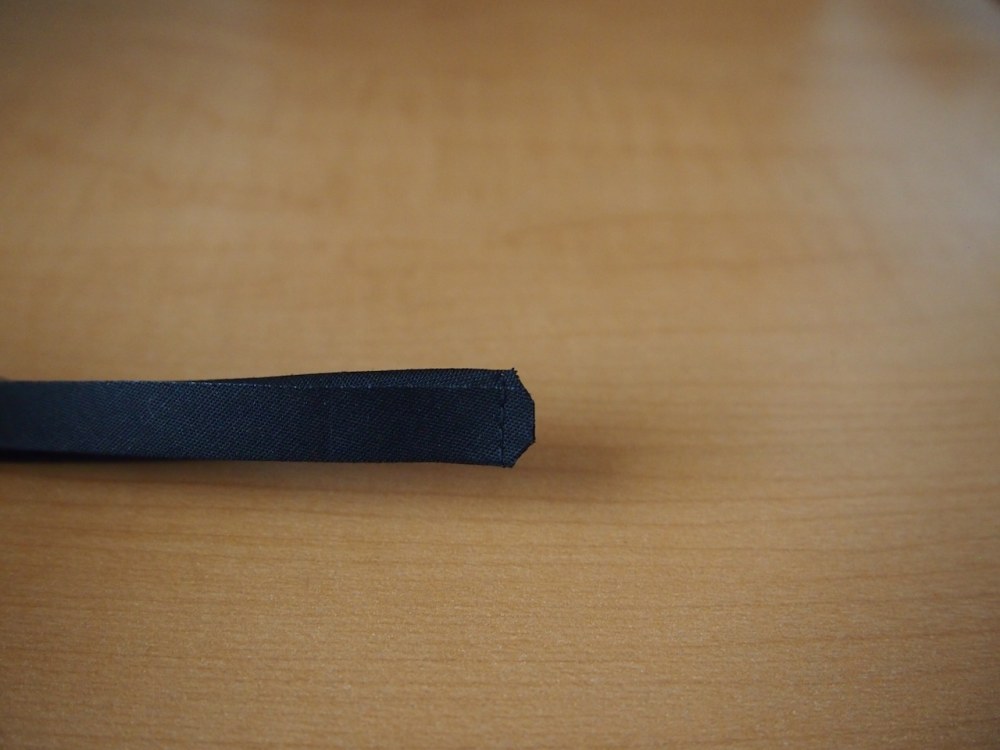
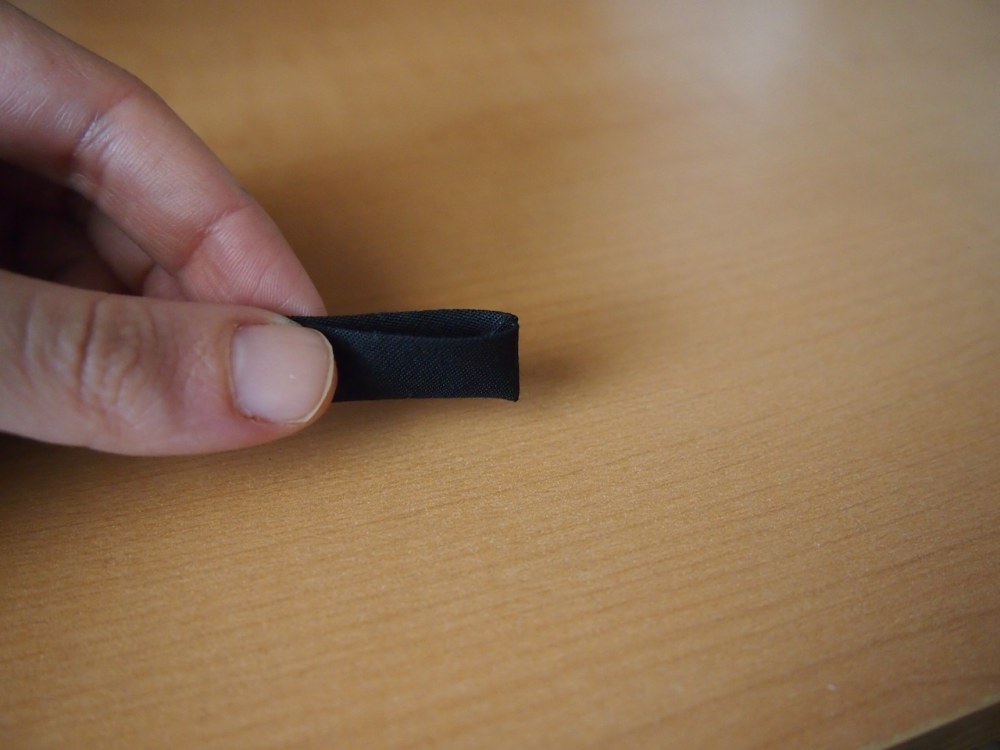
- once you've pinned your binding all the way around the apron, continue past the neck line and leave about 20" for ties.
- to finish the ends of the ties, fold the binding so that the right sides are together
- stitch a line, and trim seam allowance
- turn right side out and press
- top stitch close to the open edge
drawstring:
- cut 2 1/2 yds of bias tape
- finish both ends the same as the ties
- press, wrong sides together, centered along the length
- topstitch along open edge
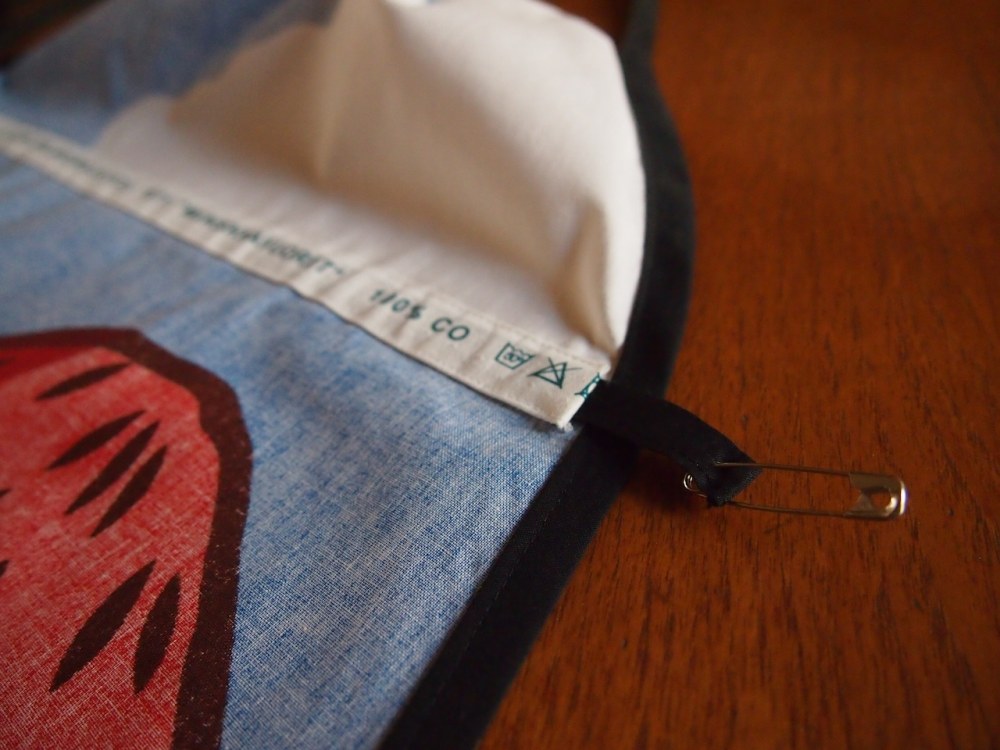
- using a safety pin, work the drawstring through the channel on reverse side
try it on:
- cover your usual mess of an outfit with a cute apron, and no one will be the wiser!
