micro bead resin bangle + tip on reshaping your molds
microbeads and clear resin are bffs.
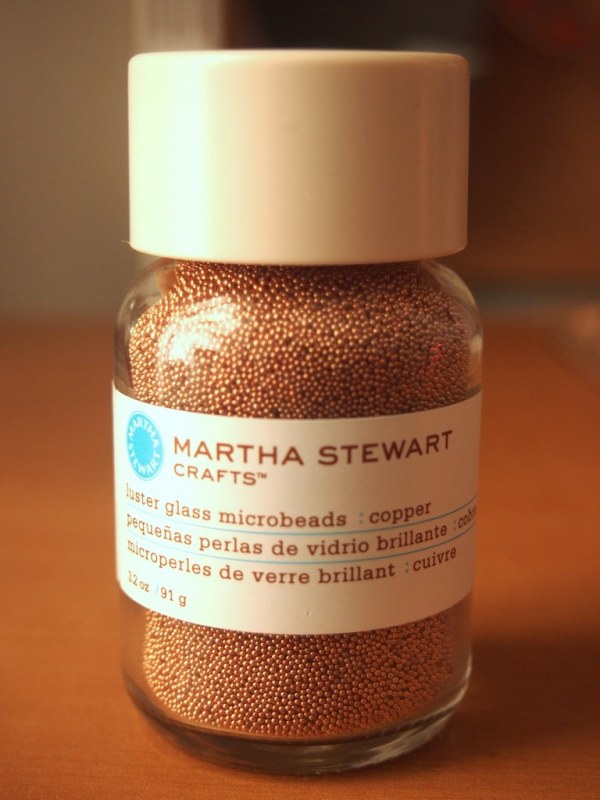
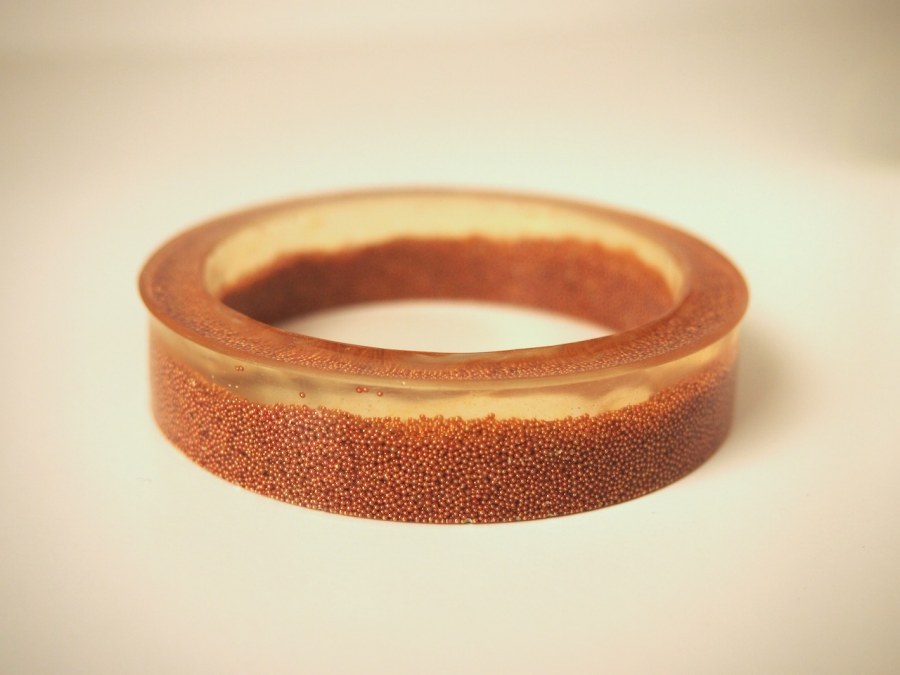
it all started with these copper glass microbeads. i have no idea what these are used for. crafting, i guess? they look totally rad engulfed in resin, that much is true. i mixed these in with Ice Resin
while it was still in the cup, same as the tinsel from a while back. once it was poured into the mold, the beads sank to the bottom, leaving some clear resin at the top. this vexed me, so poured more resin into the mold (let the mess begin), and as they sank, it created this cute little landscape that i adore.
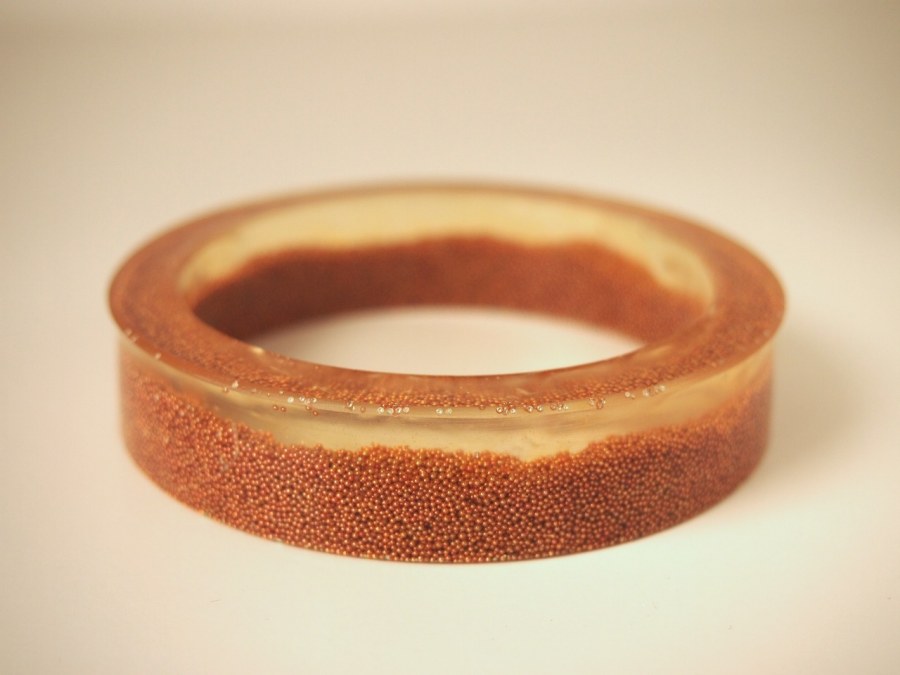
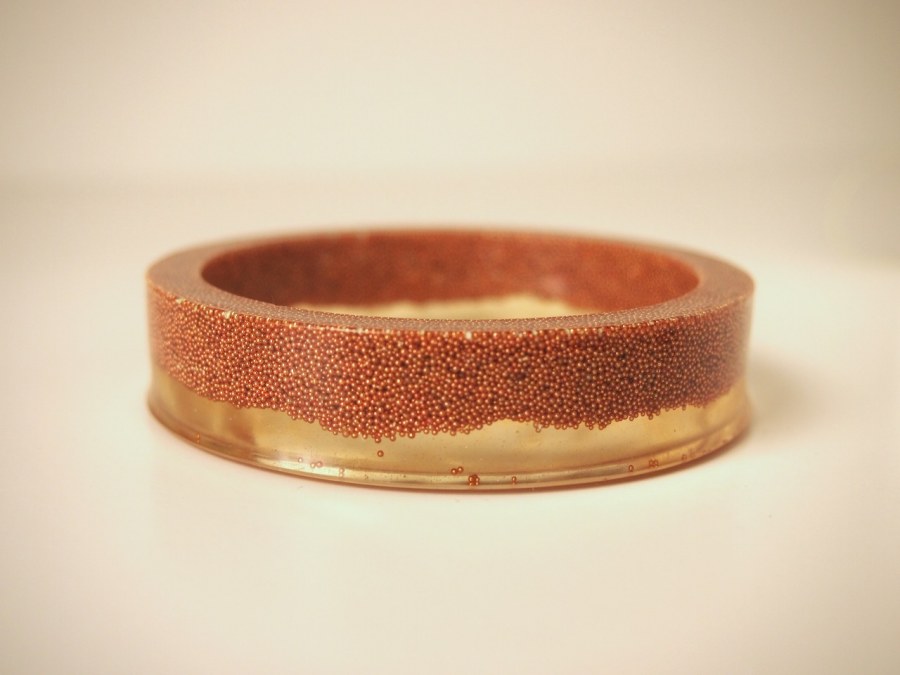

some of the beads stayed on the surface, which created a problem when filing down after it was cured. also, there were a few air bubbles, which caused some pitting around the edges on the side with the beads. still, i'm happy with the way it came out, and plan to purchase more of these for further experiments. next time, i'll add a base of clear resin to the mold first and let it cure before adding the resin mixed with beads.
reshaping resin bangle molds

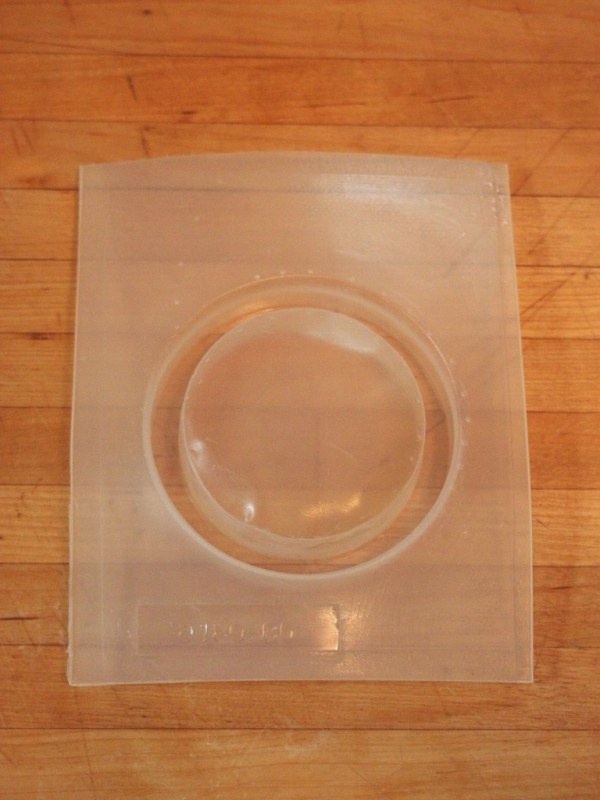
after a lot of tugging and wrestling, my molds have gotten really banged up. it has a definite effect on the bangles that come out of them. 2 molds were in dire condition, and 1 was just a little wavy. after fruitless searching online, i tried my own method to get them back in shape.
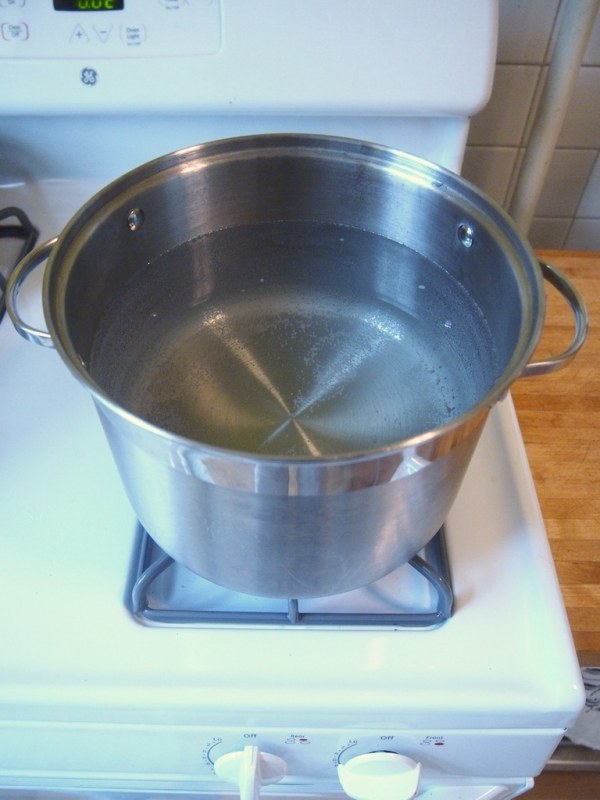

- bring a large pot of water to a boil. turn off heat.
- using tongs, submerge mold in hot water for about a minute.
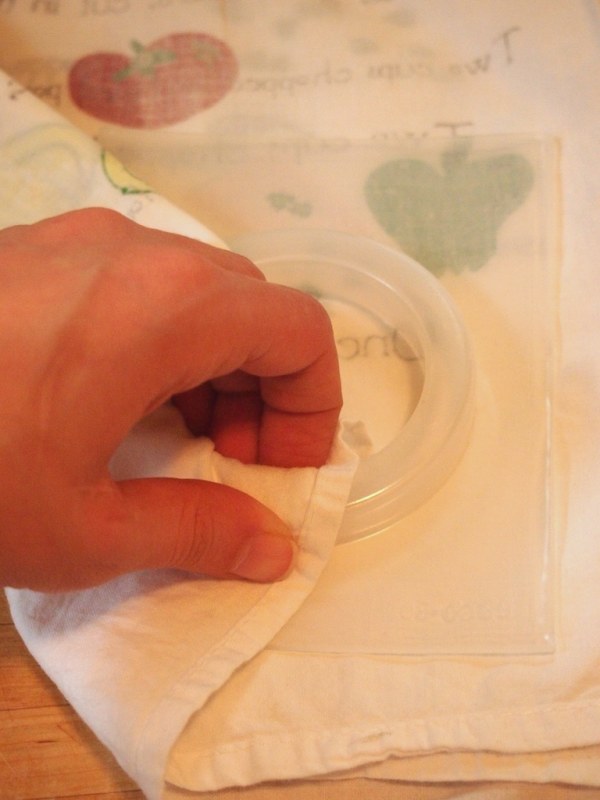
- place hot mold on tea towel and smooth around the edge with your fingers- be careful! this sucker will burn!
- let cool completely.


so did it work? the mold that was slightly wavy looks brand new. the 2 that were on the verge of trash were significantly improved. not new, but much better. i wish i had thought to do this before using them over and over. if done after each use, i think it will help get a lot more mileage out of them.
