mini pompom bangles
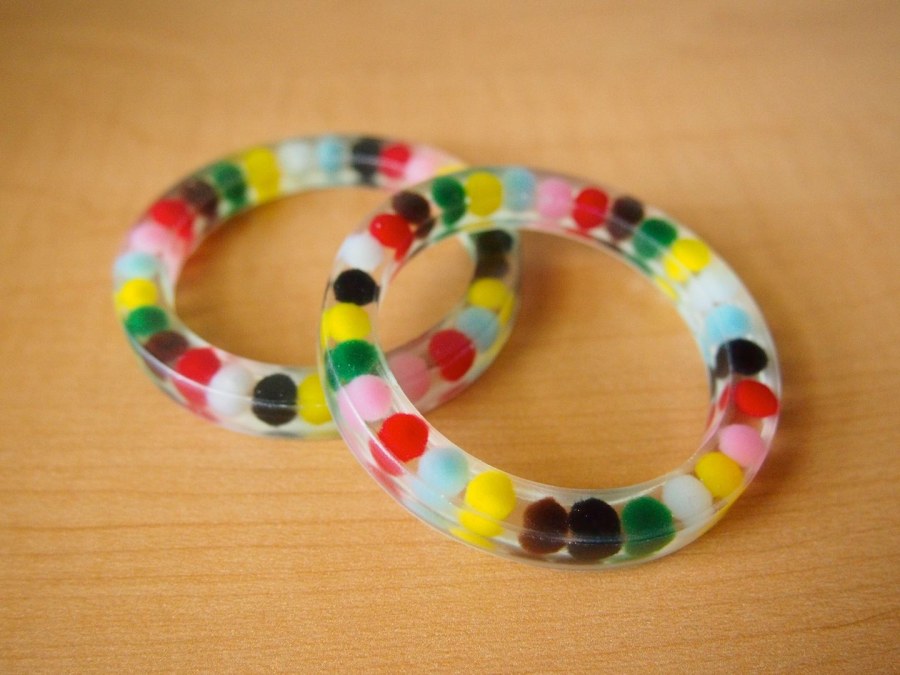
mini pompoms go for broke in a resin challenge.
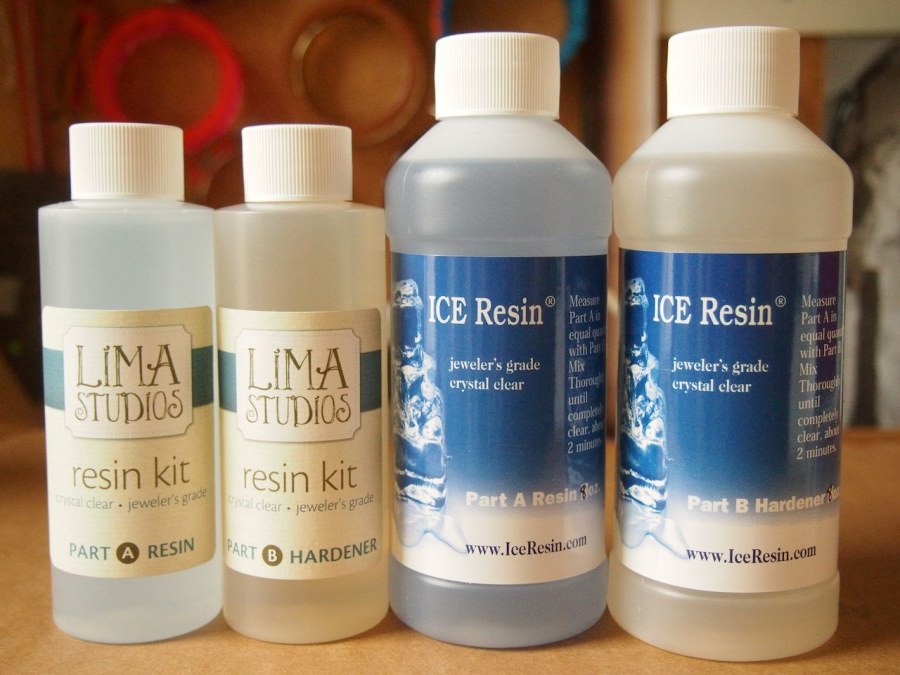
while replenishing my supply of resin , i stumbled upon a brand at lima beads. let's make it compete in a pepsi challenge with Ice Resin. and just in time to revise the pompom bangle.
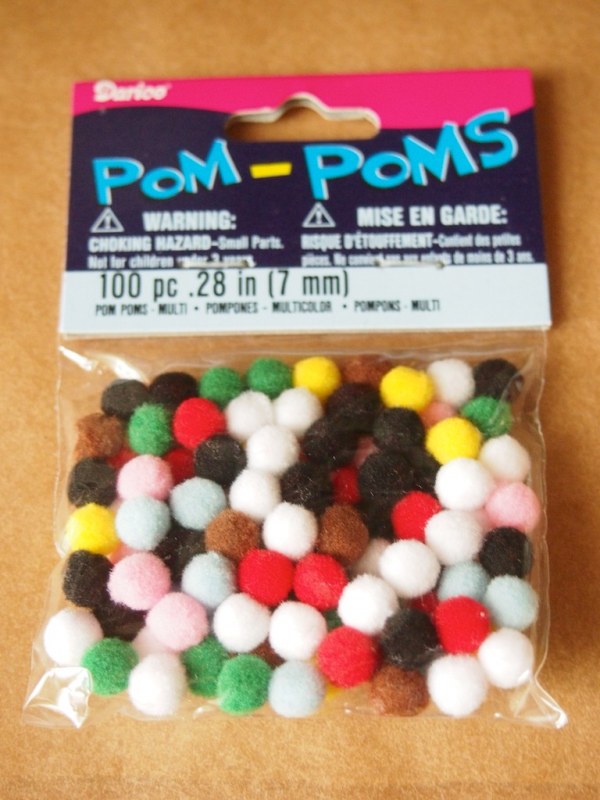
my big gripes about the previous pompom bangle are: it's size (enormous), the clarity of the resin (very cloudy), and the line that was created where the second pour hit the first. could these problems be resolved? after grabbing some tinier pompoms, i knew at least the size could be improved. this time around, i didn't spray the pompoms with acrylic, just dropped them in, and in the end, no harm done. streamlining processes is always a plus.
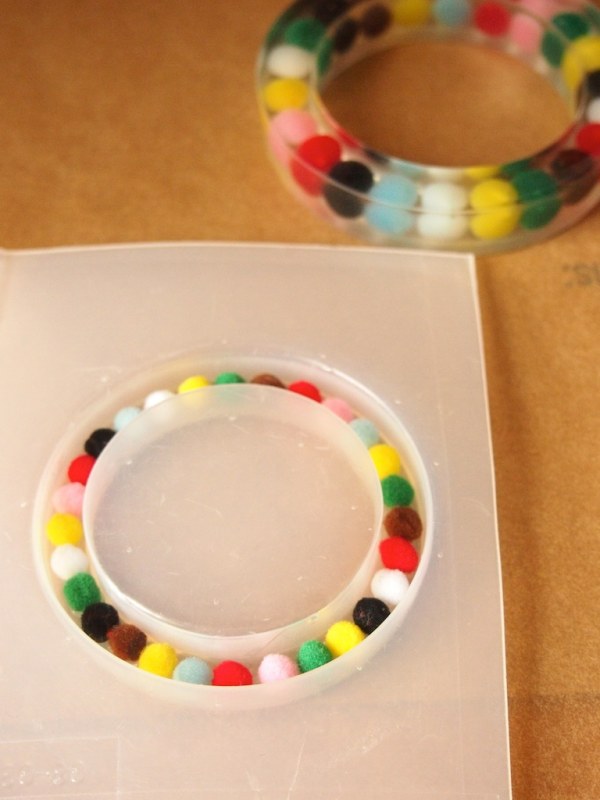
- spray bangle molds with release. mix the smallest batch of resin allowable, and pour just enough into the molds to cover the bottom. let cure at least 2hrs (i dropped the pompoms in after an hour, and it wasn't ready- they sunk to the bottom)
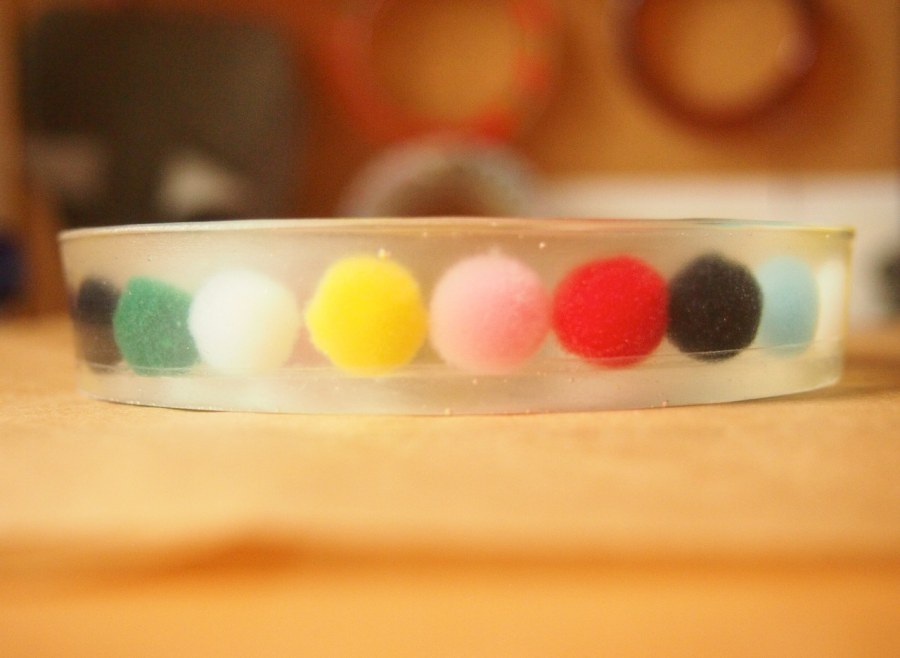
- add pompoms, evenly spacing as best you can around the mold.
- pour another batch of resin over the pompoms, so that it just reaches their tops. babysit the resin, popping air bubbles with a toothpick. let sit for a moment and then continue to seek and destroy as many bubbles as possible. let cure completely.
- depending on how much resin the pompoms absorb, you may need to add another very thin coat of resin on top to even out the surface. when they are fully cured, pull them out of the molds.
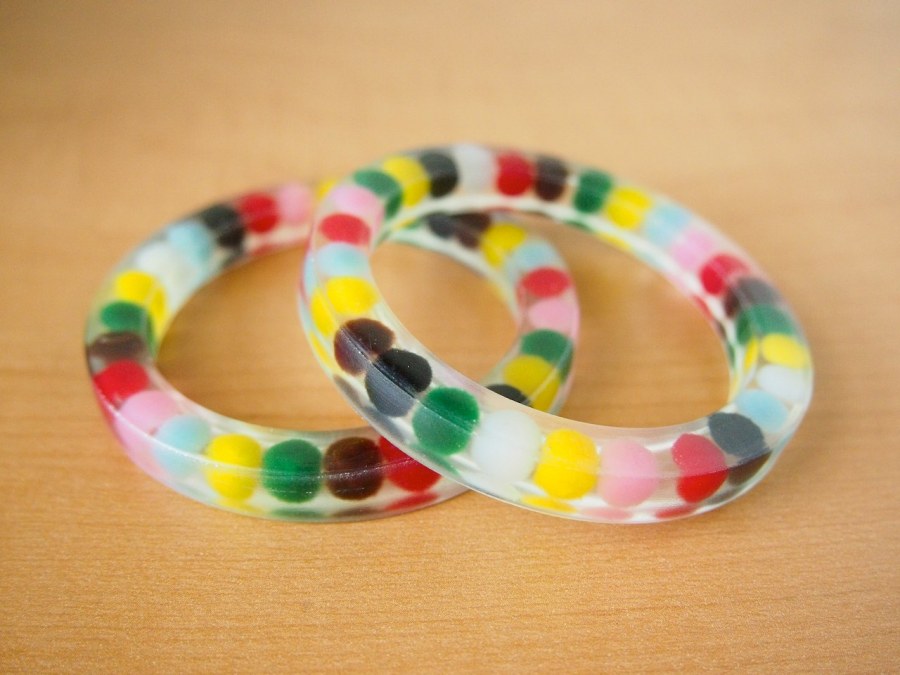
- file and sand down any sharp edges.
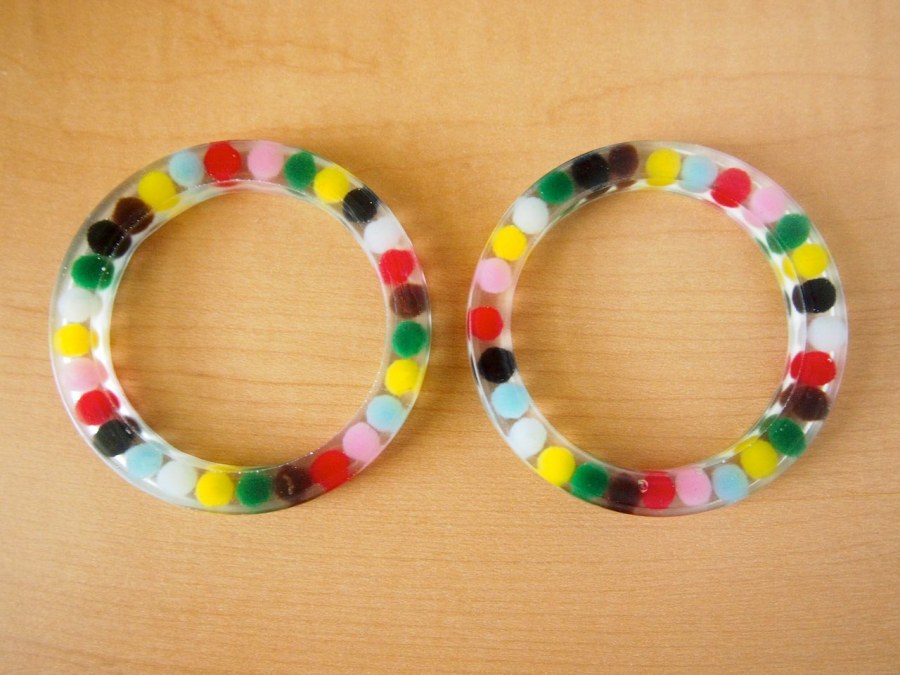
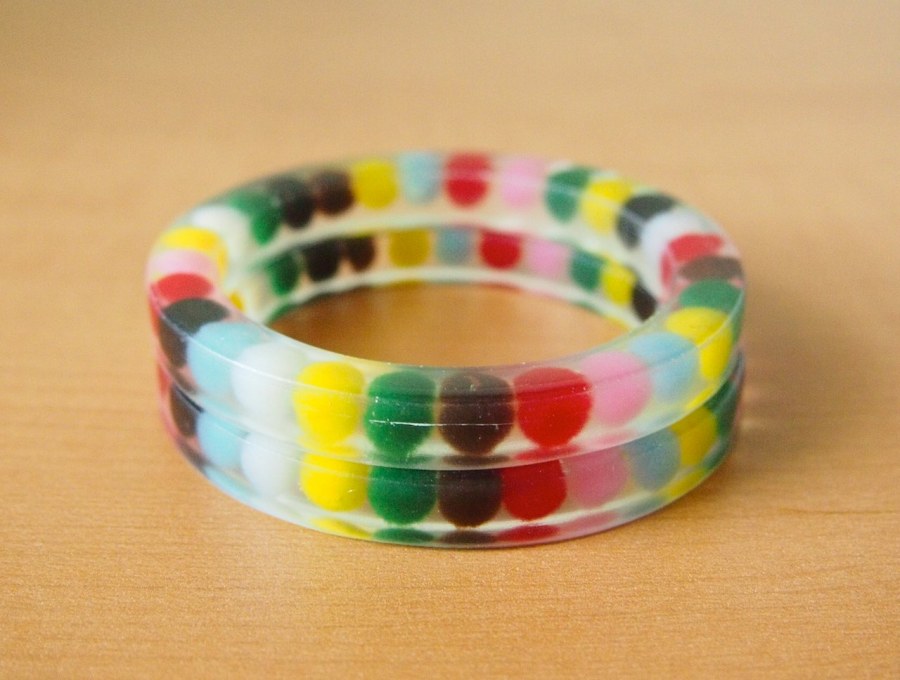
conclusion? more testing needed. one of them definitely looks better than the other- a line where the second pour meets the first is visible. but it could be the mold, not the resin. in the next epic battle, each resin will be used in the opposite mold. it's time for some solid colored pompoms. more spaced out maybe...
