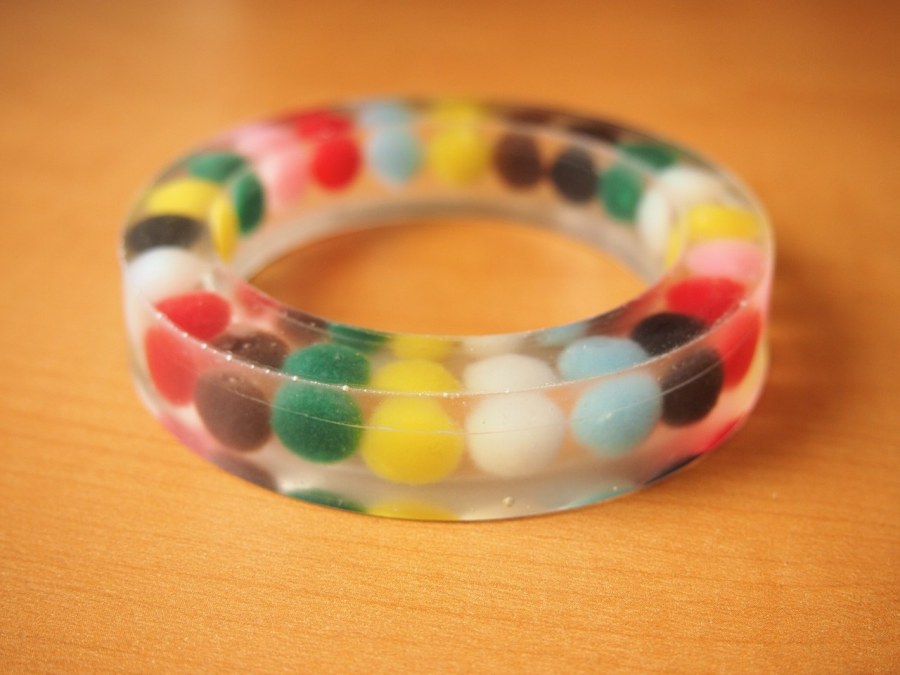
pompom resin bangle

hold onto your pompoms.
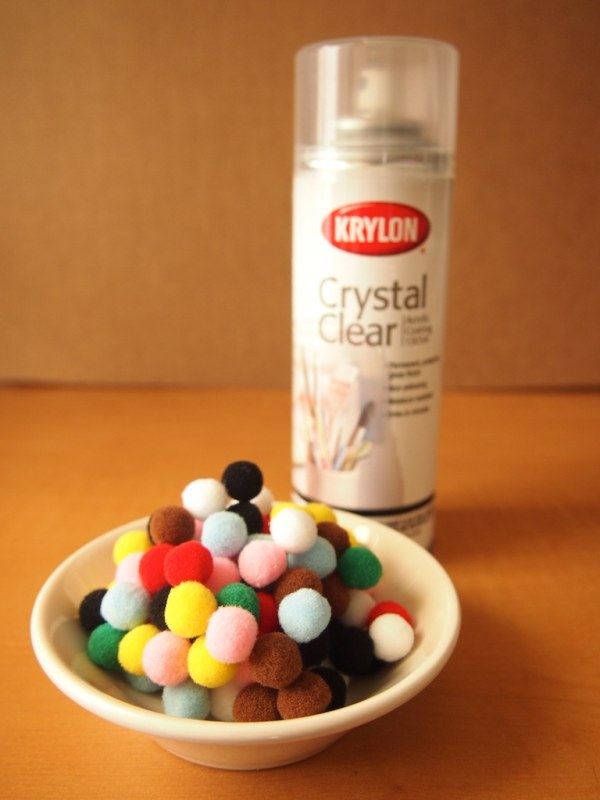
my last attempt at mixing resin and pom poms was not successful (to say the least). one of the problems was that they absorbed the resin and became a hard hideous mess. i read that if you spray textiles and paper with clear acrylic, it will resist absorbing resin, so when a bag of pompoms presented itself, some testing was in order.
spraying the pompoms:
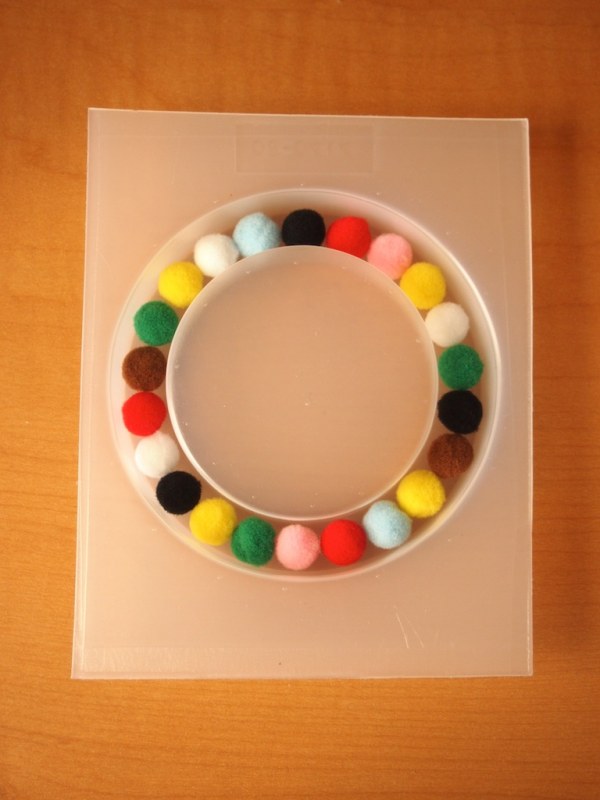
- fill up the mold while it's dry to see how many pompoms are needed.
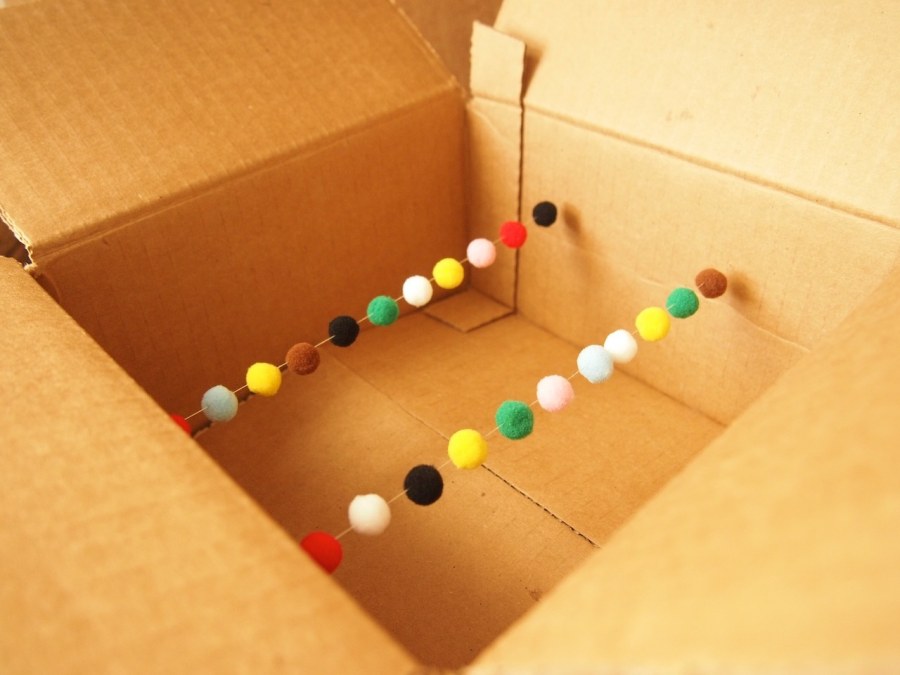
- with a needle and thread, sew through one side of a small box. secure the thread on the outside of the box with tape.
- thread as many pompoms as you can fit, leaving at least 1/2" between them.
- sew through the other side of the box, and secure that end with tape keeping the tension of the line tight.
- put this smaller box inside a larger box outdoors, if possible, or in a well ventilated area.
- spray pompoms with acrylic trying to hit all sides. this took a lot of maneuvering of the small box. sometimes it was on its side, sometimes on the bottom. i sprayed a total of 6 times, letting it dry in between and then hitting them again from a new angle. the important thing to remember, is that you want a thin, even coating of acrylic. it's tempting to blast them, but that leaves a whitish mist on the fibers.
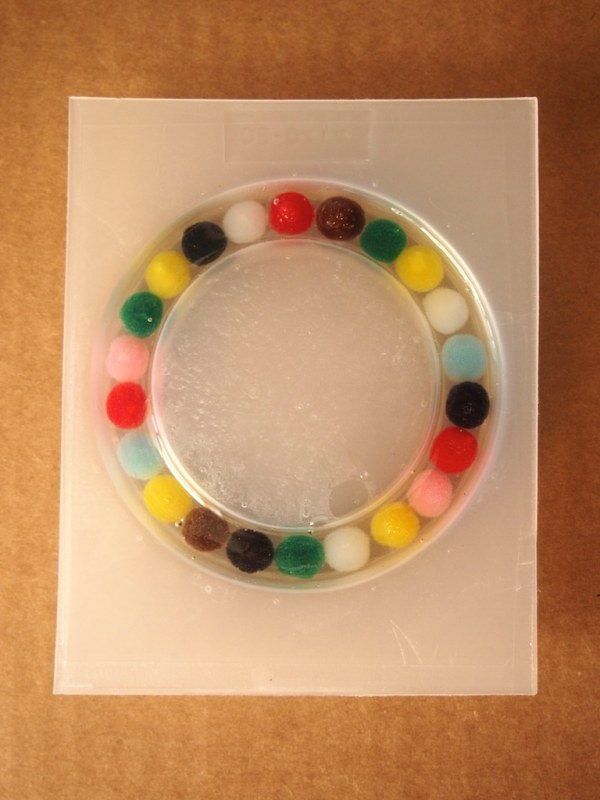
- spray mold with release.
- mix up a small amount of resin
- pour into the bottom of the mold and let harden for about an hour.
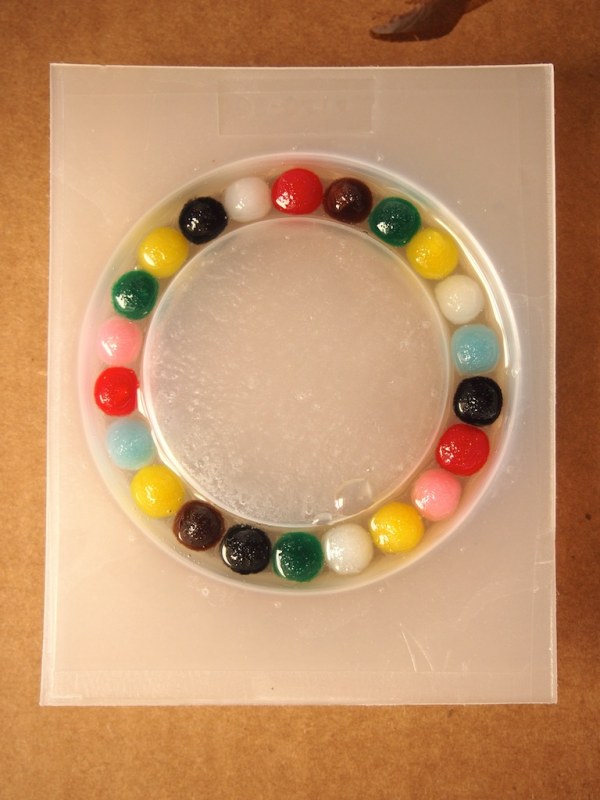
- add pompoms.
- fill with a new batch of resin to the top of the balls and let dry for another hour.
- mix up a final small amount of resin and top off the mold. let cure for 3 days.
- wrestle bangle out of mold (it was really difficult to remove). file off any excess and sharp corners.
verdict: it worked! i'm not entirely happy with the final bangle, because despite baby sitting it the whole time it cured, i still ended up with air bubbles. there's also a visible line from the first pour to the second, but i'm not sure if that's from the acrylic, or the mold (it's a new mold, and this was the first use). despite the issues, this is so stinking cute that i'm willing to make a few more until it's perfect.
