resin spacers: the new batch
November 15 2012, 10:18 pm
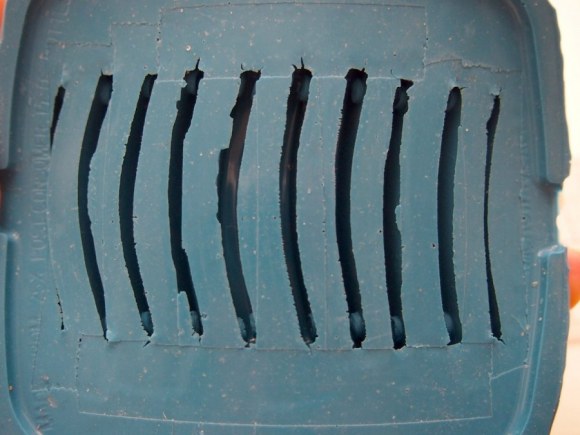
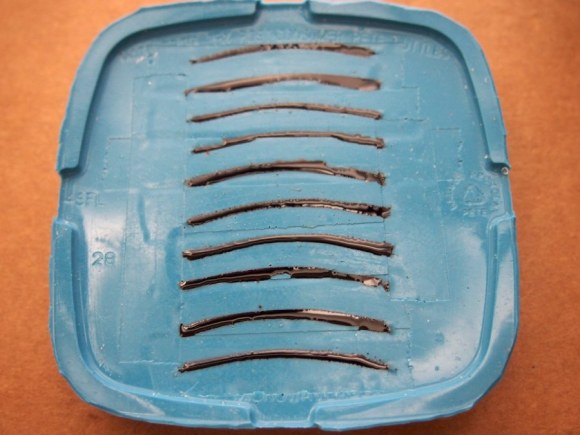
it's been a while since this silicone mold was used, and there were concerns on second look:
quite a few tears. would it still work? there was only one way to find out.
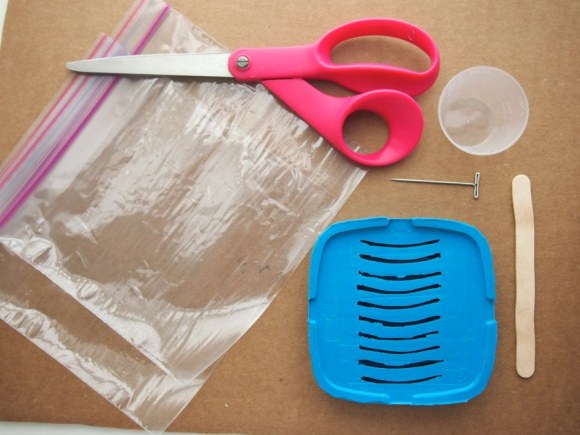
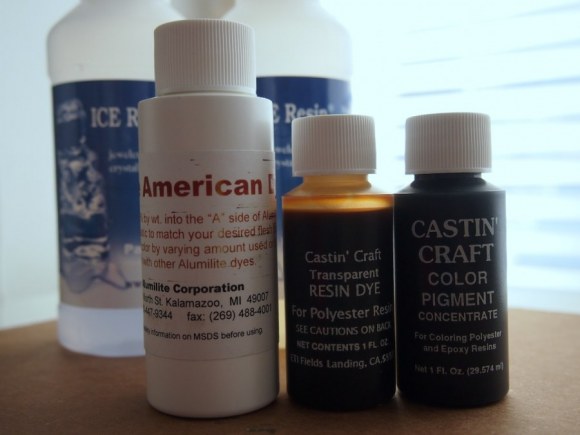
the mold, plastic bags, scissors, mixing cup and popsicle stick, and T pin. practicing a tortoise effect has been on the brain lately, so the most recent pigment colors were on hand:
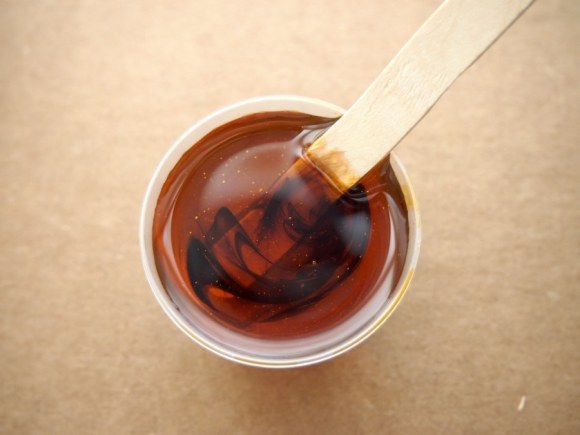
- add 6 drops amber pigment to 1oz mixed resin.
- add 1 drop native american pigment to cup, but don't mix it in
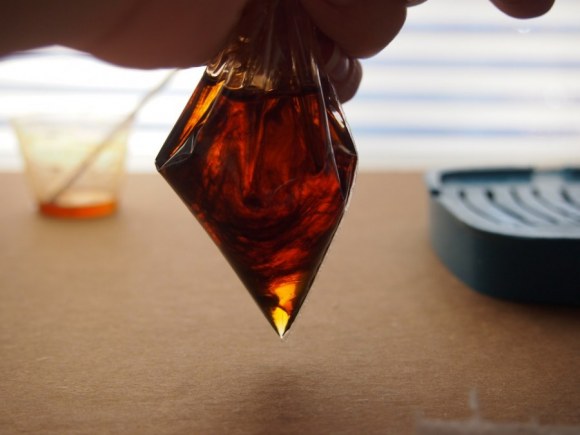
- pour resin into a corner of a plastic baggie, and twist it like a piping bag.
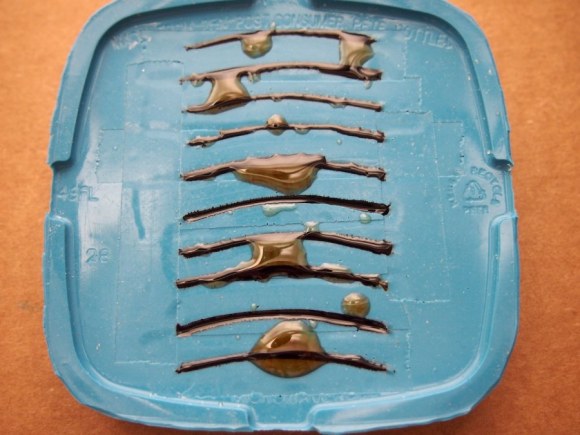
- cut the tip off the baggie and fill cavities with resin, flexing the mold to open each cavity (hot mess). leave a small amount of space below the fill line.
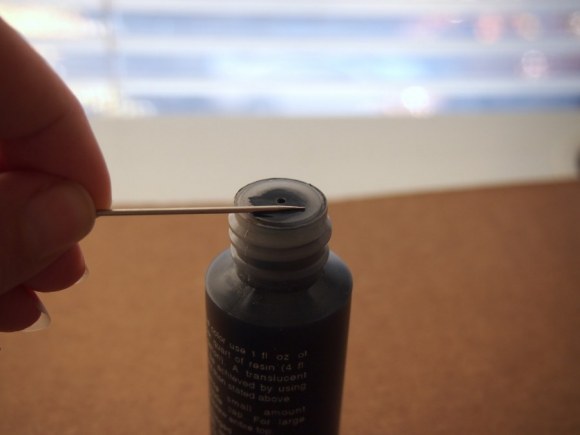
- squeeze the black pigment, but leave the drop on the top of the container. scrape a small amount of pigment on the T pin, and plunge it (carefully, to not puncture the mold) into a cavity. swirl it around (very difficult to see what's going on in there, even with a strong light on the mold).
- wipe off the T pin, and then use it to scrape the excess resin from the surface of the mold.
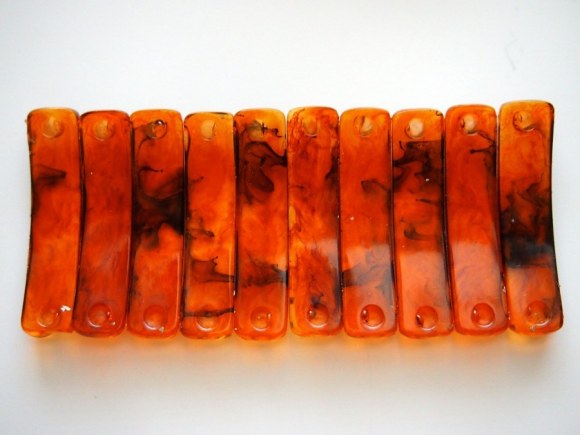
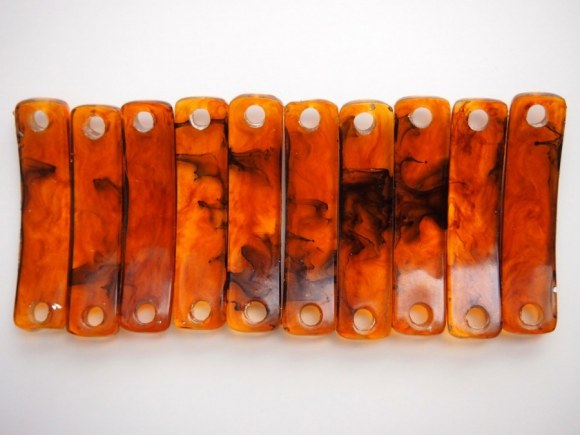
- let cure. pop pieces out of the mold. if they have a dip in the top side, fill with a drop of resin (see here for complete instructions). use a power drill to drill out the holes.
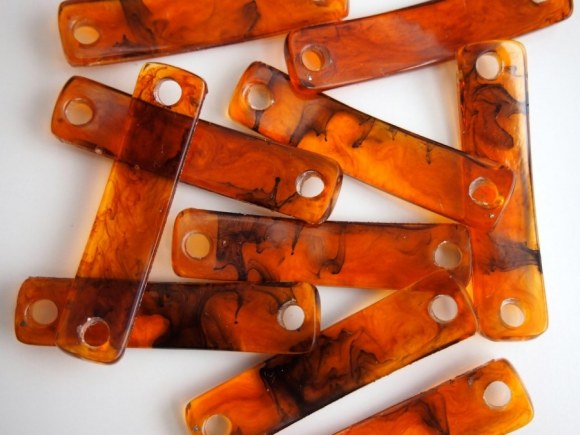
well, these guys came out looking pretty good, despite the fact that the black pigment swirling is blind. no worries about uniformity. for the next go around, i'm going to try the transparent brown pigment and see how different the color is.

