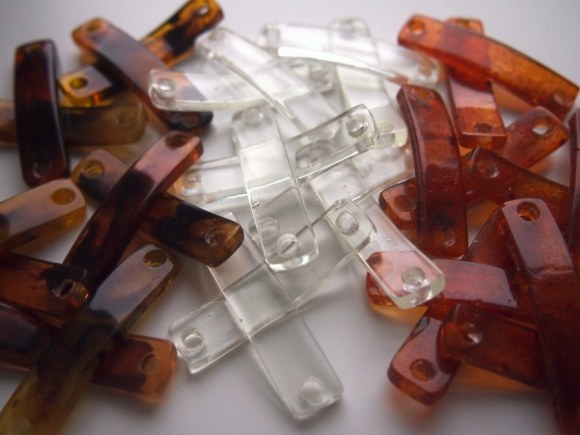
resin spacers
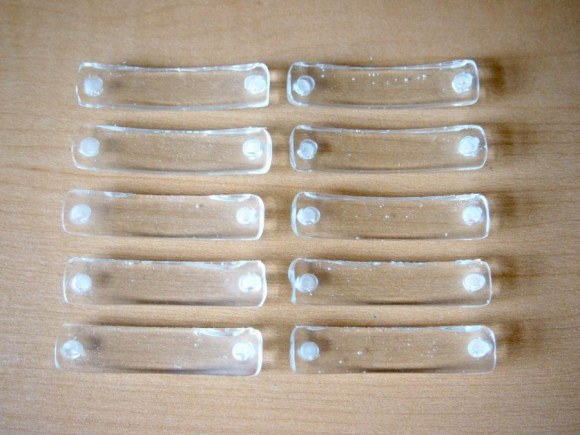
after pouring the first batch of spacers, i was dying with anticipation for them to cure. when they did come out, they looked pretty good with one exception- the top edge of the spacers had sunken in (the same as it does with bangles). that required some additional touching up:
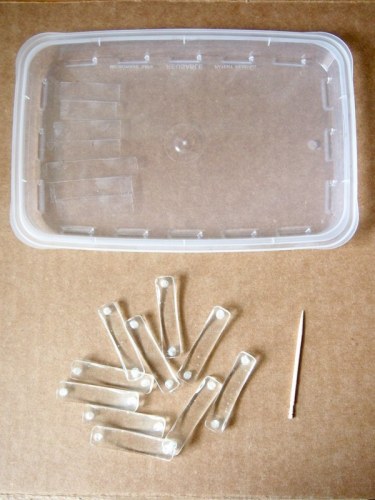
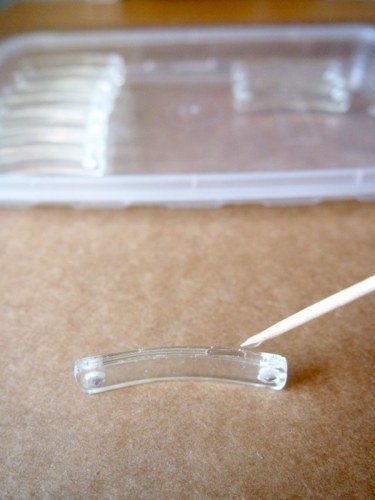
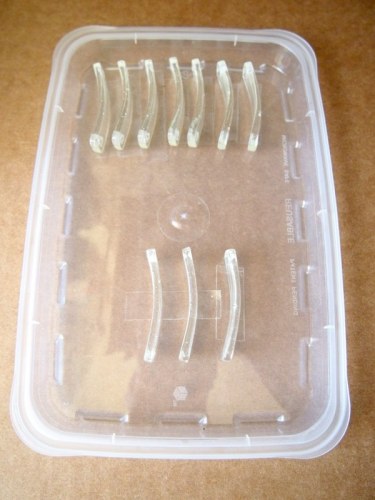
i started by putting double stick tape on a tupperware lid. this was to help hold the spacers upright when filled with liquid resin. then mixed up a batch of resin, and very carefully filled in the concave edge of each spacer with a toothpick. it went very fast, and there weren't any major catastrophes. then all the spacers were set on the tape and left to cure
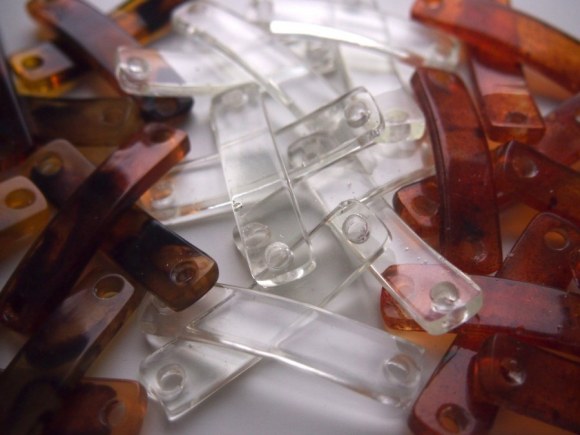
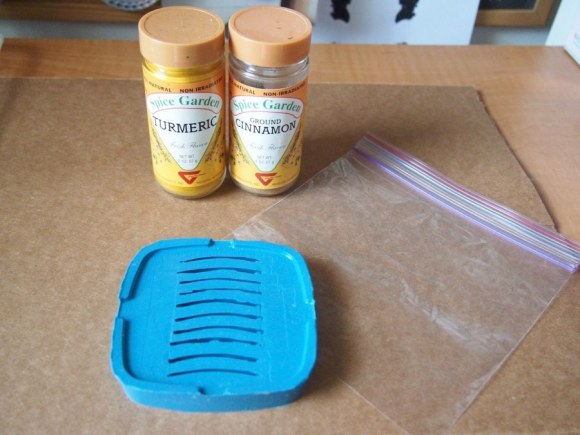
when mixing resin, there is a minimum amount to achieve a proper batch. it was so much more than what i needed to touch up the clear spacers, that i decided to pour another batch right away. this time, i wanted to try my hand at replicating the tortoise effect of the originals. naturally, i went with spices.
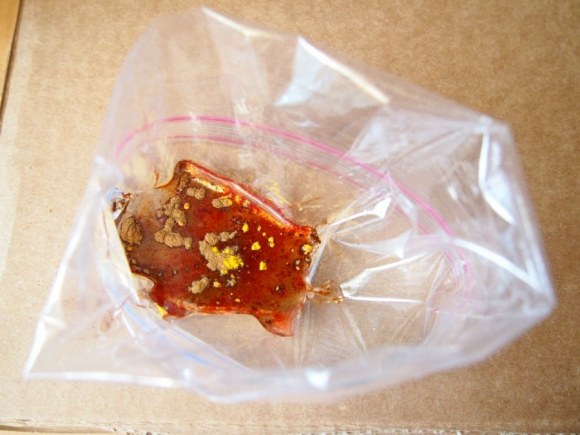
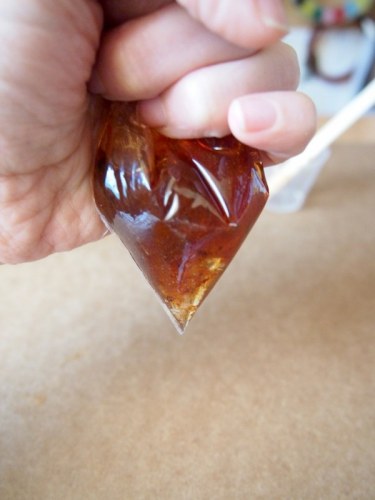
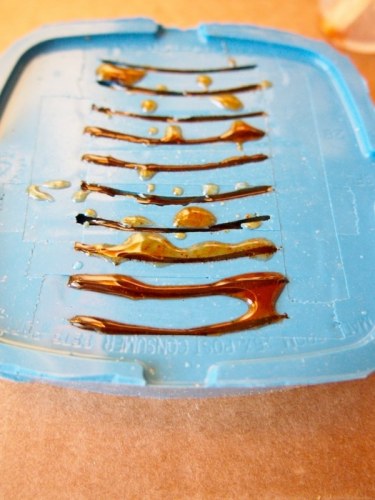
tumeric and cinnamon have produced some wonderful colors for me in the past. to help pour it into the mold, i put the resin in a sandwich baggie. then added some shakes of the spices, and without mixing it, twisted the baggie to create a pastry bag.
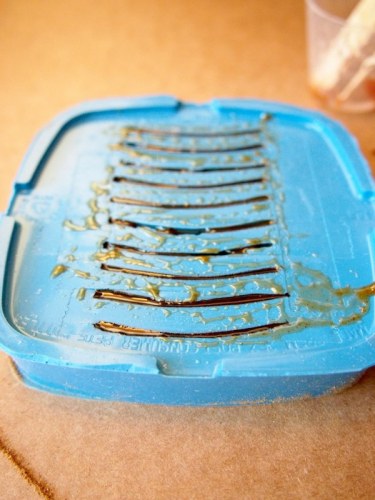
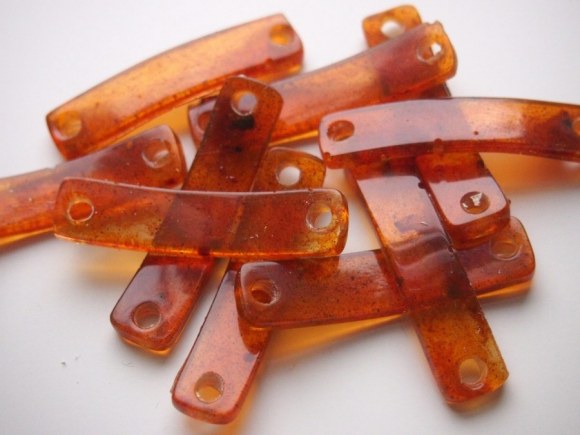
after cutting off the tiniest corner of the baggie, i filled up the mold. and guess what? it was still a huge mess. although a bit better to control. i still had to scrape the excess off the top, before they cured. but when they came out, the color was beautiful:
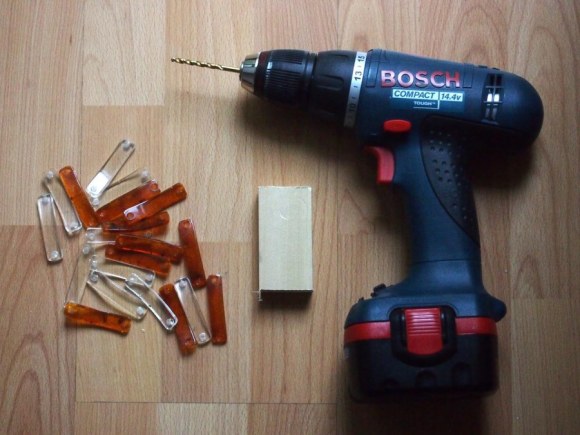
not as many highs and lows as real tortoise- but a gorgeous color and texture just the same. this batch also has the concave edge, so i'll have to fill it up just as the last time. since i had to drill the clear ones, i did both batches to save time. i can't wait to get a necklace strung- it's the first order of business in the morning!

