Silicone Putty Pendant Mold
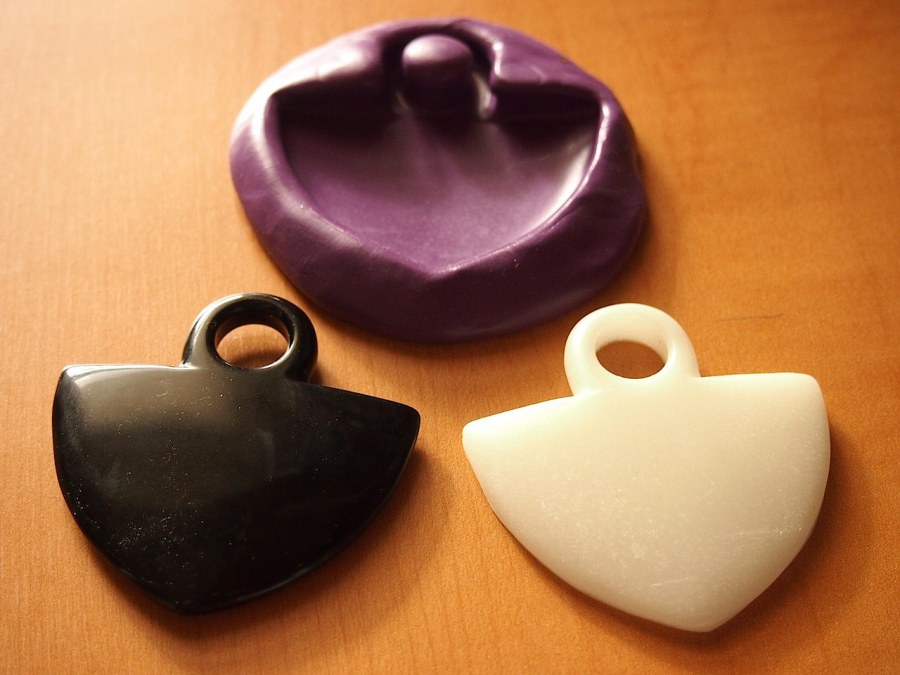
It was pretty exciting when the last silicone putty molds were made. This material is so much easier to work with, that I started looking around for pieces on the "someday I'll pour a silicone mold for this" list. First up: a puffy arrow head pendant that's carved out of a stone of some sort. It's pretty big, so the outcome was completely unknown.
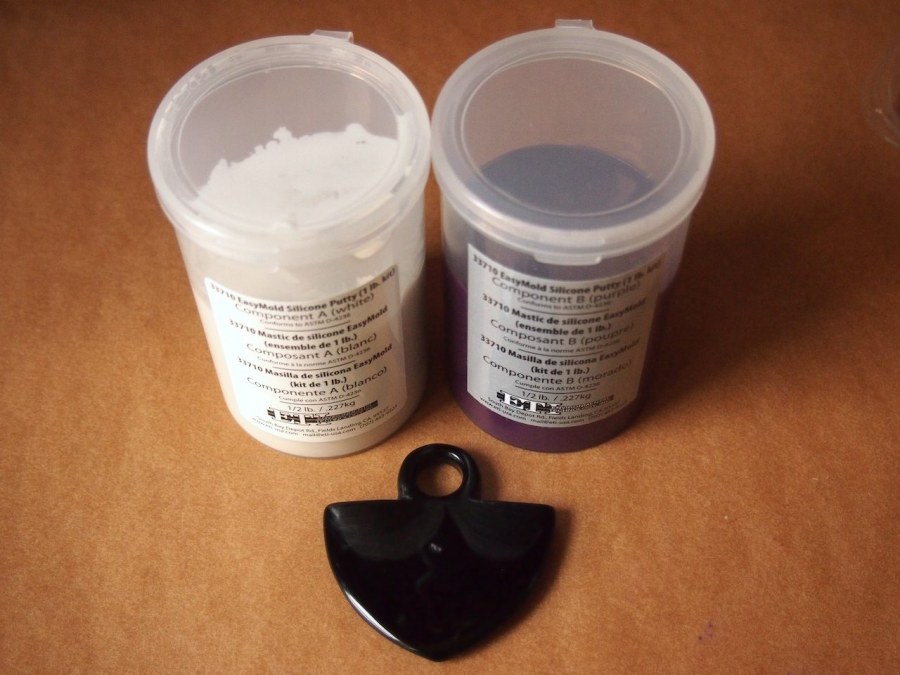
Literally, the only materials required were the parts A and B of the Silicone Putty and the piece to be molded.

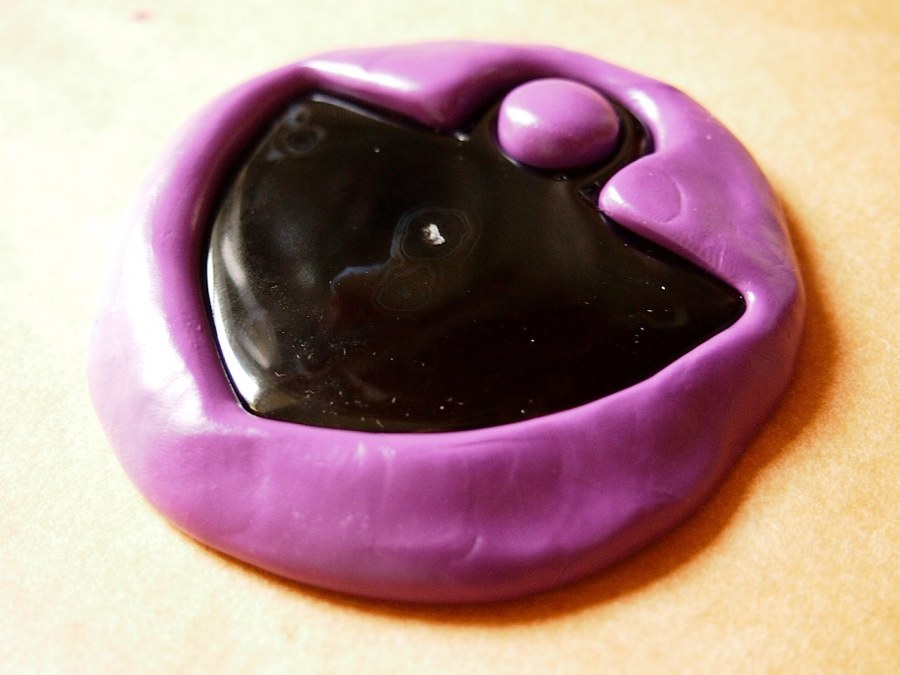
As mentioned before, the only drawback to this stuff is that the mixing and shaping time is very short. Only about a minute to mix both parts together, and about 2 minutes to make the mold. I couldn't take any shots while that process what happening, but there is one important thing to note about the piece being cast- one side has a little chunk missing on the surface. it's super important that the surface be completely smooth, because every tiny minuscule scratch will show up in the mold. Make sure you use the cleanest side for casting. In an hour, the original piece was able to be removed, and in 24 hours, the mold was ready to roll.
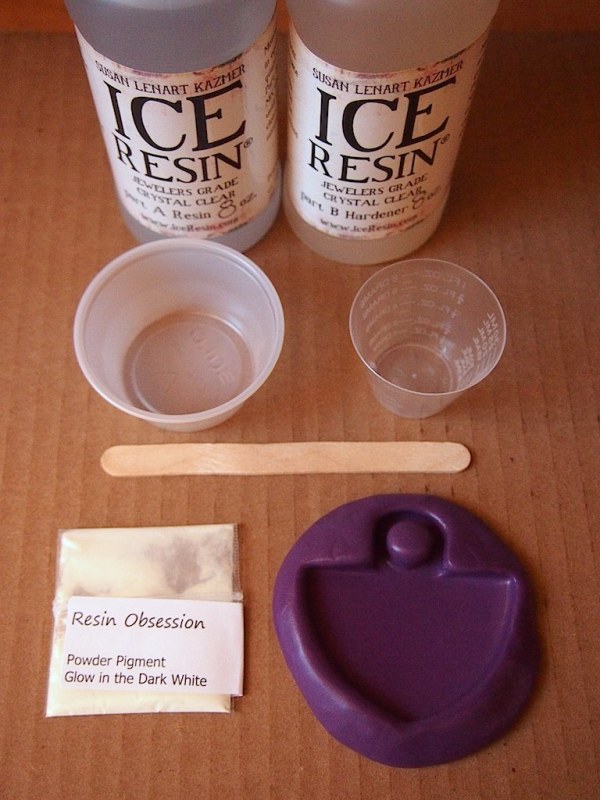
Remember the last time glow in the dark powder was tested? It was kind of a struggle to mix it properly. This was the perfect opportunity to give it another shot. In addition to the glow in the dark powder (which was white), you need Ice Resin, 2 mixing cups and 1 stir stick. The second mixing cup doesn't need measurements on it.
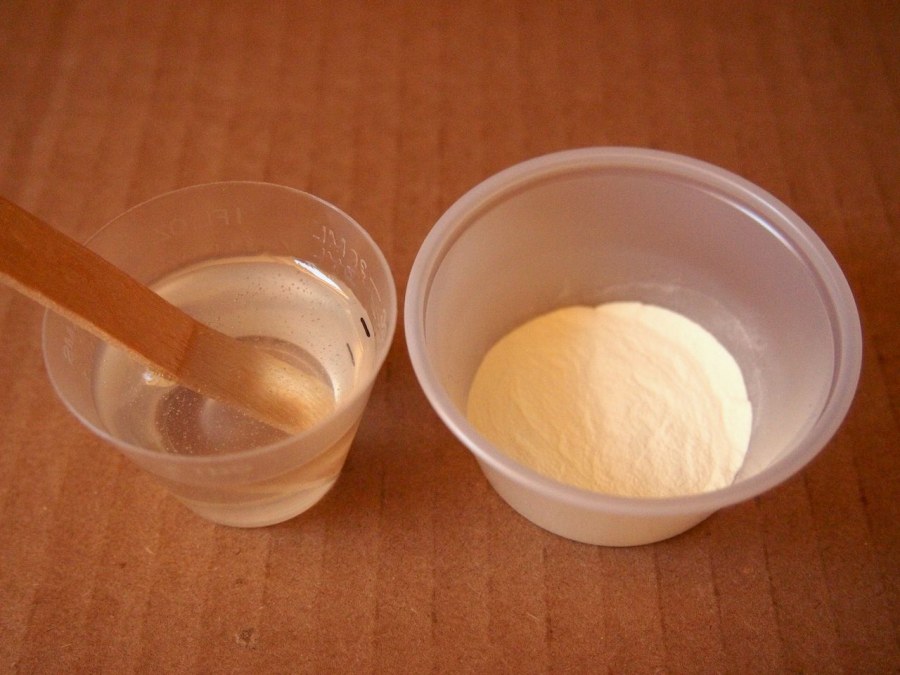
- Mix up the resin in the measuring cup and let it sit for 5 minutes to release air bubbles. Add the powder to the second cup. The powder instructions say to use the entire amount for 1oz of resin, but I got away with much less last time, so I used about 1/2 of what was in the sample packet.
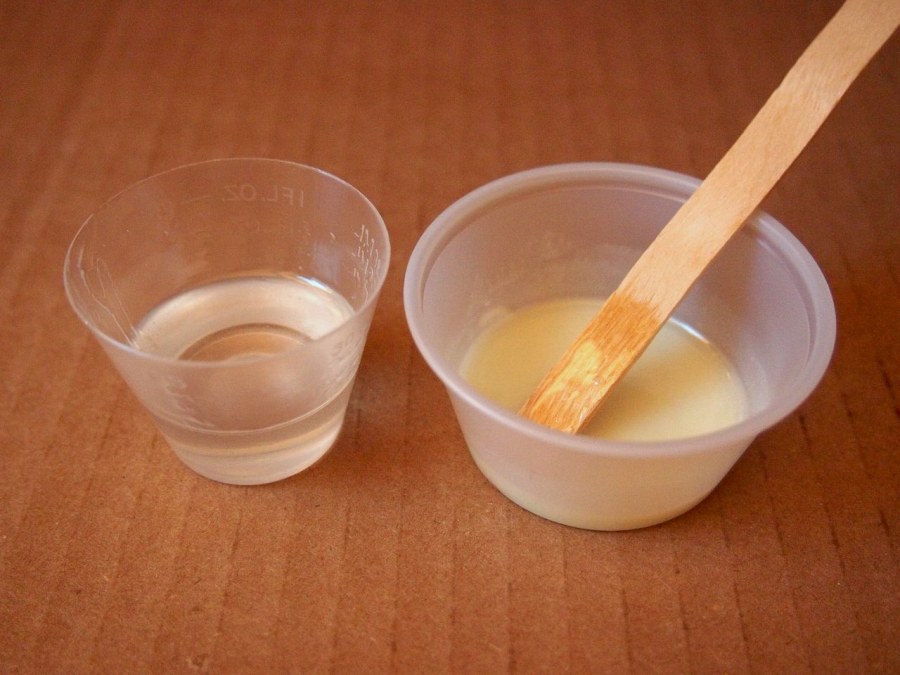
- When the resin is ready, pour a drizzle of it into the powder and mix it up- kind of like making icing. Keep stirring until the whole mixture is a paste.
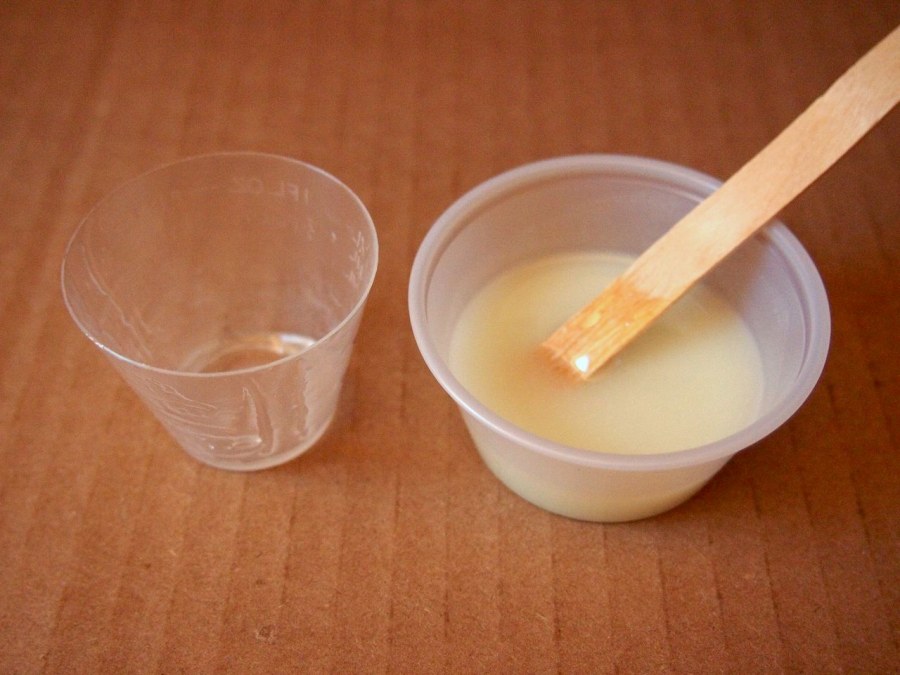
- Continue to add the resin to the powder cup, a bit at a time and stir until it is completely smooth and combined. This technique should prevent any clumping up of the powder and leave you with an even distribution of powder throughout the resin.
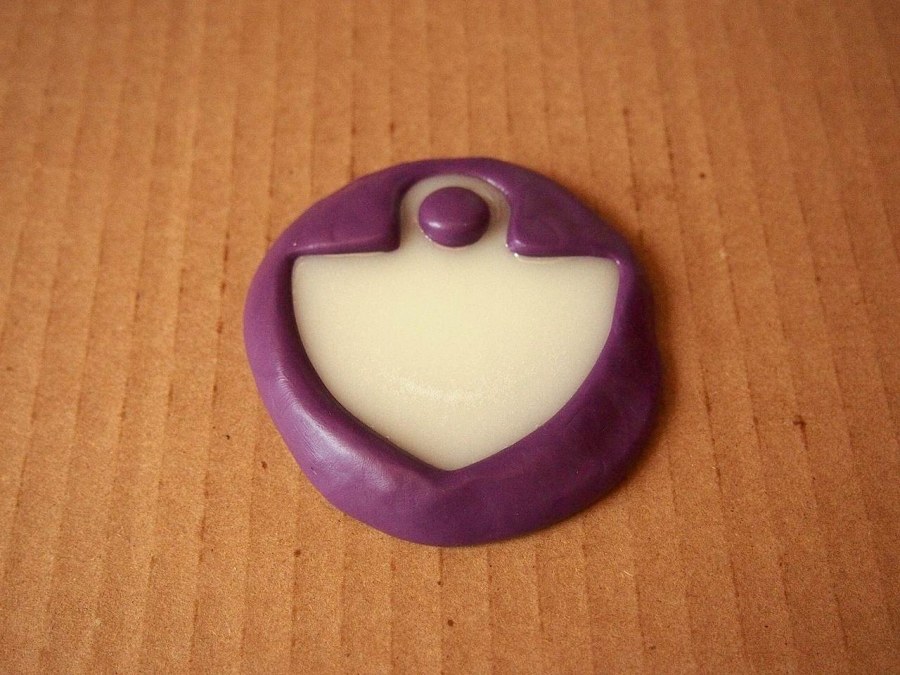
- Pour it into the mold. I got a little excited and over did it, which left some sharp angles on the backside when it was unmolded. Like the glow in the dark bracelets before, when molding items with rounded edges, the back side comes out flat. This means you gotta break out the dust mask, files, sand paper, and spray resin to get the back side as sweet looking as the front. Check out the bracelet post for full details of how to do that. Otherwise, it came out great- and the glow factor is astounding:

