Making Molds with Silicone Putty
Silicone putty is a magical product- it's just as interesting as silicone rubber
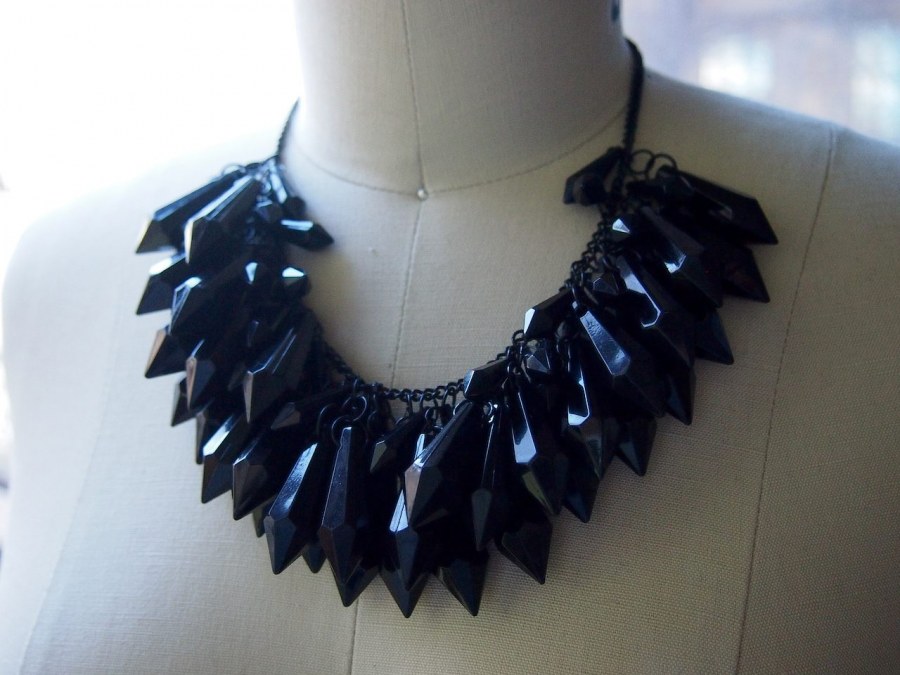
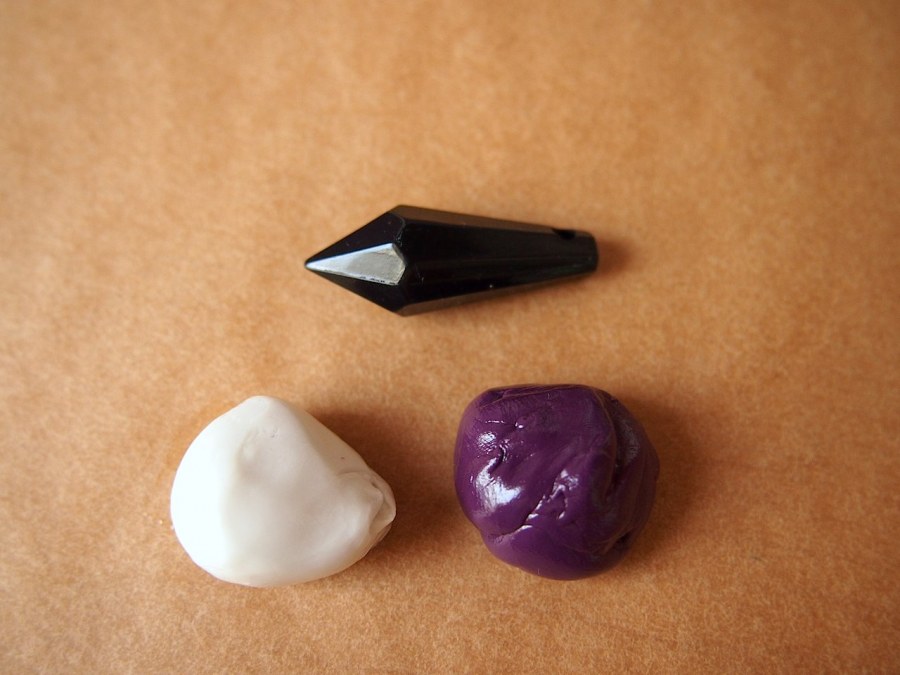
, and it's WAY easier. The tips of the dangles on this necklace from H&M were similar to diamonds, which was the intended shape for these molds.
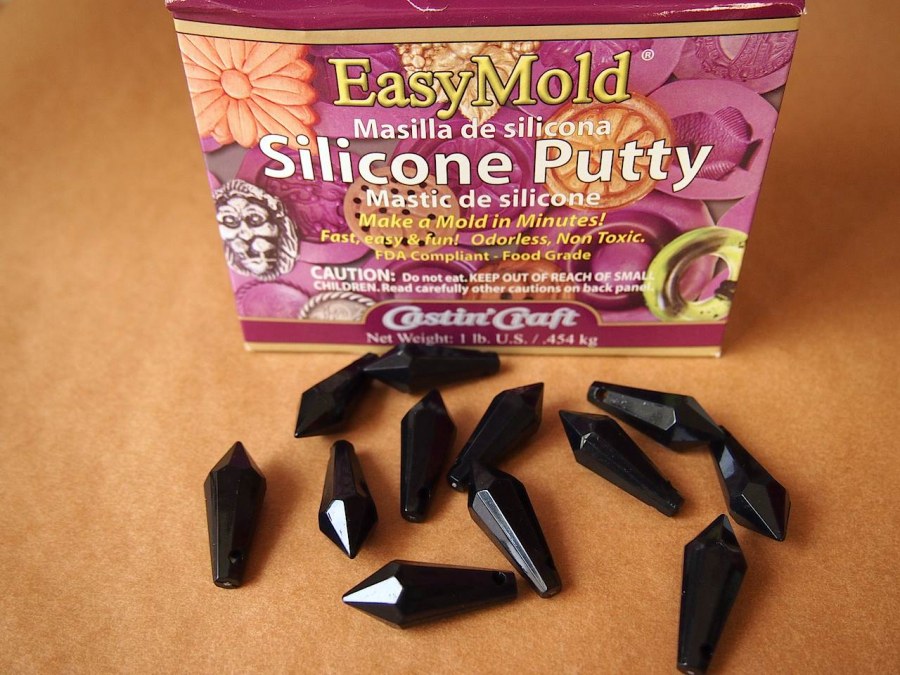
Let's take a closer look at what's in this putty box:
Just like silicone rubber, silicone putty comes in a part A and part B. Unlike silicone rubber, it's not necessary to be so anal with the amounts of each. Just pull out an approximately equal amount of each to begin. The ones photoed below are about the size of a superball. I thought this would be the amount needed to make 1 mold, but it ended up being enough for 4.
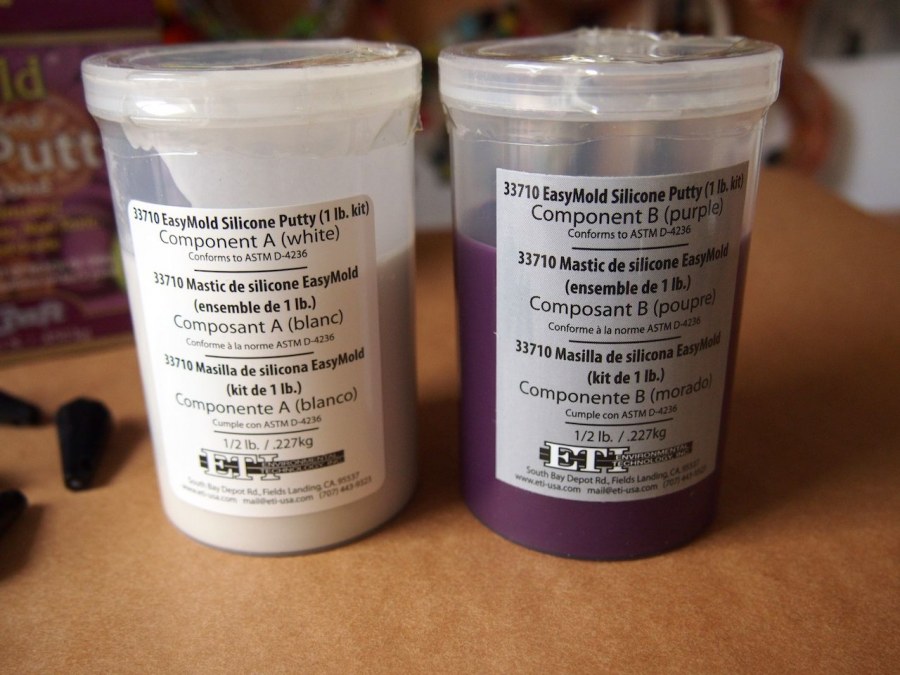
The double edged sword of this material is that it sets up quickly. You only have about a minute to mix parts A and B together, and then another 2-3 minutes to get your mold made. This means I didn't have enough time to photo the mixing. Because the components are white and purple, it's easy to tell when they're completely homogenized.

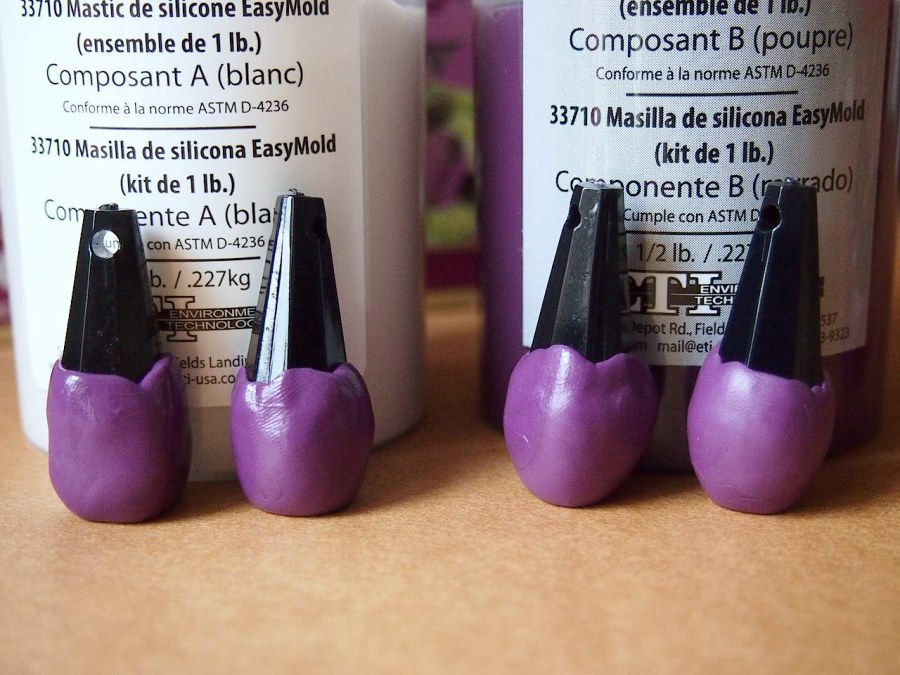
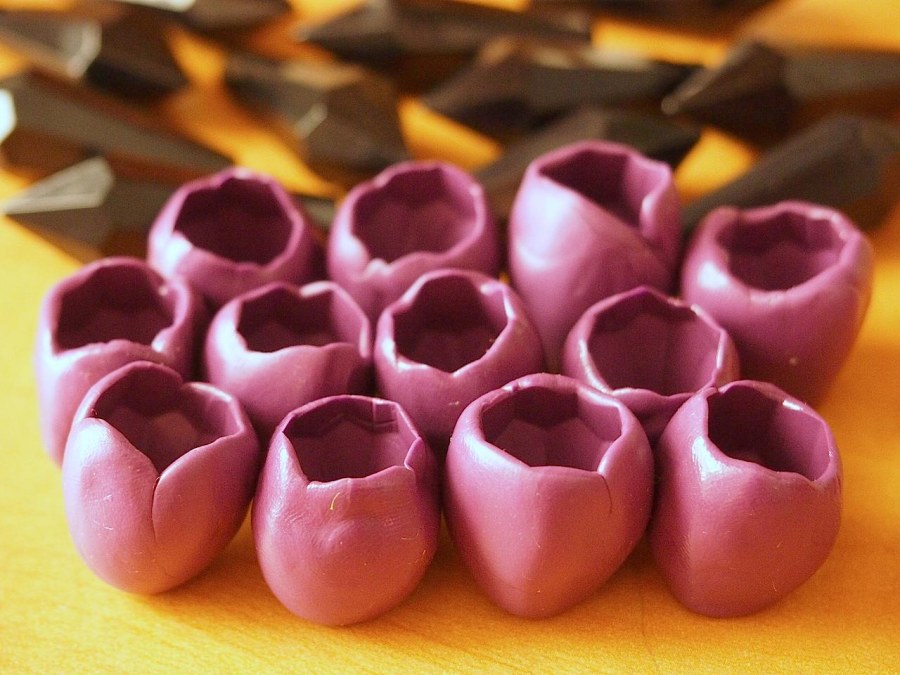
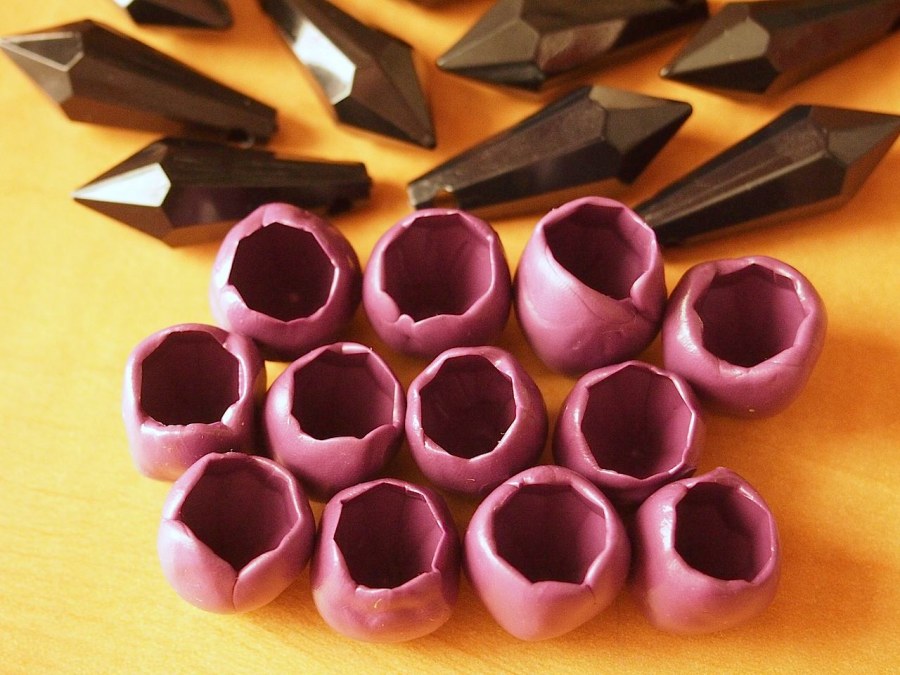
After mixing it up completely, I rolled out 4 balls of putty and pushed them up and around the spikes. Again, because the setting time is so quick, I wasn't able to photo each step. The hope was that all of the molds would stand on their own, but even after propping them into position, it was hard to keep them standing straight. The great part about the fast setting time, is that these are ready to go after 30 minutes- if you use them with food or soap. If using them for resin, they must cure for 24hrs. Still, it's almost instant gratification.
