poly rope doormat: better than before
August 31 2012, 11:00 pm
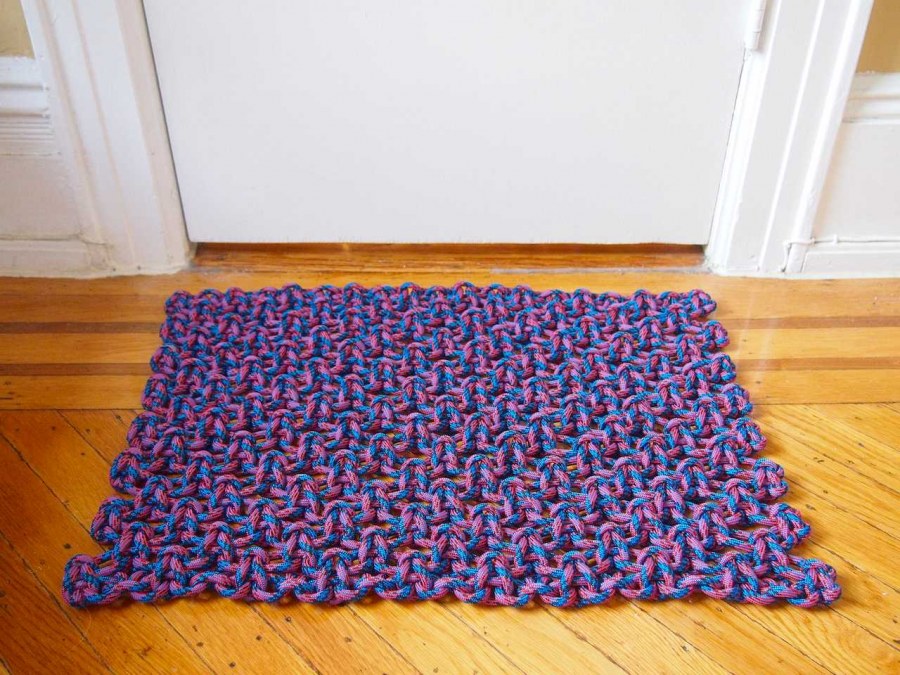
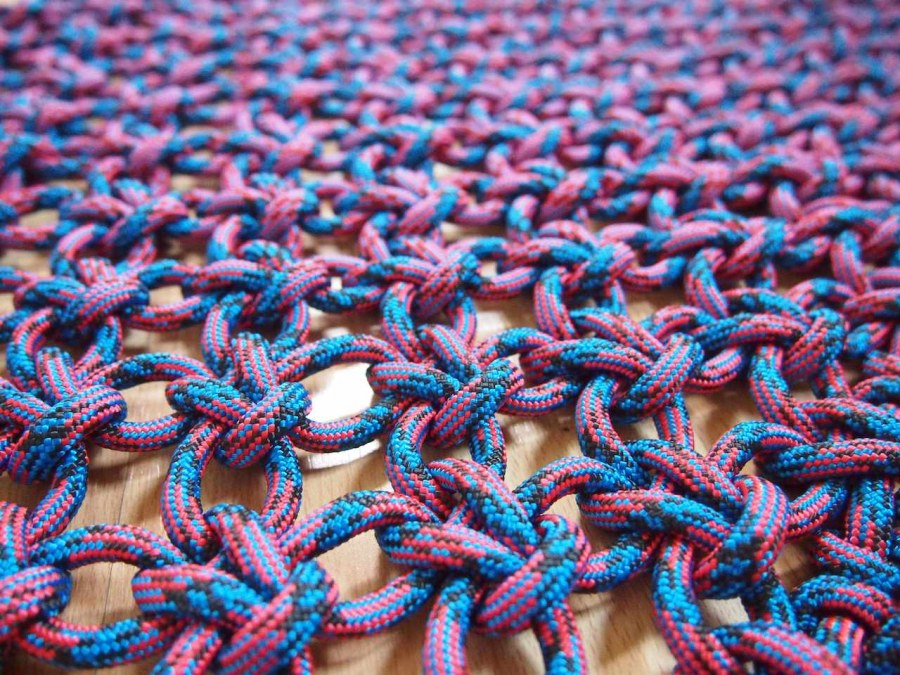
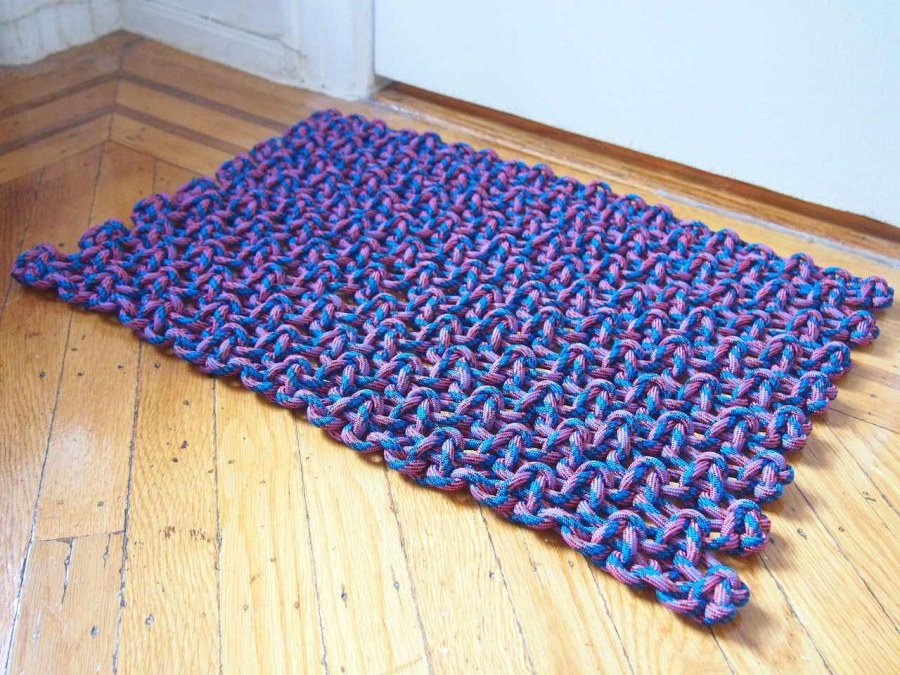
close enough!
after the pain and heartache of failing this doormat last time, i wasn't about to get on my hands and knees and wrestle with it for another 24hrs. so i retreated into my comfort zone, and macraméed it. did it turn out perfect? hardly. and yes, it did require the purchase of another bundle of cord to complete it.
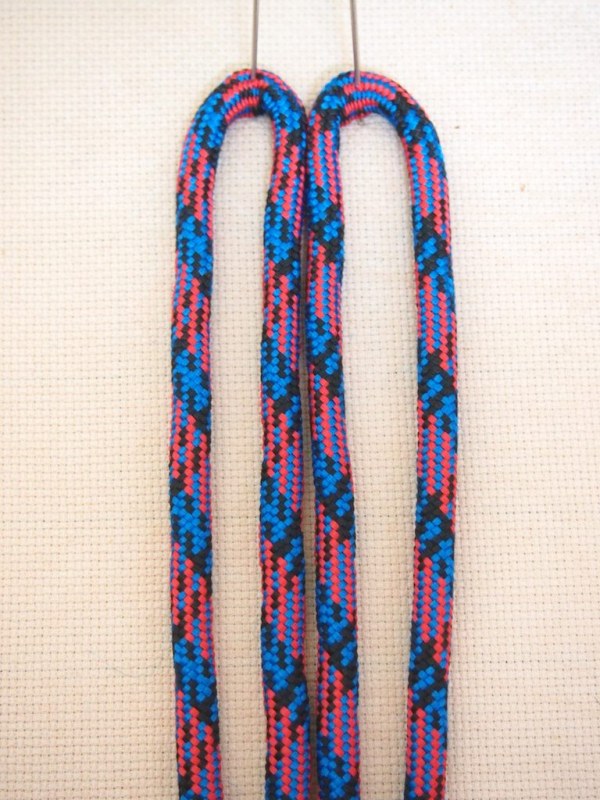
- starting with 2 bundles of 1/4" poly cord rope, cut 14 pieces, 12ft in length, and fold in half. with a lighter, singe all the cut edges to prevent the filler from sliding around in the braid.
- line up 2 pieces at the folds, and pin to work board. tie a square knot:
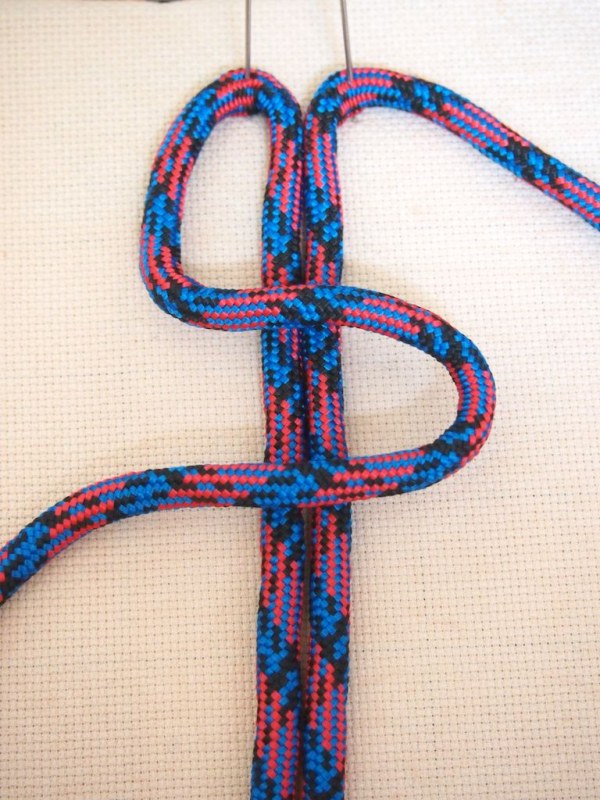
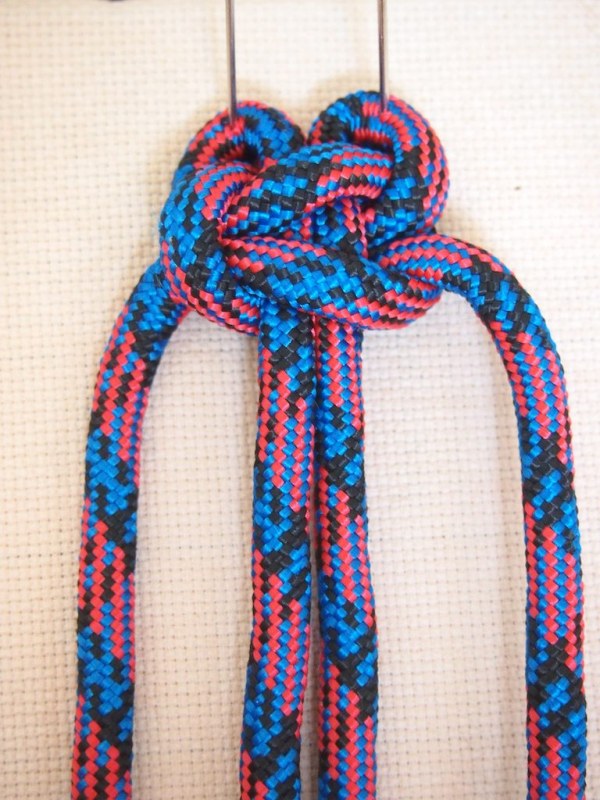
(for in depth instructions of how to tie a square knot, click here)
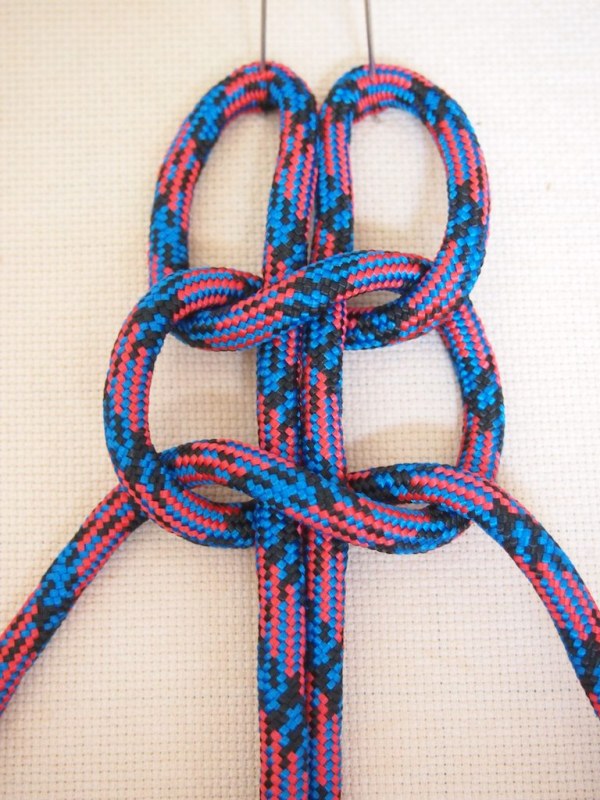
- repeat 5 times, so you have 6 square knots with long tails.
- cut 2 more pieces of cord, 16" long. fold the cord, 2 1/2 feet from the end. take one of these cords, and one 12' cord, line them up at the folds, and pin to work board. tie a square not as before. repeat with the last 2 cords, making sure that the longer side of the 16" cord is on the opposite side of the one you just tied. at this point, you should have 8 square knots: 6 that have even ends, and 2 with uneven ends.


- line up all the knots at the top of a work board, with about 1" between them, keeping the longest tails on the 2 outermost edges.
- tie a second row of square knots, using the opposite cords, with about 1" of cord between them and the first row. this technique is known as "alternating square knots".
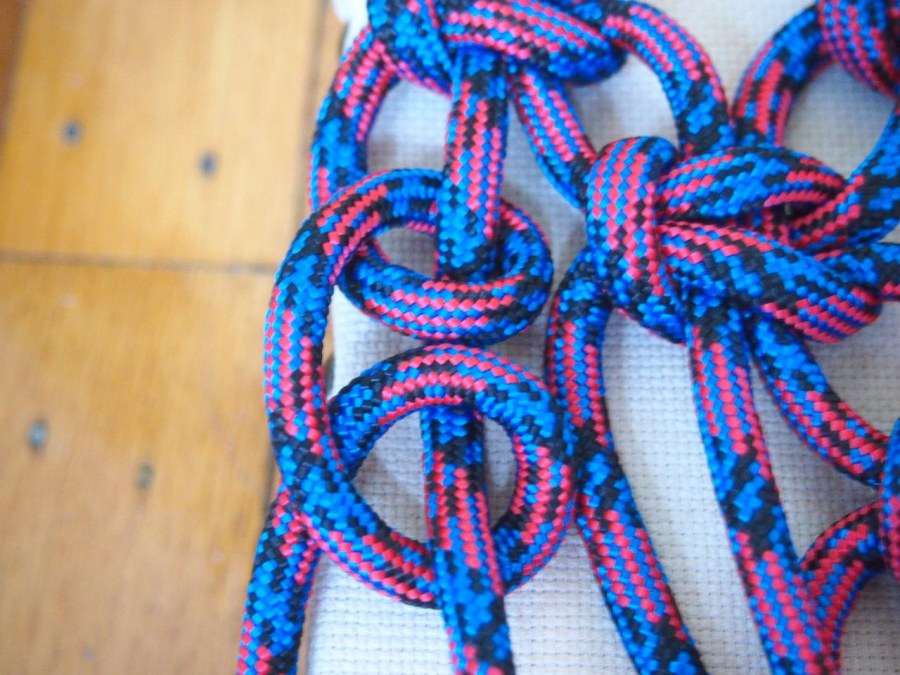
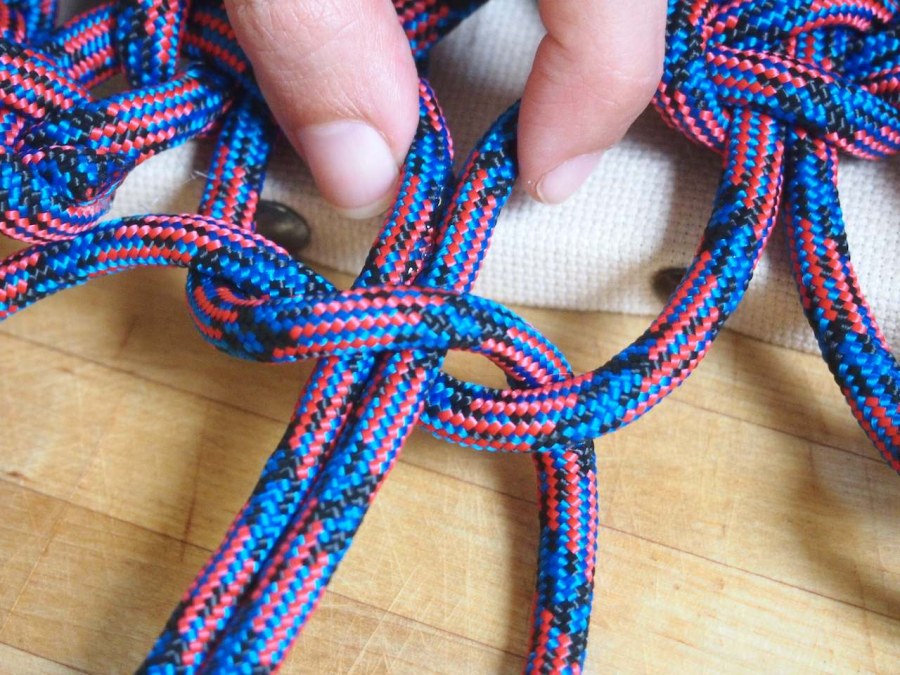
- with the uneven cords on either side of the rug, tie a reverse double half hitch, with the longer cord looping around the shorter cord. repeat this knot on the other side of the rug, in the reverse direction.
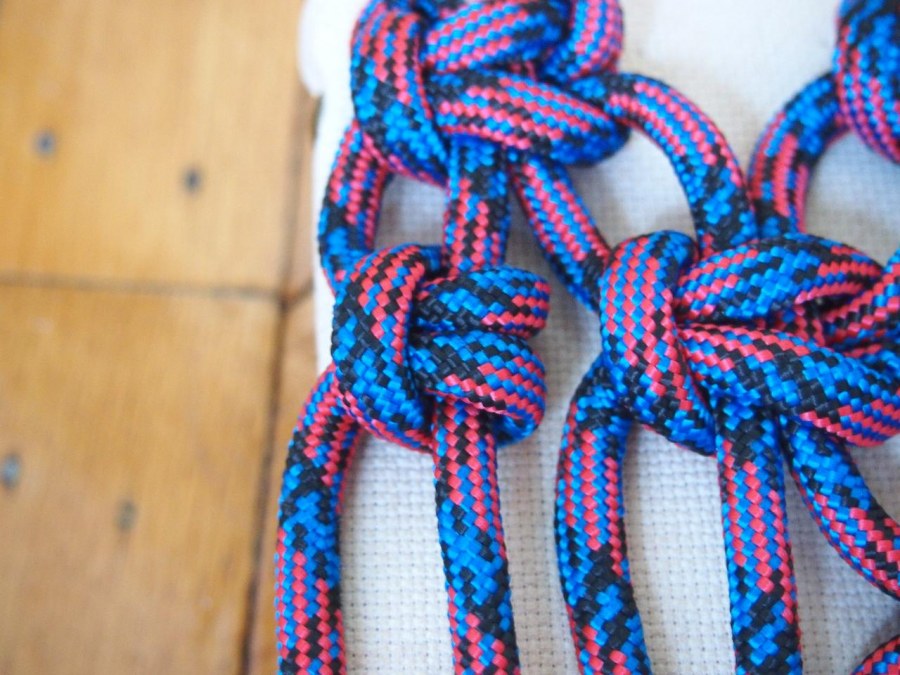
- continue alternating square knots, keeping the tension the same in all the knots, and the distance between them as even as possible.
to finish the mat, break out the glue gun and heat her up. tie the last row of square knots loosely. this row should have the same amount of knots as the first row (8).
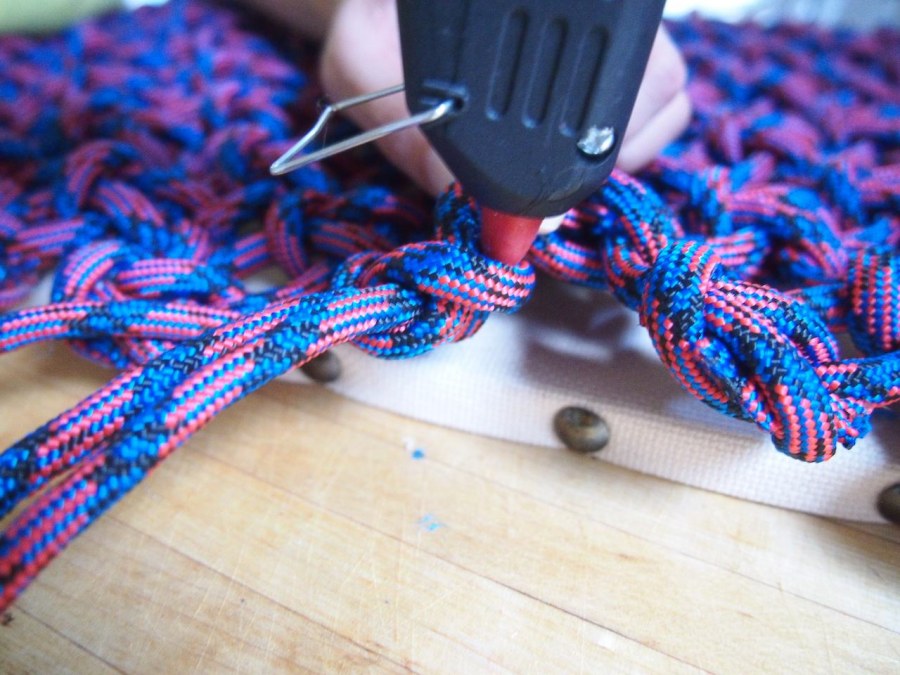
- add a small line of glue in between the center cords of the final knot and press together at exactly the spot where the last knot will be tied. tie the knot securely, and glue it on the top and bottom to the center cords. also add a drop of glue to the inside of both loops. test all cords, by pulling them gently to see if anything shifts. add glue to make certain that all cords are secure.
- cut off the remaining tails, leaving about 1/2".
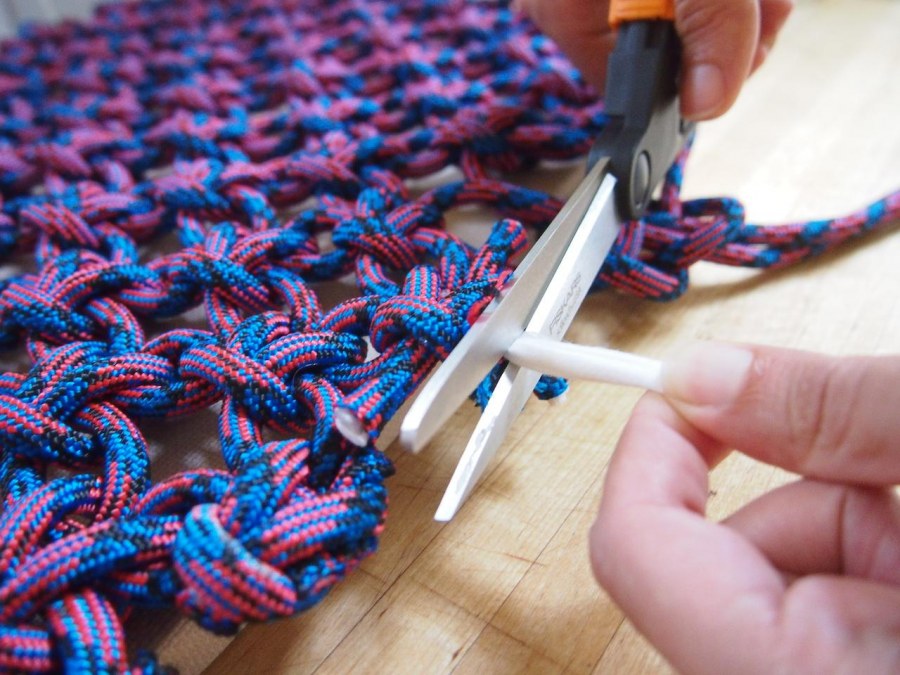
- grip the center filler of each cord and very carefully pull it out of the braid, at least an 1". trim the cord as close to the knot as possible.
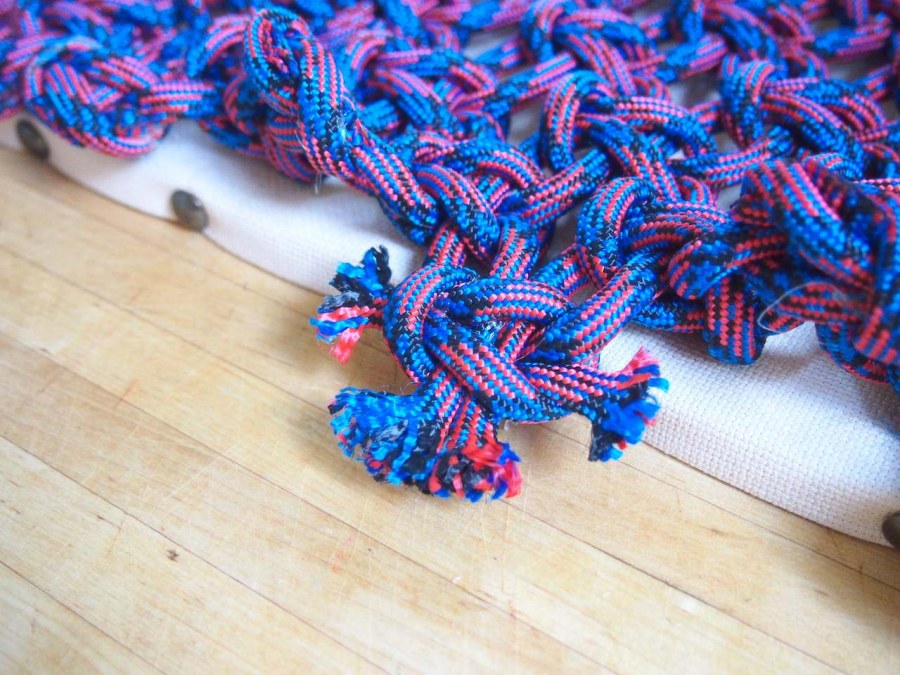
- pull the braid over the center filler, and squeeze it flat. trim the braid as close to the knot as possible.
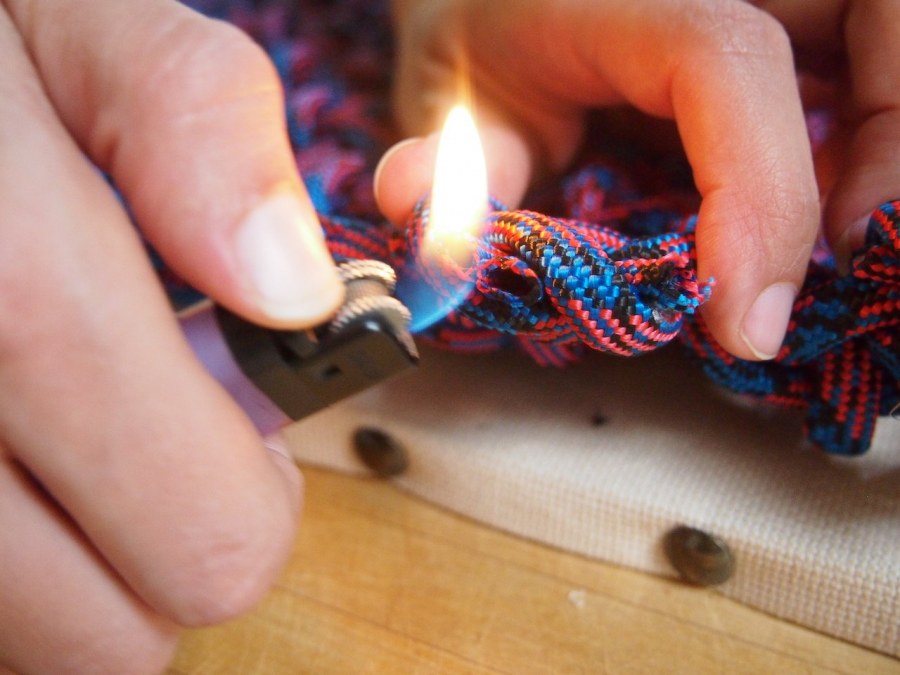
- with a lighter, melt the cut edges of each braid and press them together, flat. repeat with the rest of the knots.
- rejoice! you have showed that poly rope who's boss.
