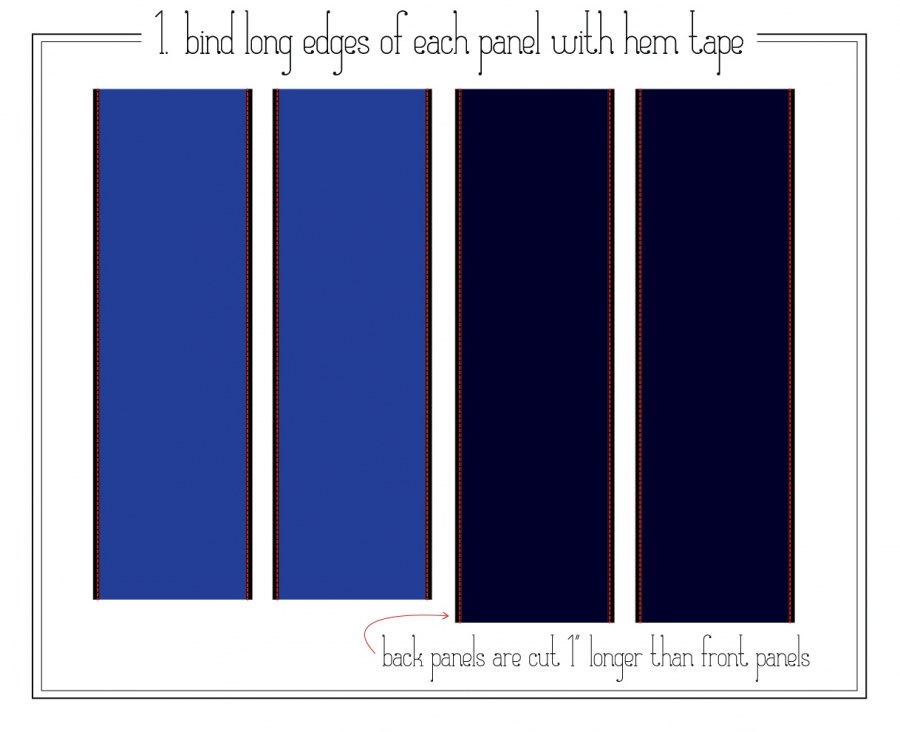
reversible 4 panel dress: part 2

it's back. and better than ever. and maybe not reversible anymore.
the last attempt at making this dress was a disaster, and so discouraging that it sat in a heap for 3 weeks receiving the brunt of many scowls. one of the big issues with the fabric selection was that it frays like crazy. french seams are the obvious choice, but due to the construction, they weren't an option. what next?
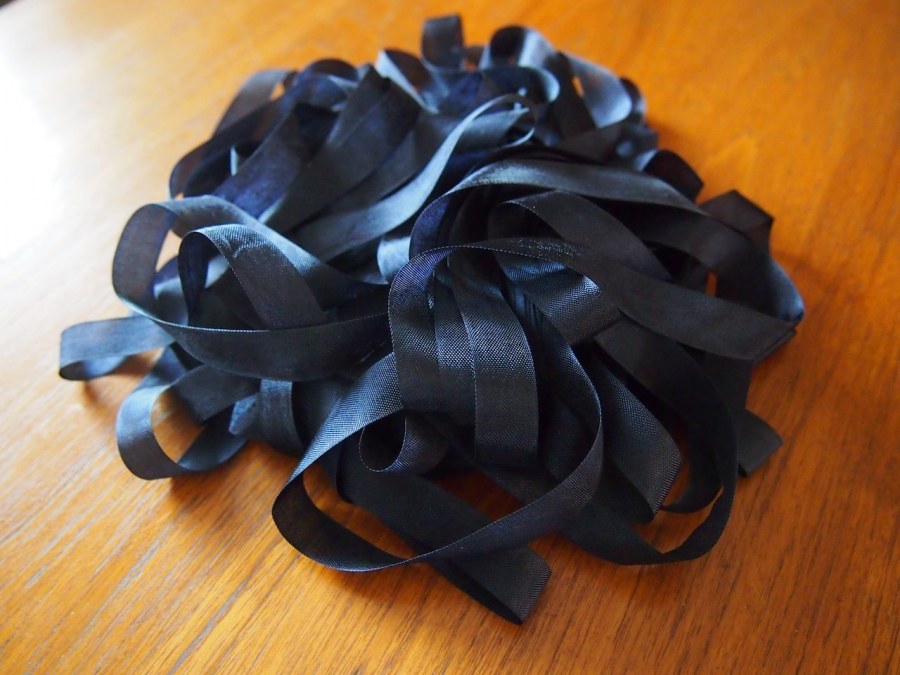
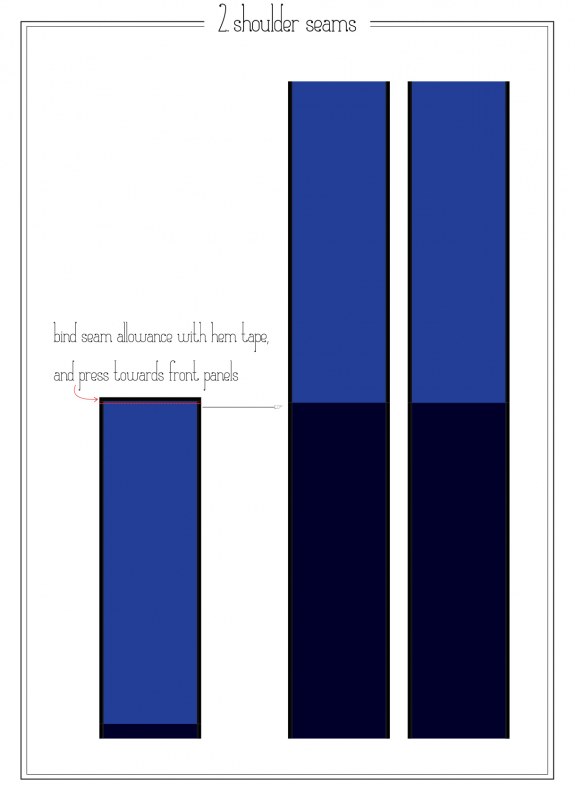
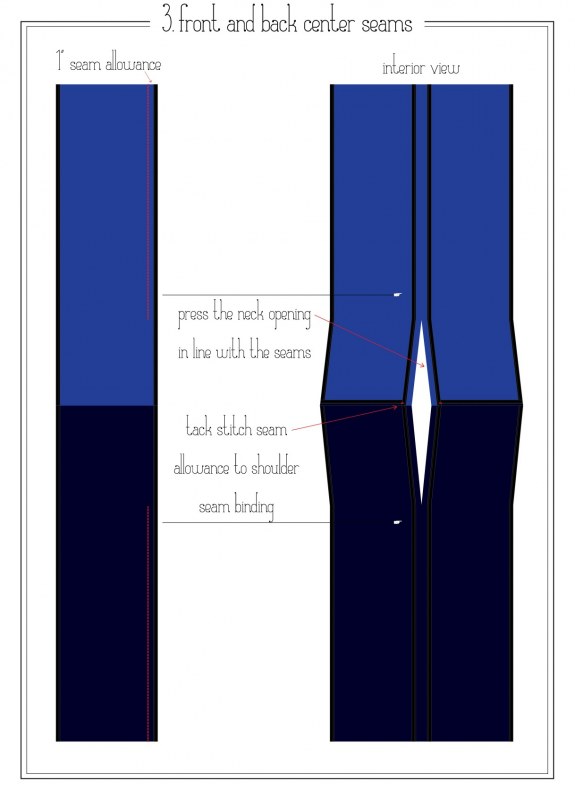
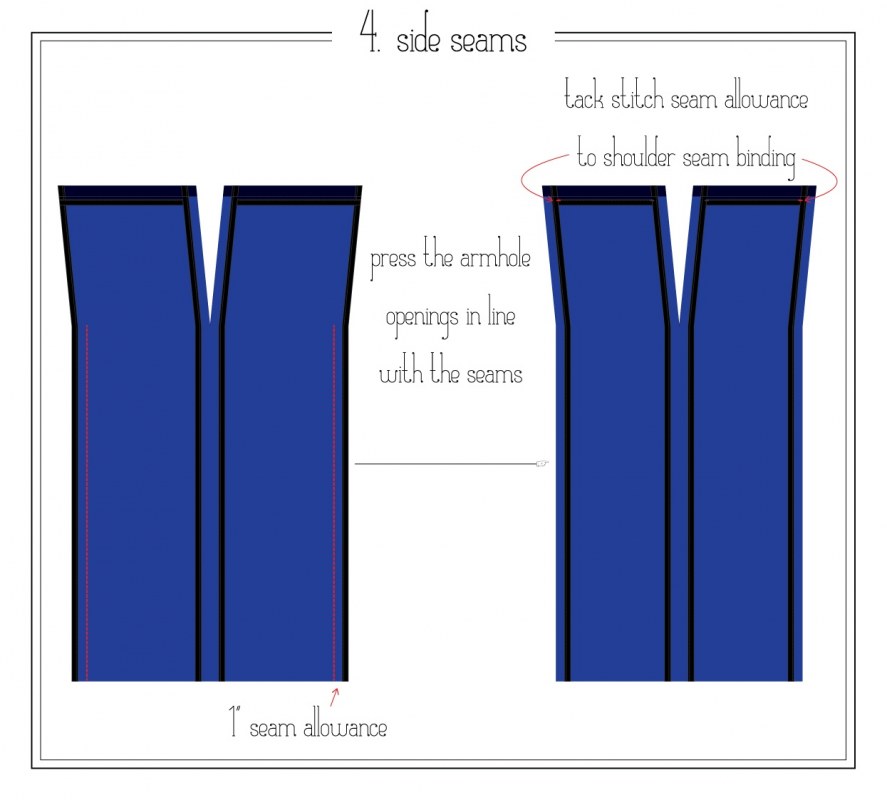
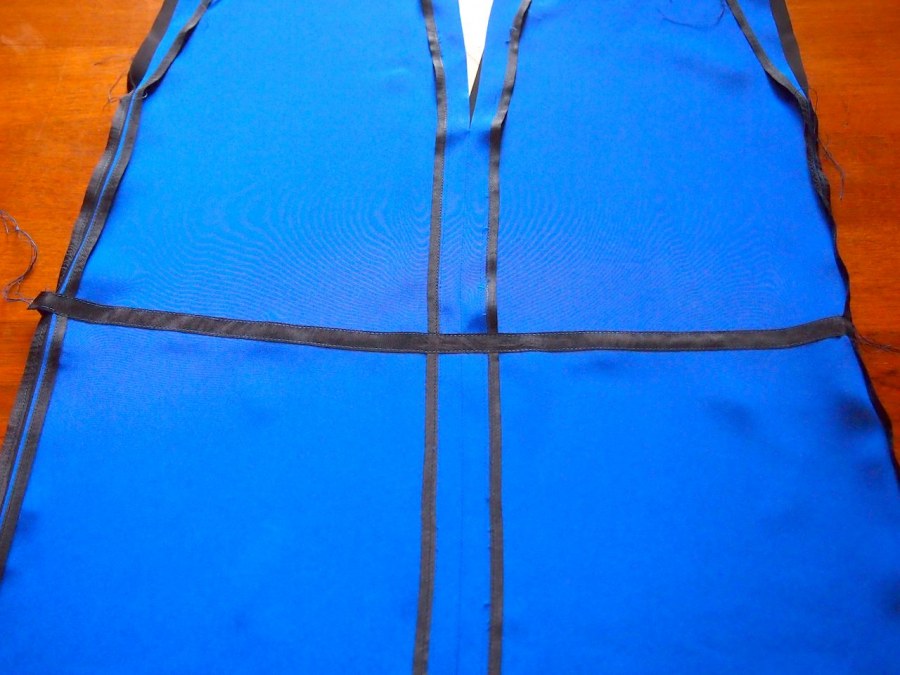
a boatload of hem tape. hem tape is less bulky than binding, and it's useful in a variety of ways- binding seams, making the waistband channel, and finishing the hem (obviously). as a reminder, here are the original instructions to make this dress. this one is different in a few ways: the shoulder seam sits 1" forward to expose the back color on the front, and instead of zig zag stitching the elastic waist, it has a channel and elastic cord. the construction was pretty straight forward:
Click here for printable version
elastic channel:
- try on the dress, iside out, marking where the waistline will hit. it should be higher at the side seams and dip slightly at center front and back.
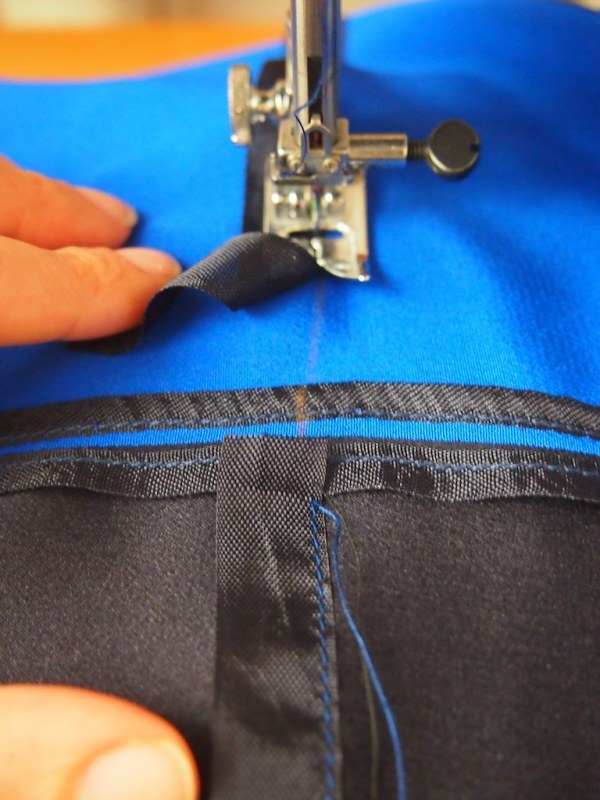
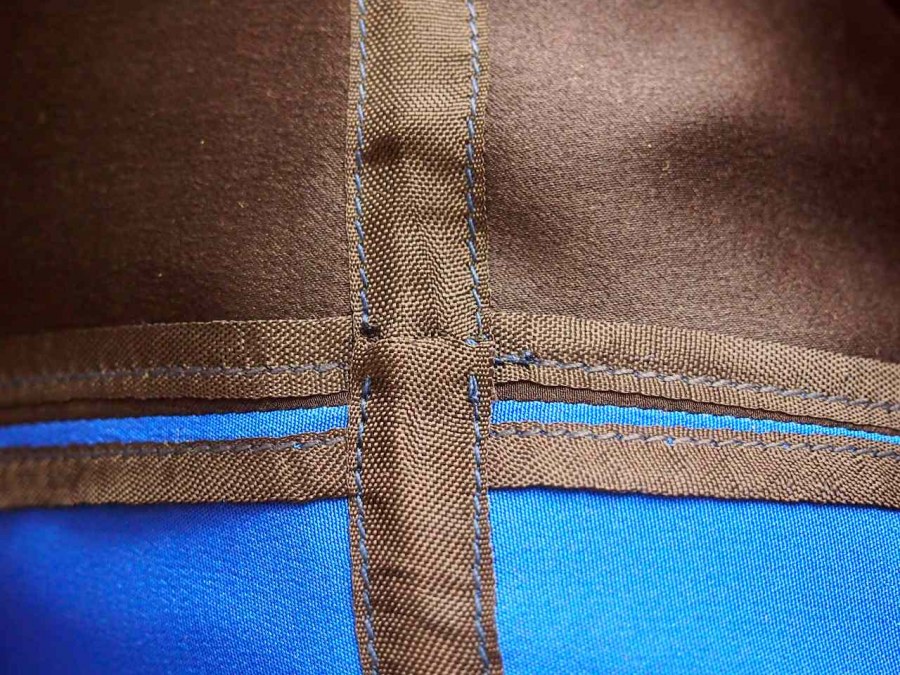
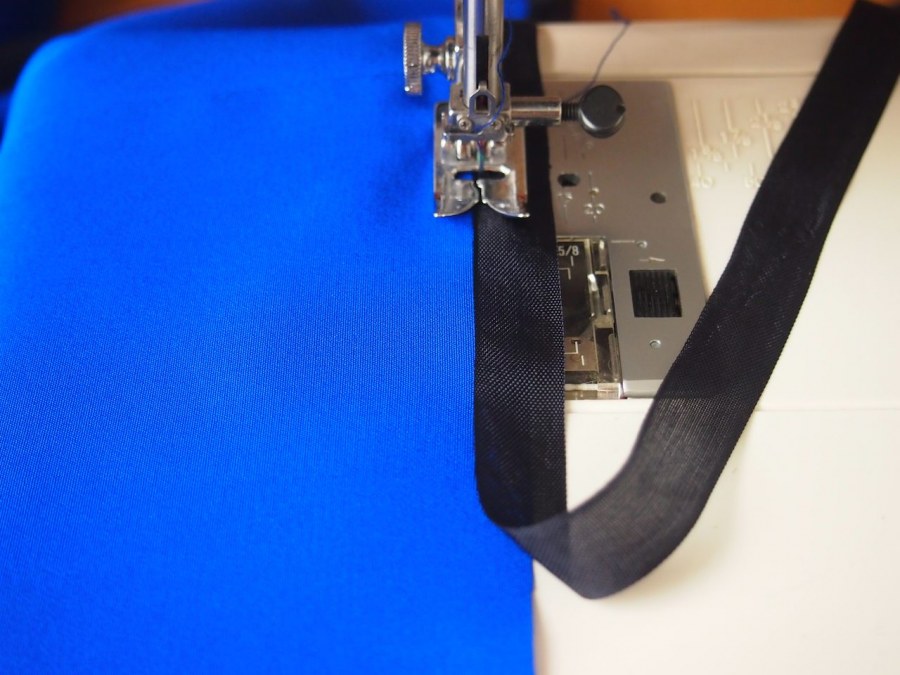
- starting at a side seam, use the marking as a guide to sew one side of the hem tape to the interior. remember: the bobbin thread is what will be seen on the outside. if you use different fabric for the front and back, stop stitching at the other side seam and change the bobbin thread color to match the fabric
- when reaching the end, leave an inch of excess tape after the final stitch. sew the other side of the tape (remembering to change the bobbin thread!). you should now have an open channel for the elastic:
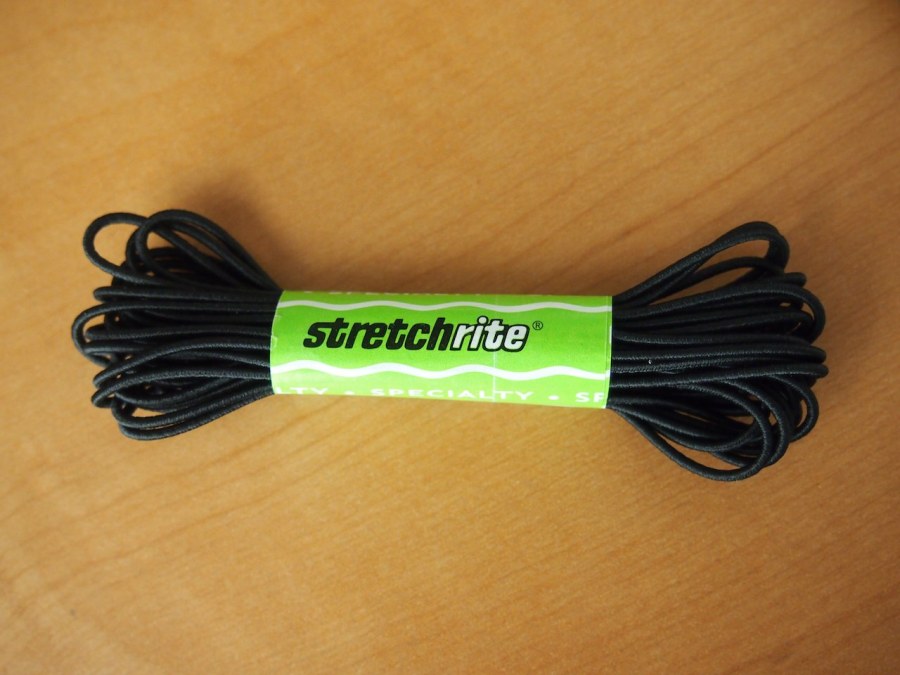
i used an elastic cording, but 1/4" elastic tape would work also.
- try the dress on again, and determine the length of elastic needed. add 1"-1.5" to that measurement.
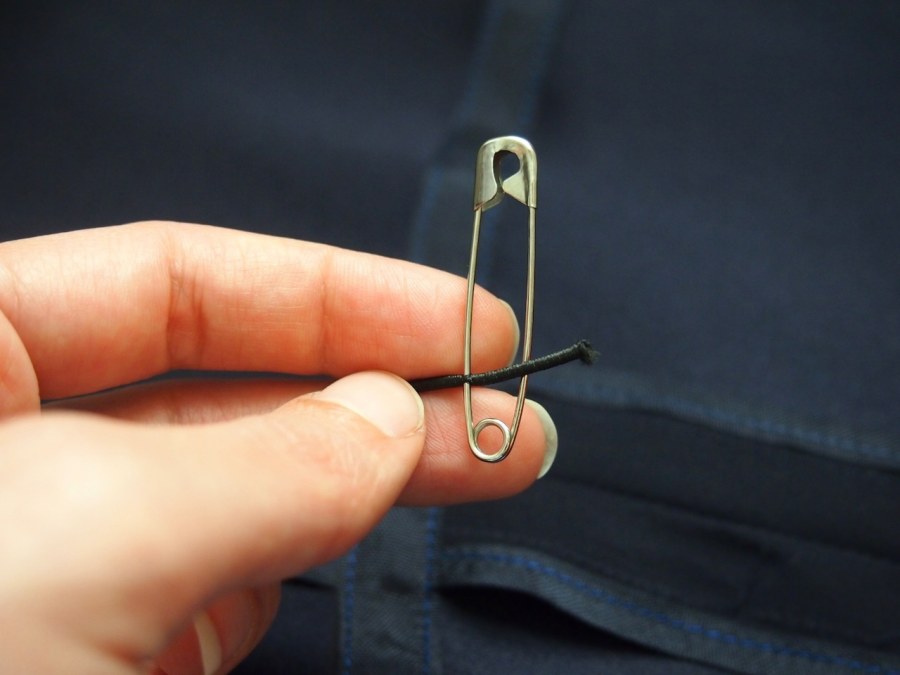

- using a safety pin, thread the elastic through the channel. keep the head of the pin up towards the tape to avoid getting it caught in the seam allowances.
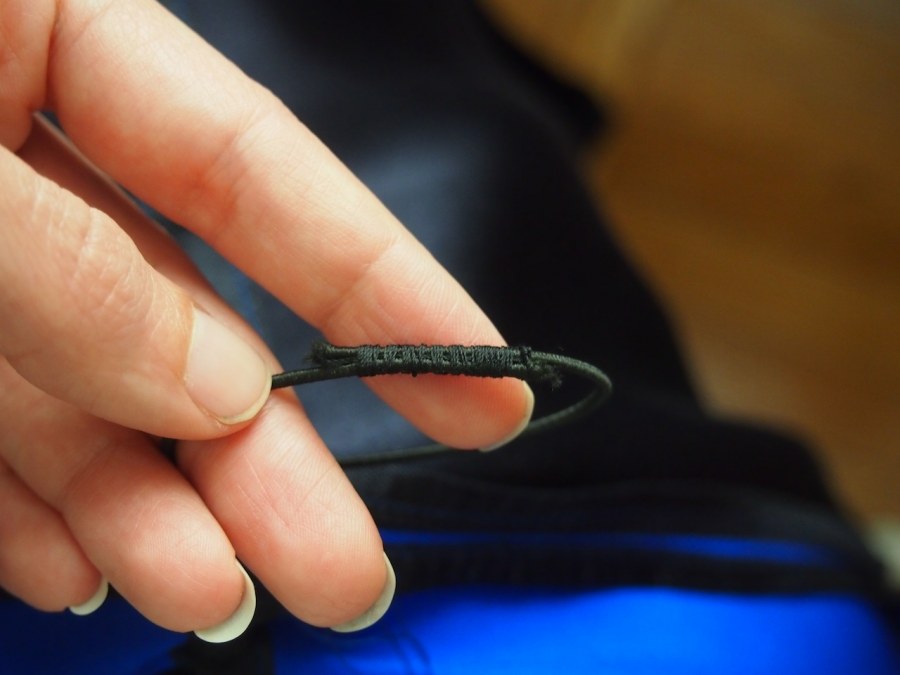
- once completely threaded, overlap the ends of the elastic by 1" and sew together securely.
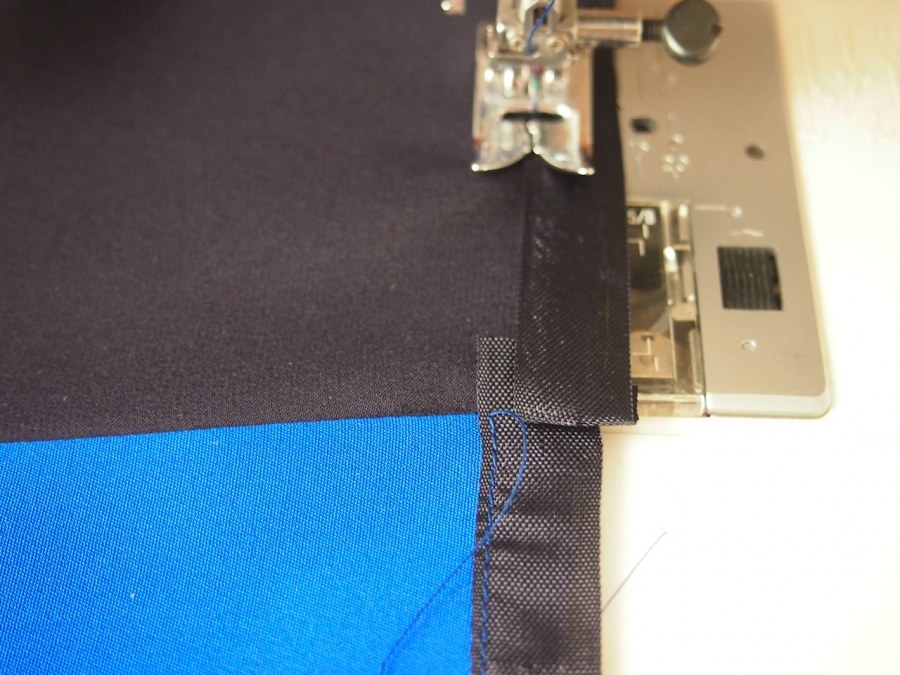
- fit the elastic into the channel completely. fold the excess hem tape towards the interior and hand stitch the end of the channel closed.
hem:
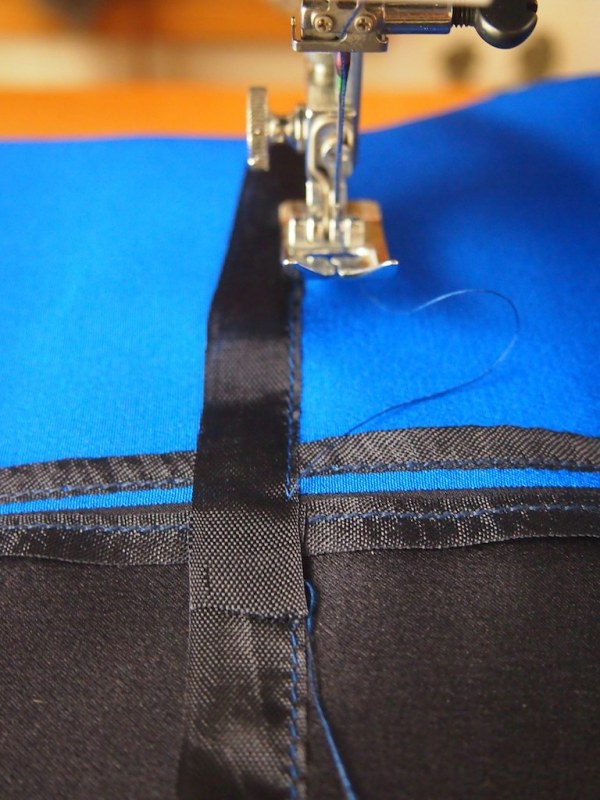
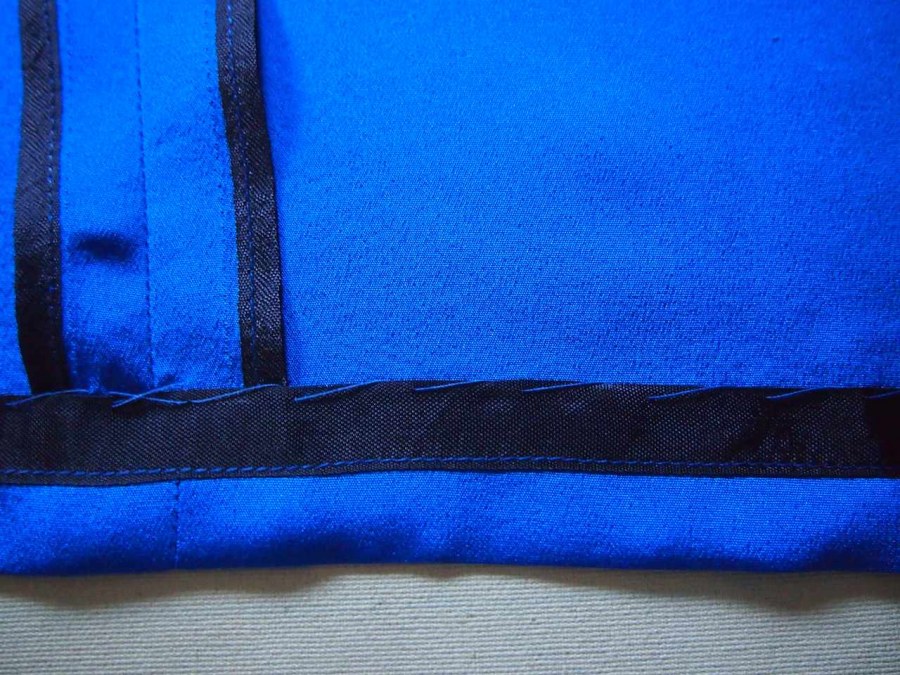
- cut a length of hem tape the circumference of the hem plus 1". line up the hem tape on the exterior, so that the fabric line hits the middle of the tape.
- stop stitching the tape to the fabric at 1" from the starting spot, but leave it in the machine. fold the end of the tape towards the inside, and line up the top edges. finish sewing the tape.
- fold up the hem and hand stitch (delicately)
so, technically this dress could be worn with the blue in the front or back. i don't see myself wearing it with the blue on the back, though.
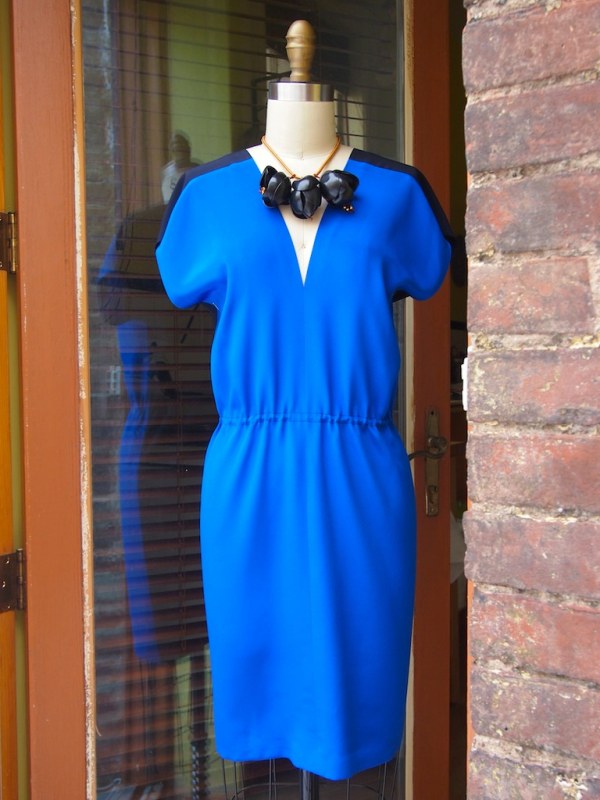

the neckline looks a little low on the dress form, but it's not scandalous. it is, however, super flattering with a statement necklace. of which i happen to have many.
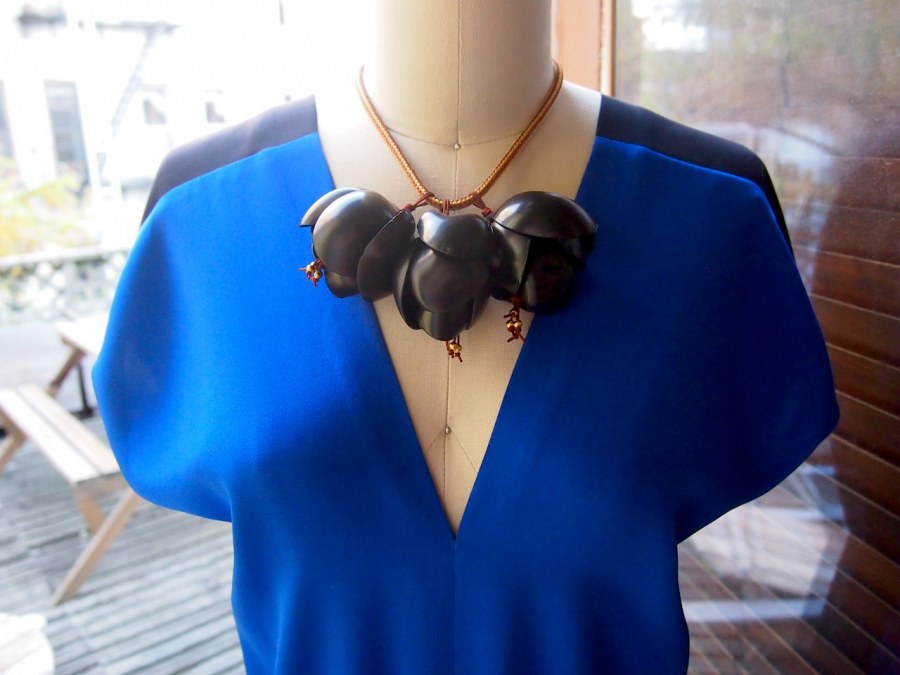

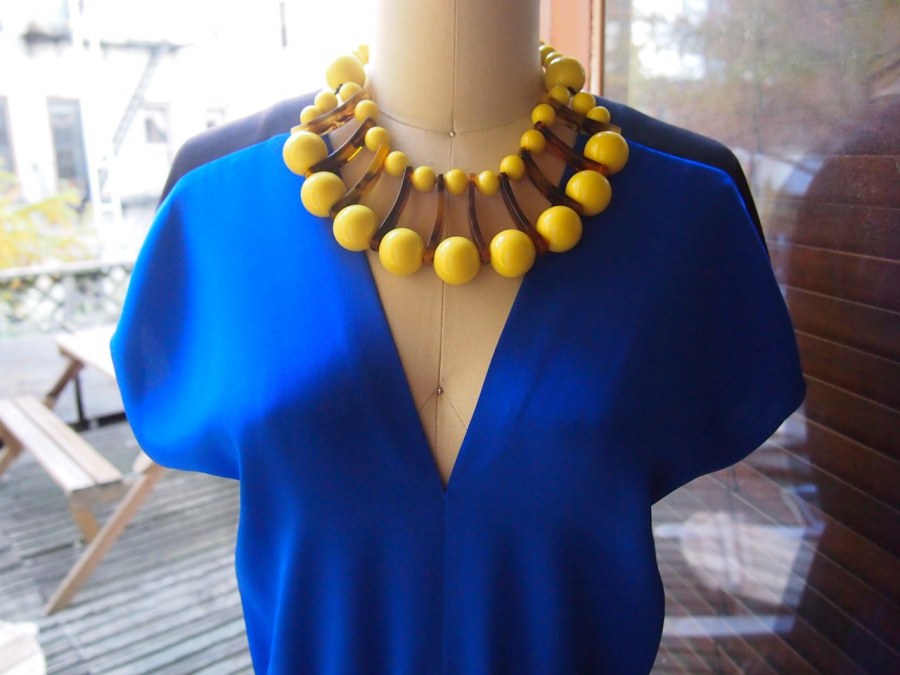
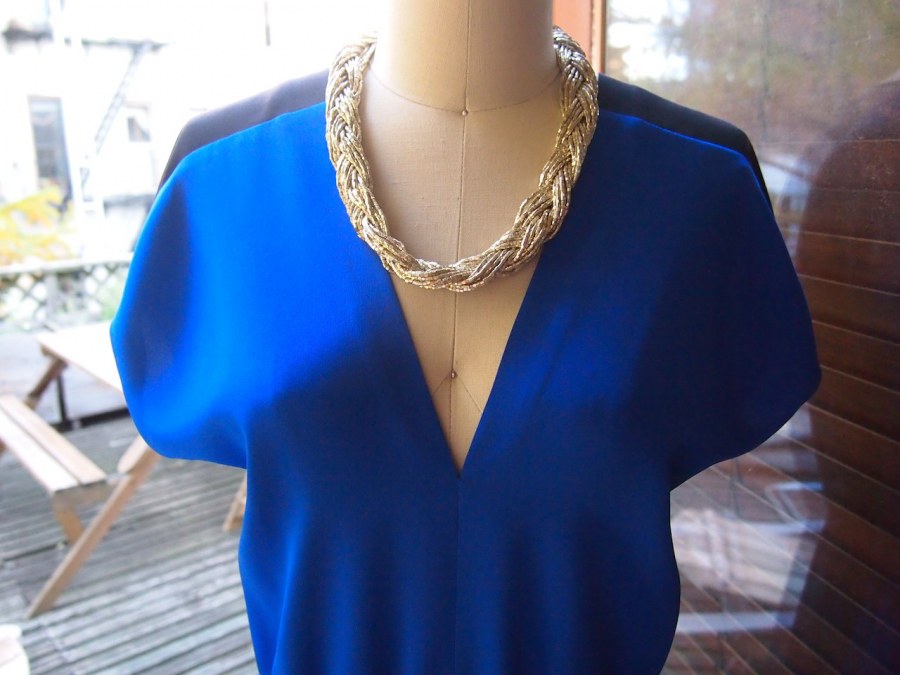
plastic spoon flower, 15ft. wrap necklace, double strand, braided seed bead.
