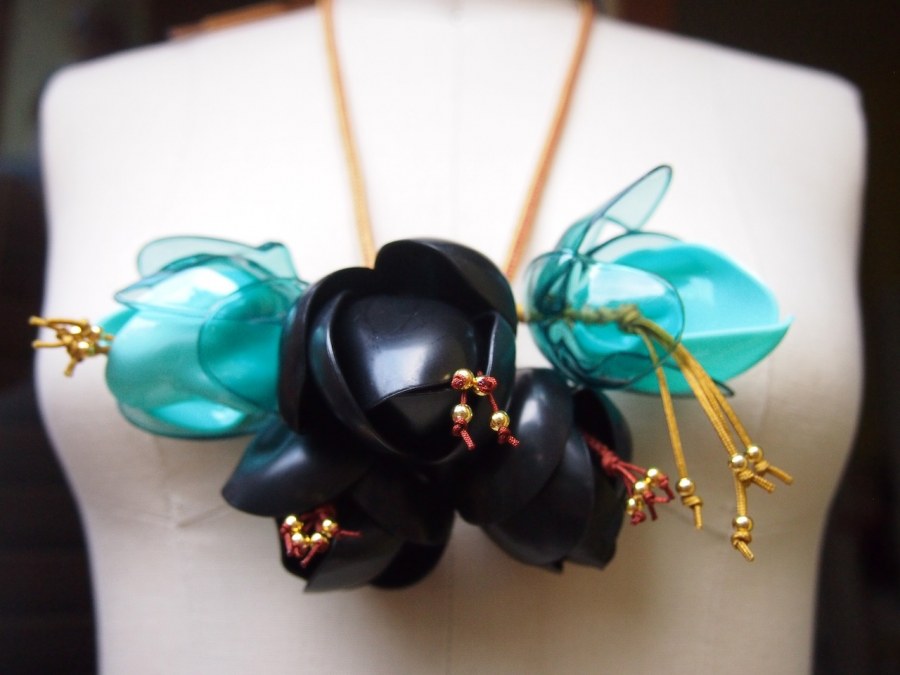
spoon flower necklace: take 2
a few spoons, a shoelace, and a kumihimo disk.
the plan for the original spoon flower necklace was always to make a bunch of interchangeable flowers in different colors. obviously i haven't gotten around to it. when i finally had a moment to make some new ones, the old technique just wasn't doing it for me.
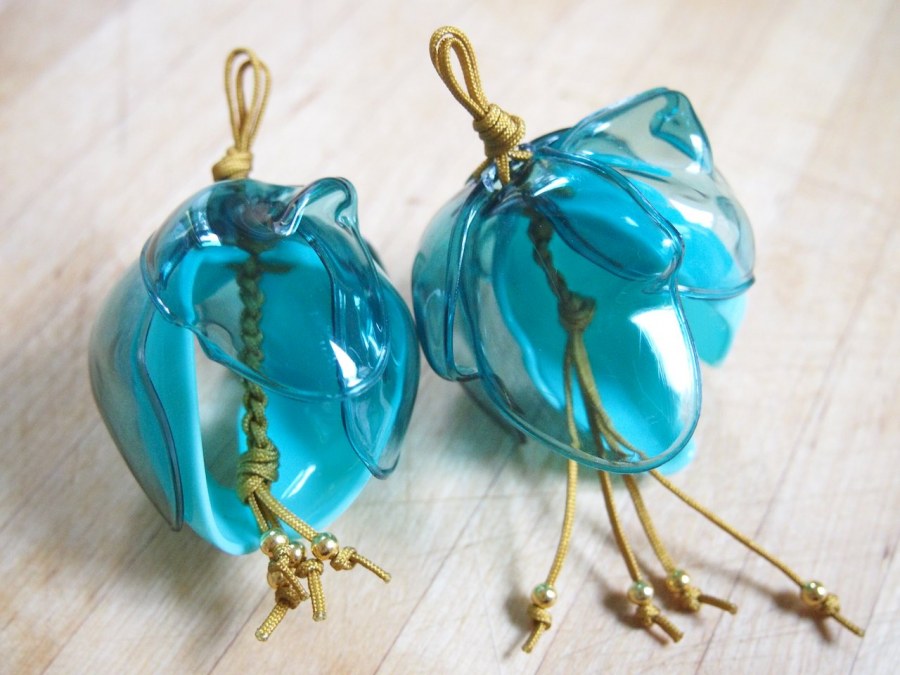
if you'll remember, i basically copied the flower construction from a marni necklace. at the time, i thought it was genius. but on second look, it's sloppy. after a serious struggle trying to make more, i started experimenting with some new methods. not sure when the kumihimo disk came to mind, but it proved to be the perfect tool for the job. stringing the petals into a spiral braid, made for a clean attachment and a more stable flower. after some trial and error, they started coming together quickly.
new and improved spoon flowers:
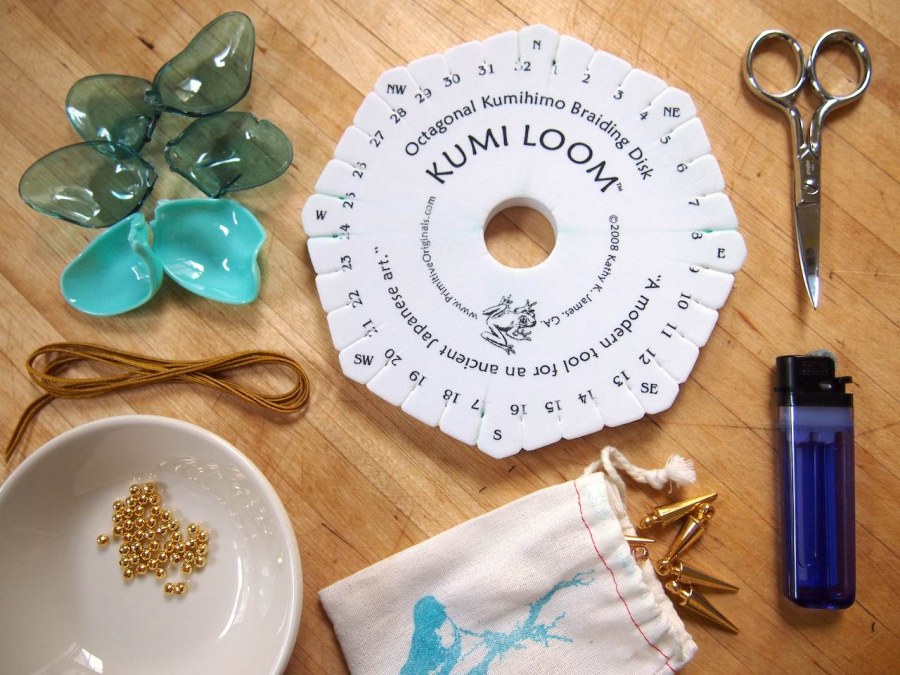
- 6 spoon petals
- nylon cord: 2 strands, 1 yard long
- gold beads
- kumihimo disk
- small pouch with weights
- scissors, lighter
the set up:
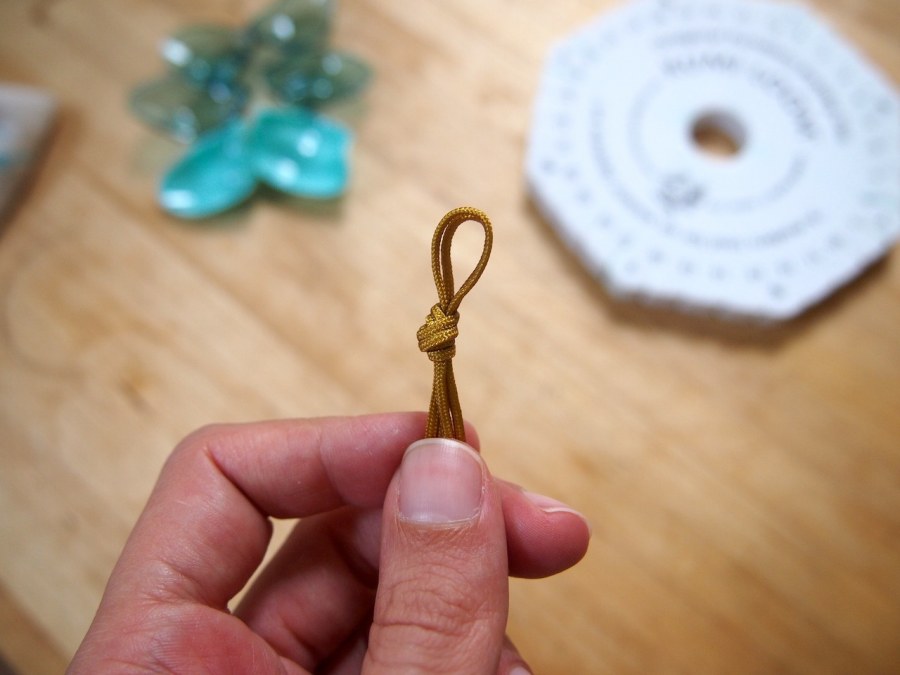

- with the lighter, singe the ends of the cords. with both strands together, fold in half and tie an overhand knot to create a small loop.
- string 1 petal on each strand, going from the back of each spoon, to the front. attach the weighted pouch to the loop.
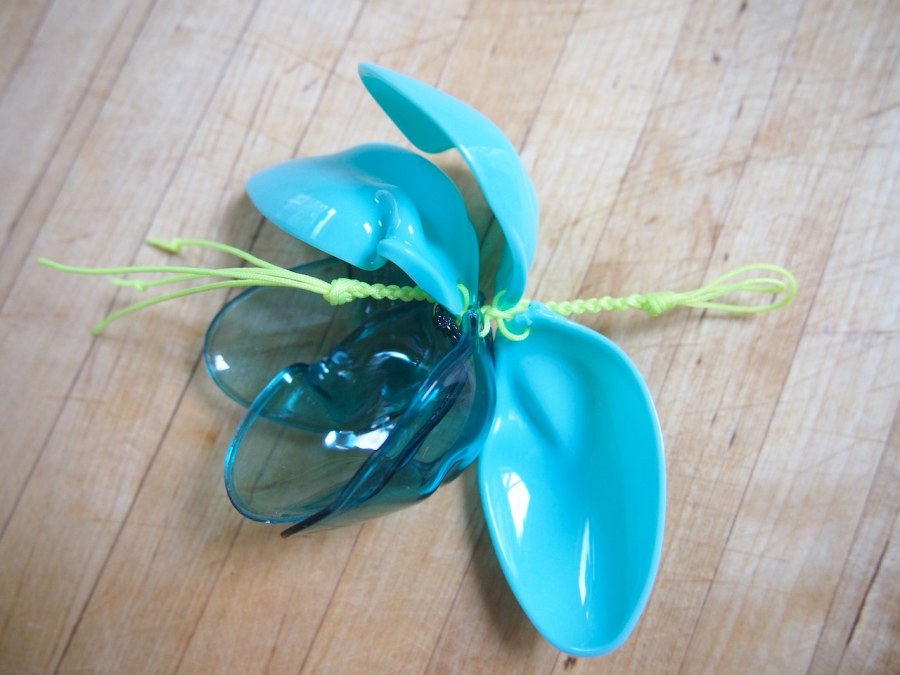
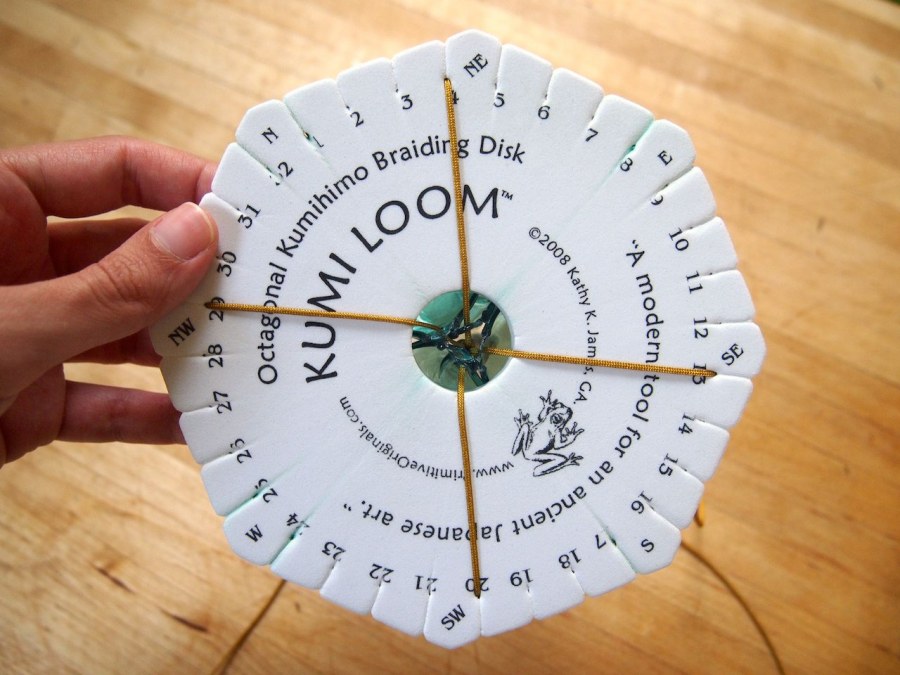
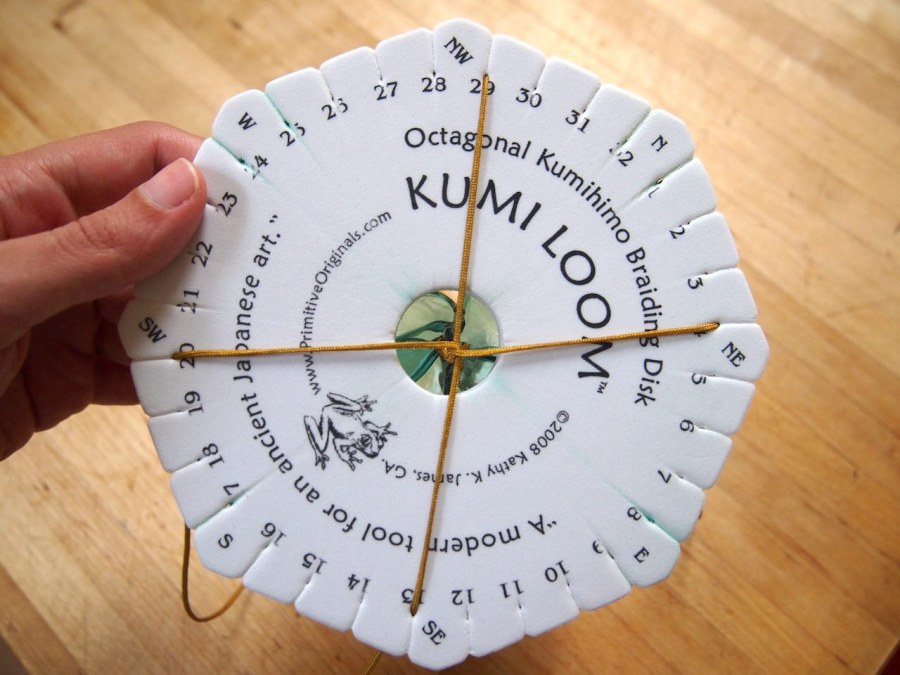
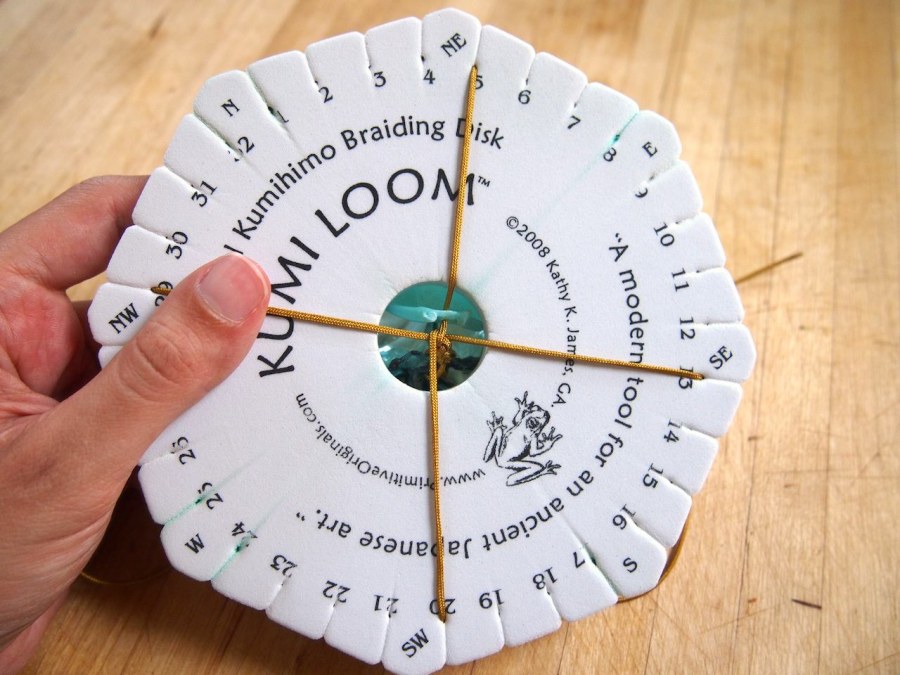
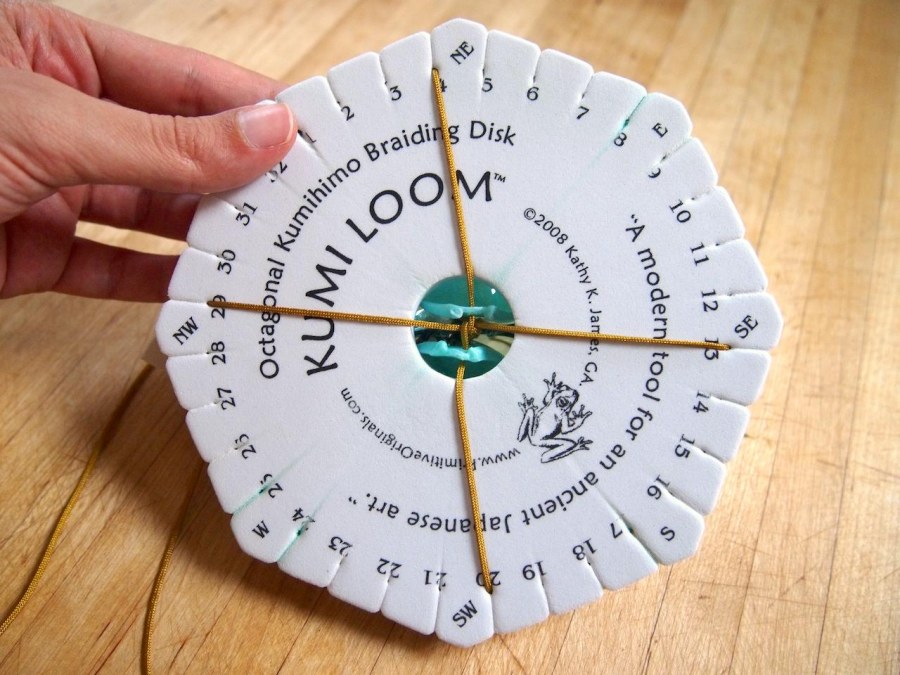
- bring all strands through the center of the disk and position as if you were starting a spiral braid. (for a refresh of how to work spiral braid, click here). make sure that all the petals are evenly spaced around the disk, and the cord tension is tight.
- braid the strands for 1 rotation.
adding petals while braiding:
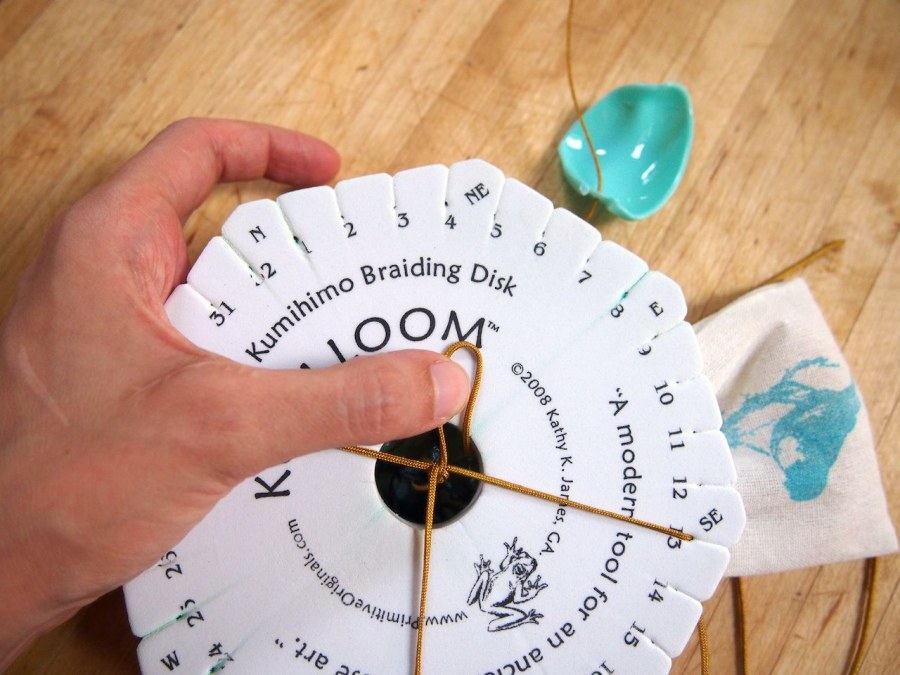
- remove one of the strands from the disk, but hold the tension tight with your finger while stringing the petal on it.
- push the end through the center of the disk, and string a petal on (going from back of the spoon to the front).
- pull the cord back through the center of the disk, making certain that it doesn't get caught or looped around any other strands. replace it in it's position. repeat with the cord directly opposite on the disk, placing it back in it's position once the petal is strung.
finishing:

- braid around the disk a few times so the petals are secure.
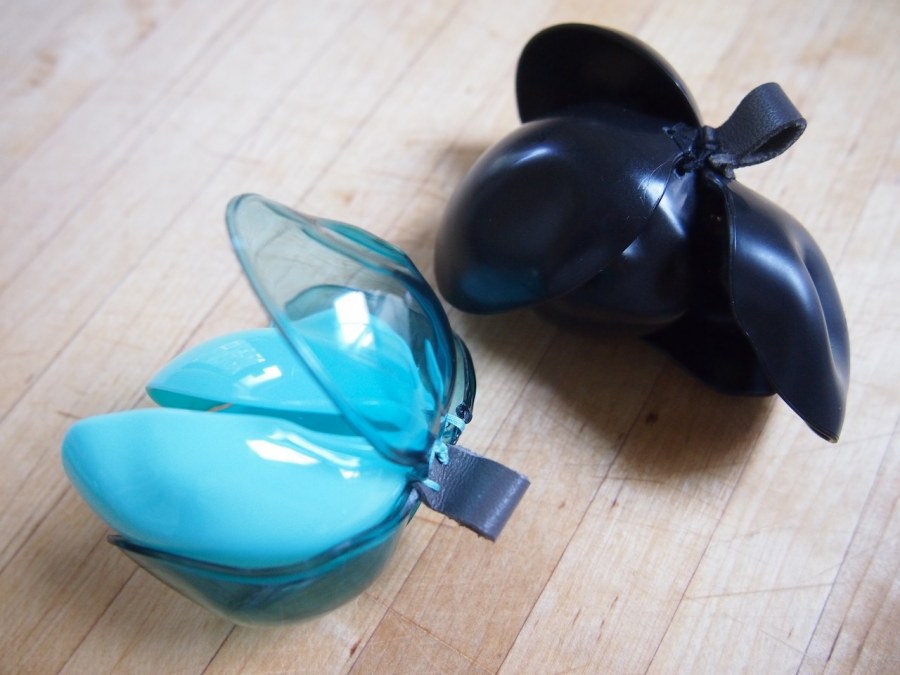
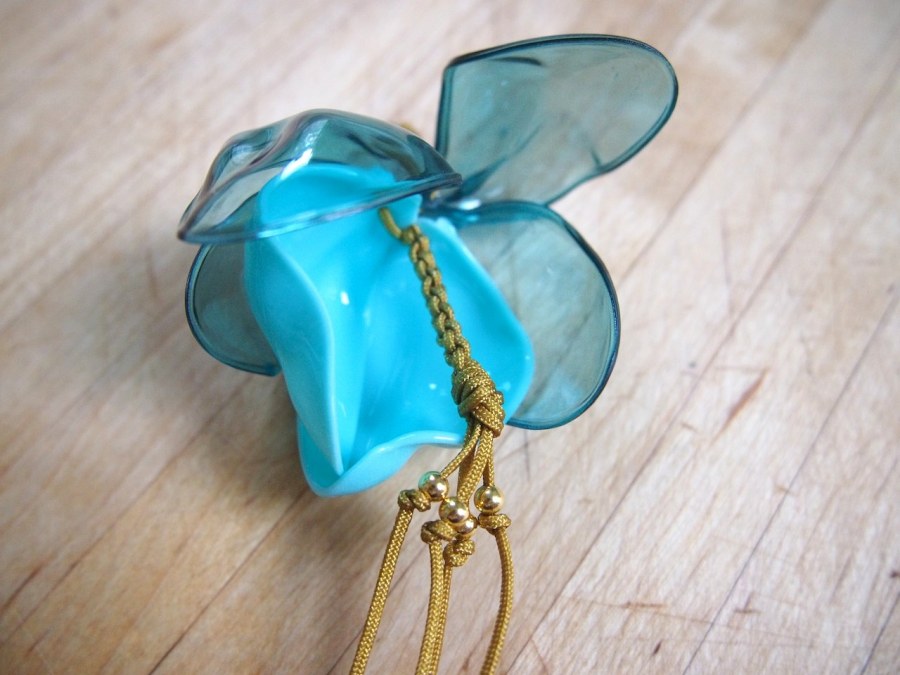
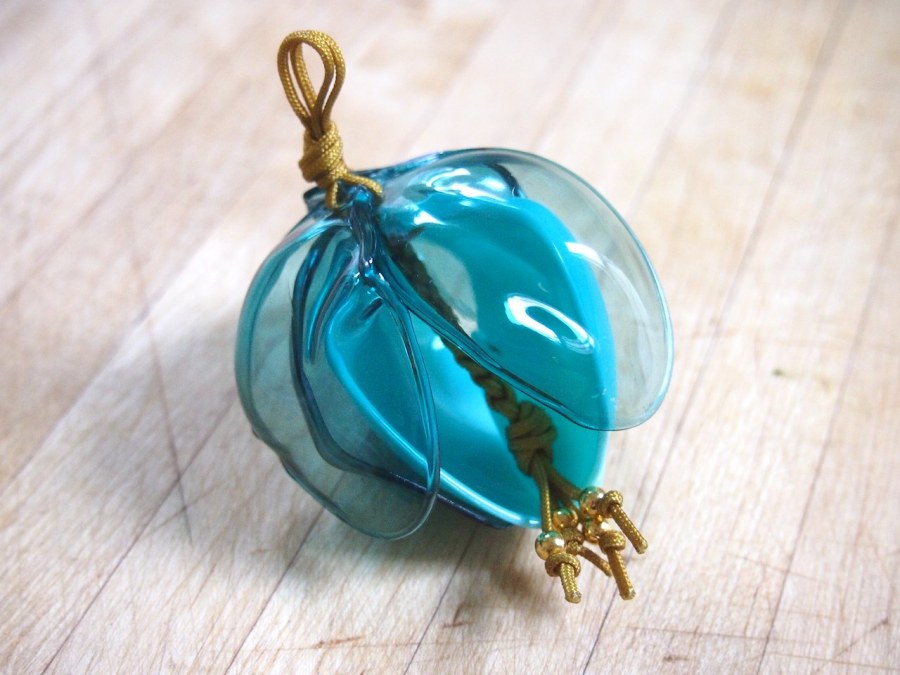
- remove the braid from the disk and tie an overhand knot. slide a bead on each strand and knot the end. trim the tails off and carefully singe the ends to prevent fraying.
- on some of the flowers, i braided for about an inch before tying it off. on others i braided less and left the cords long. i've already gone back to trim the long strands, and couldn't be happier with the results.
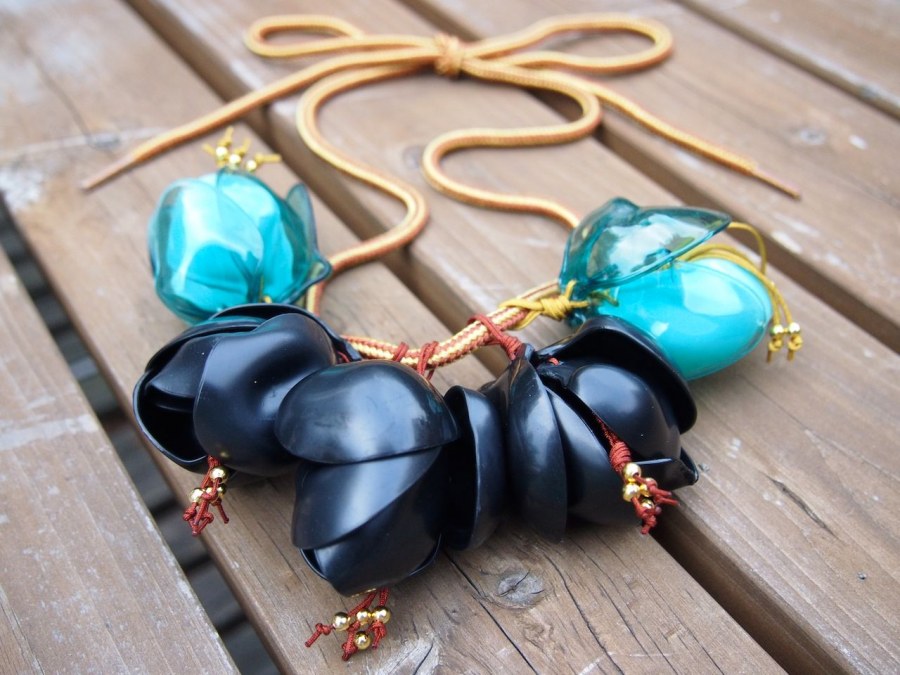
after the flowers were completed (each took about 15-20 minutes), they were strung on a boot shoelace. this whole necklace was put together in half the time of the last one. and the colors are definitely stepping in a more mature direction. now, do i tear apart the first one and give it a face lift?
