Spoon Petals
November 16 2012, 10:51 pm
Spoon flowers have been on the back burner for awhile. Almost every time I wear that necklace someone inquires about purchasing it, so I'm stock piling some flowers with sales potential. Here are the previous instructions for how to make a spoon petal. This post is really to expand on those instructions with some tips that have come in handy:
1. A crappy work surface to cut and melt on is helpful
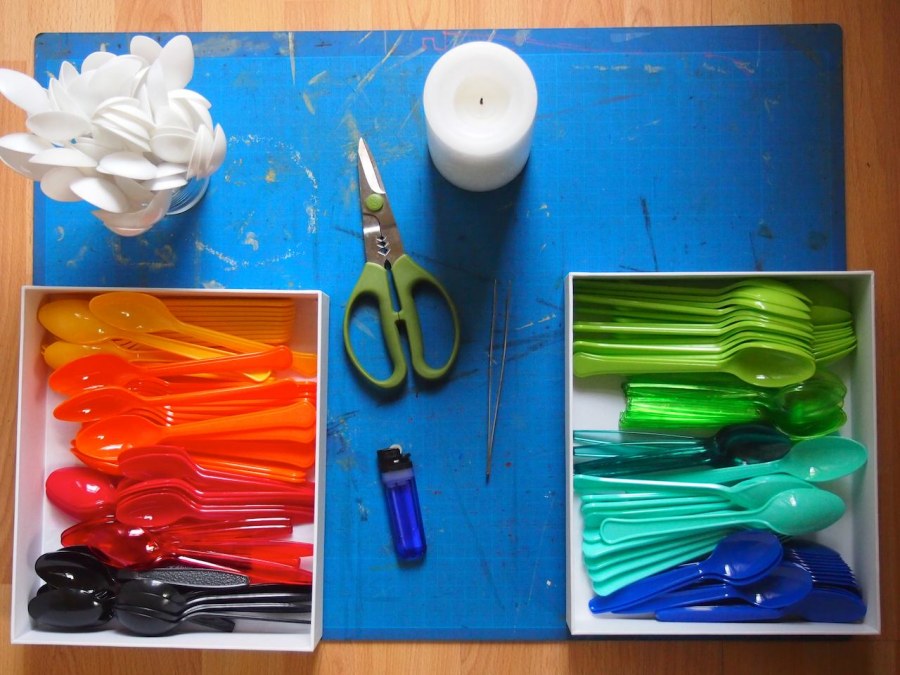
- An old cutting mat really helps with the clean up. not every shard of plastic will stay contained, but a majority do.
2. Serious ventilation
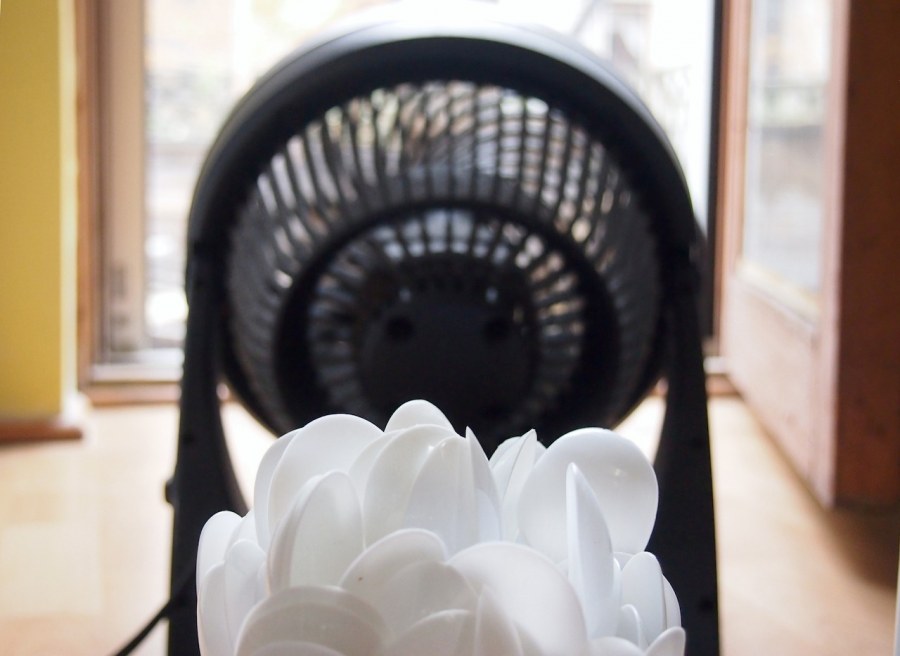
- Can't stress this one enough. A fan and an open door will help prevent breathing in toxic fumes, which in turn keep your brain cells from dripping out of your nose.
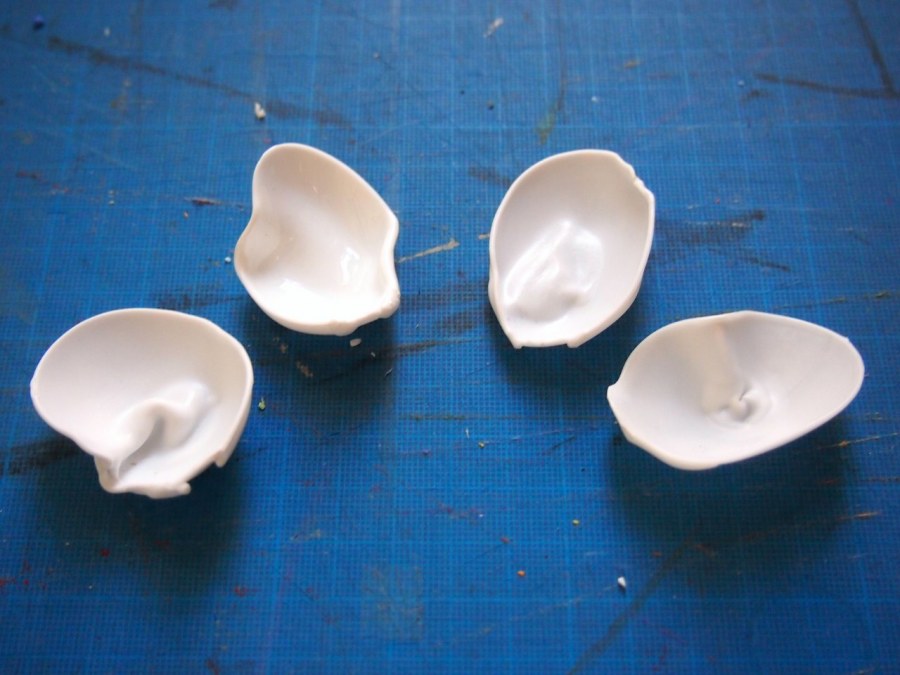
3. Cutting off the handles:
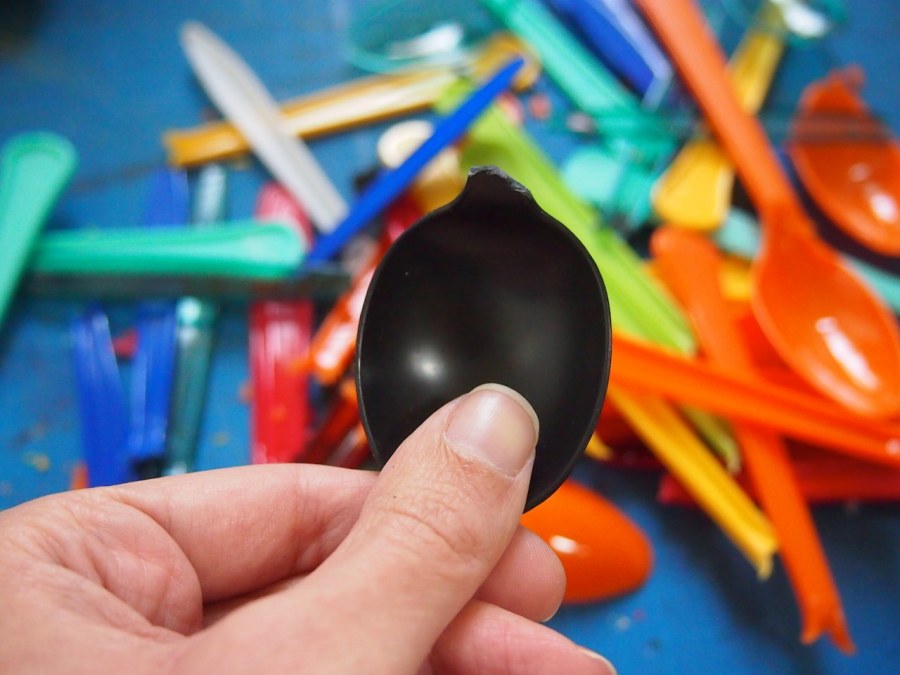

- Each flower takes 6 petals, but extras are good to have on hand, because they can break when cutting, blacken while melting, or split when drilling.
- Making one severe horizontal cut to remove the handle can split open the spoon. It's easier to make small cuts on each side, angling the shears towards the handle at the middle. Cutting it a bit away from the bowl of the spoon prevents splitting it, and will leave a little arrow-like tail. Snipping off the tail in the same way (from each side towards the middle), allows you to get close to the bowl, and leaves a cleaner cut line.
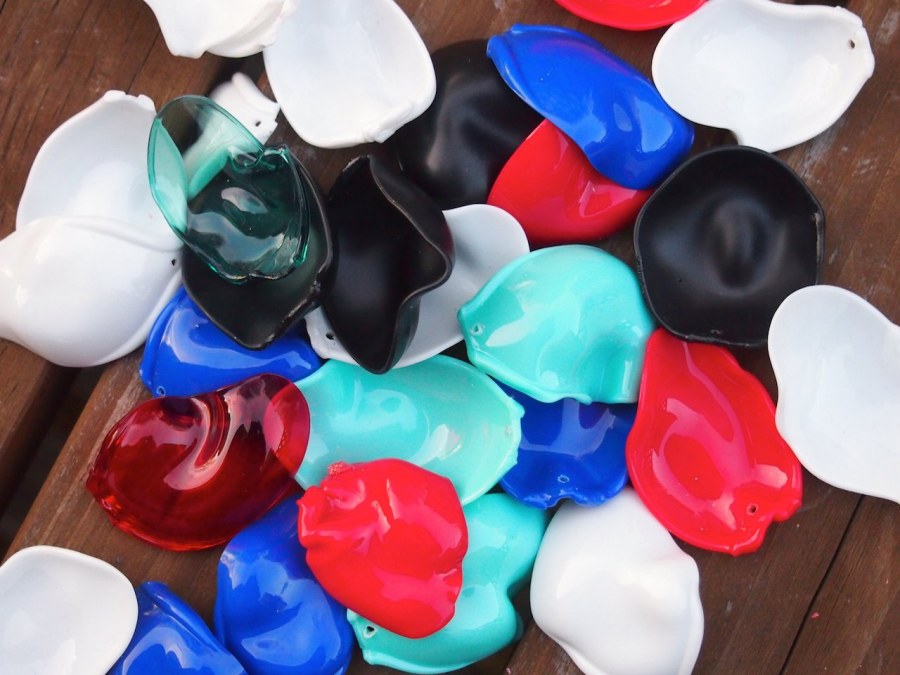
4. Melt the spoon twice
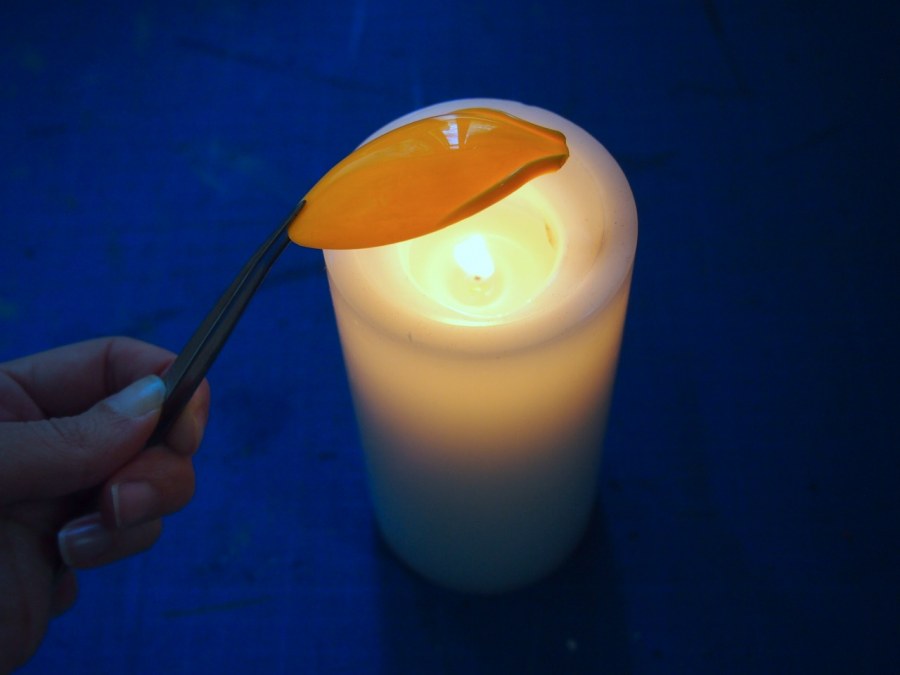
- First, melt the bowl of the spoon, and the sides, by hovering it over the flame. Keep it moving trying to heat the entire surface evenly. Once it begins to droop, take it off the flame and very gently press it into the desired shape. Let it cool for a moment.
- Put the cut edge of the spoon back over the flame, carefully moving it to prevent scorching. This will melt the rough, jagged spots. Try to keep the area around the cut edge a bit flat- this will help when drilling the hole.
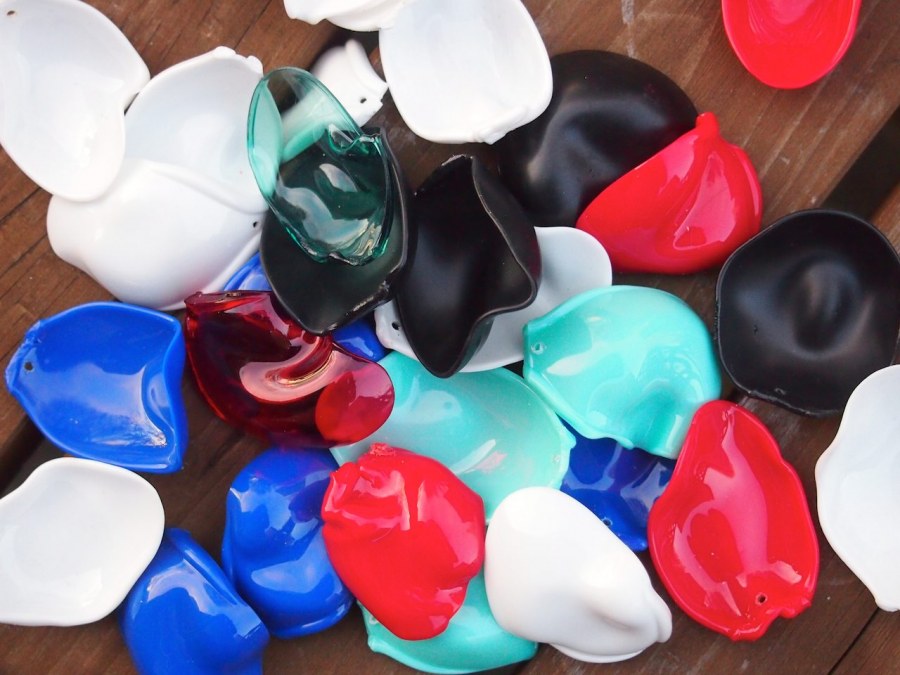
5. The cheapest take out spoons don't melt so good
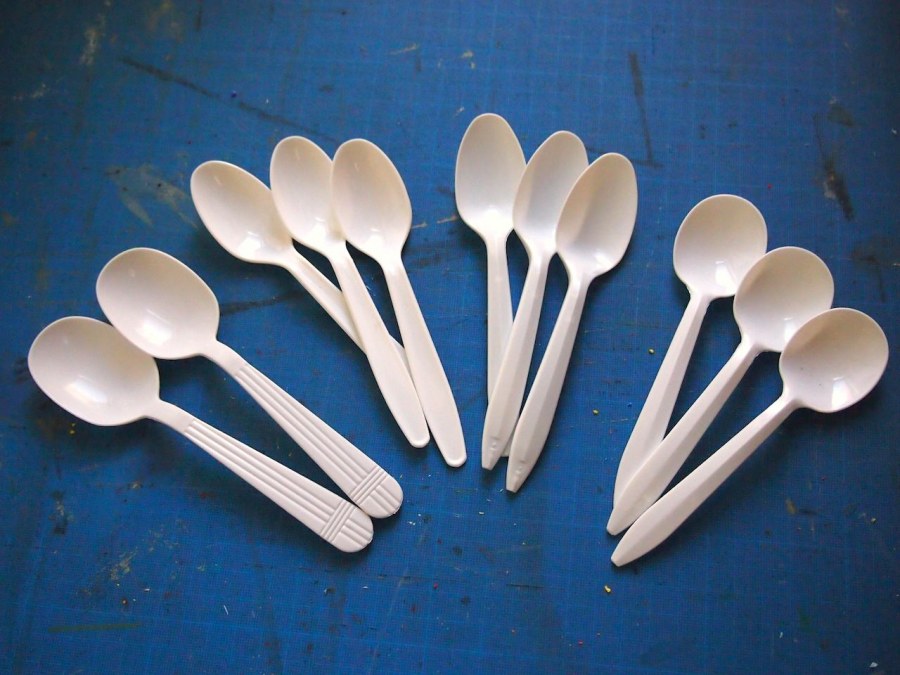
- I had 4 different types of plastic spoons: A couple big fancy looking ones, party city "value weight" (same type as the red and royal blue ones), cheap take out spoons and wholefoods soup spoons. The only ones that melted properly were the "value weight, where the plastic in the bowl was a pretty uniform thickness. The other spoons seemed to be thinner in the center of the bowl. When heated, that area melted quickly and bubbled up before the edges could do anything. It's a bummer, because these guys are easy to cut, and they're free.
6. Drilling
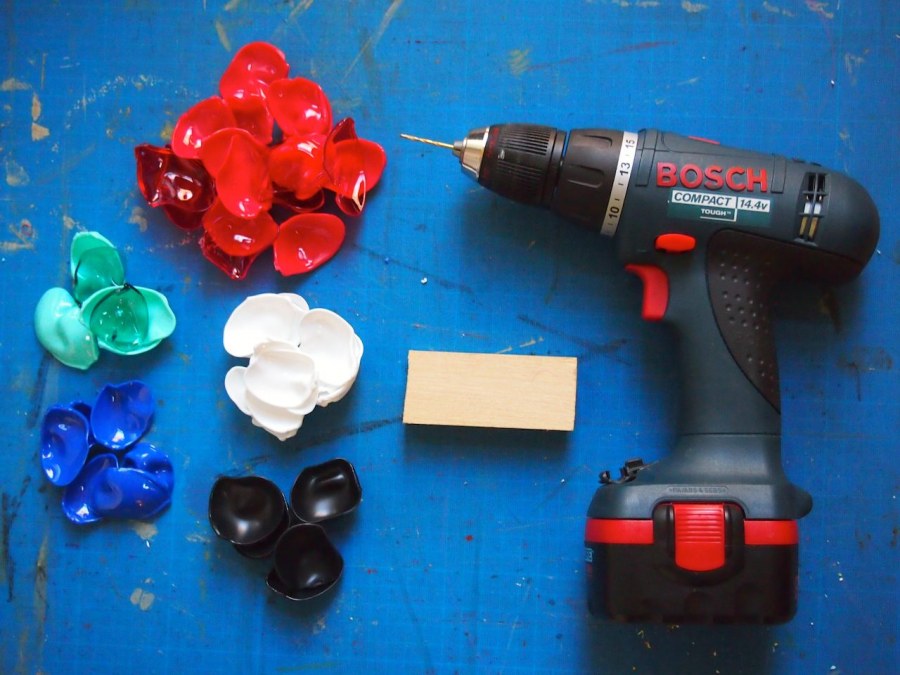
- A small block of wood helps to position the petals for drilling. On the petal, the area around where the hole will be should lay flush on the block. If it isn't laying flat against the block, it might split when drilled. It doesn't matter if you drill from the outside to the inside, or the inside to the outside. I like to start the drill before it hits the spoon, so it doesn't slide all over and scratch the surface.
Whew! Time to bust out the kumihimo disk and braid these suckers up.
