poly cord knotted headband
July 18 2012, 12:00 pm
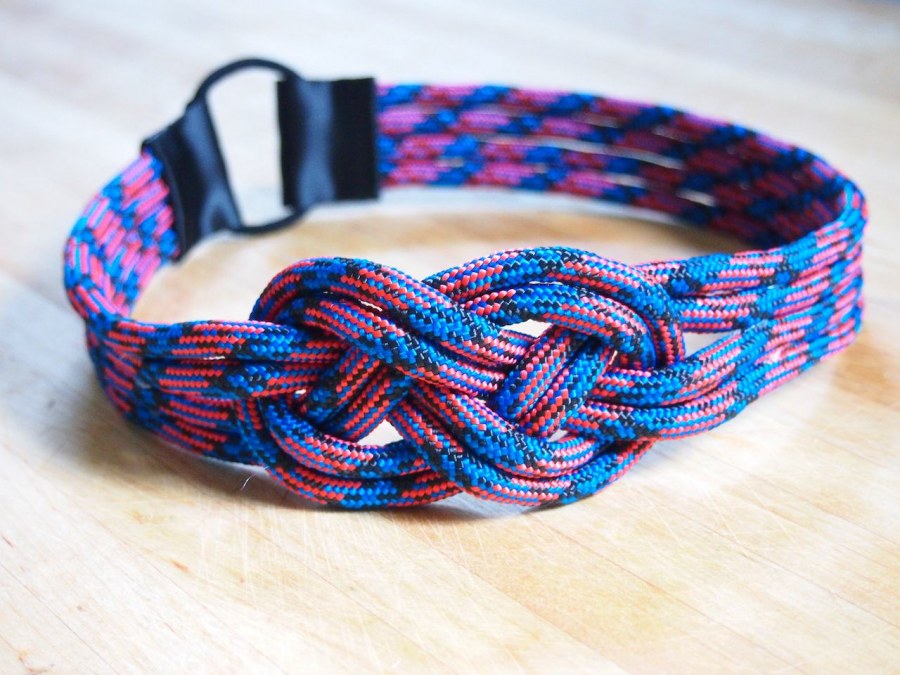
a crappy weather combatant.
when it's over 90 degrees in new york, 2 things are certain:
- i'll need popsicles.
- i'll have a horrible hair day.
the only solution to number 2 is a thousand bobby pins and a good headband. there have been so many sticky hot days recently that i've cycled through my headband stash, and needed something new. a recent purchase of poly cord at the hardware store was begging for it.
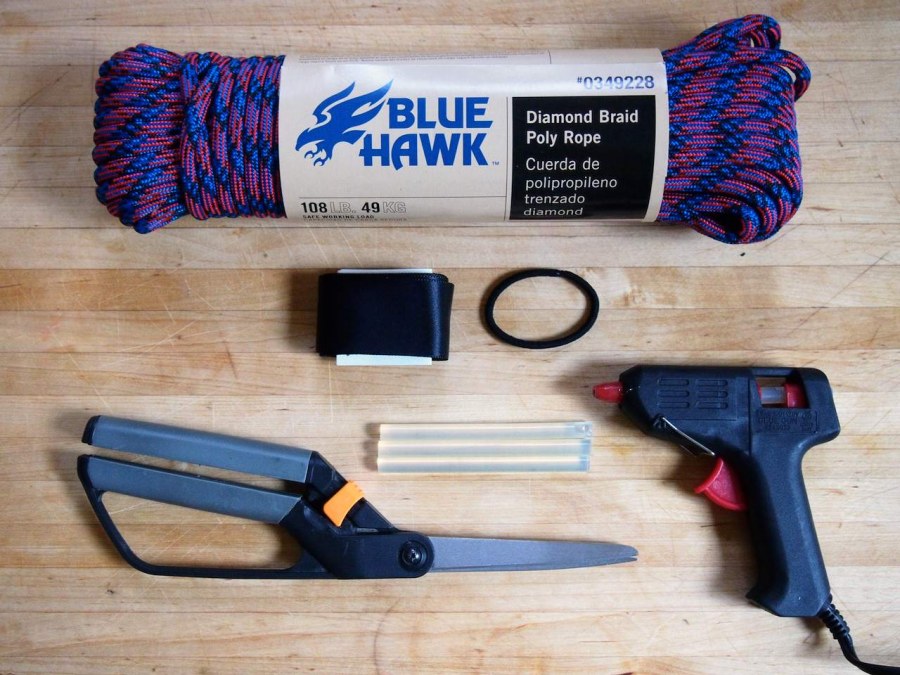
- 1/4" or 3/8" poly cord rope
- 1 1/2" wide black satin or gros grain ribbon
- 1 hair band
- scissors
- glue gun and glue sticks
there are a ton of tutorials on how to tie this knot. i used this one, but there's also this one, and even this one. i had a half hour to throw this together, so hot glue was preferable to sewing. it held up through the heat and a wicked thunderstorm to perfection.
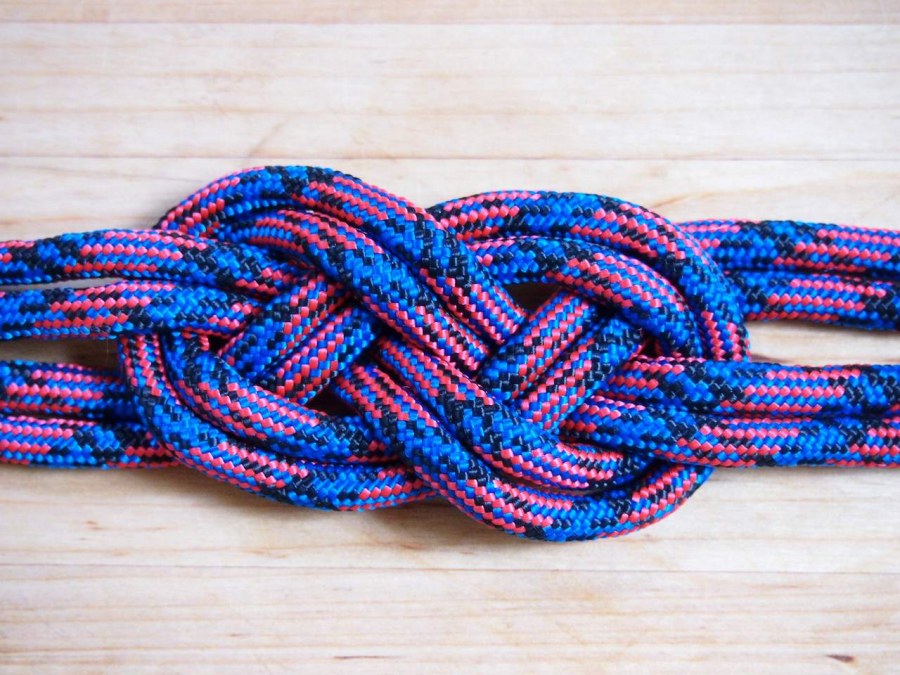


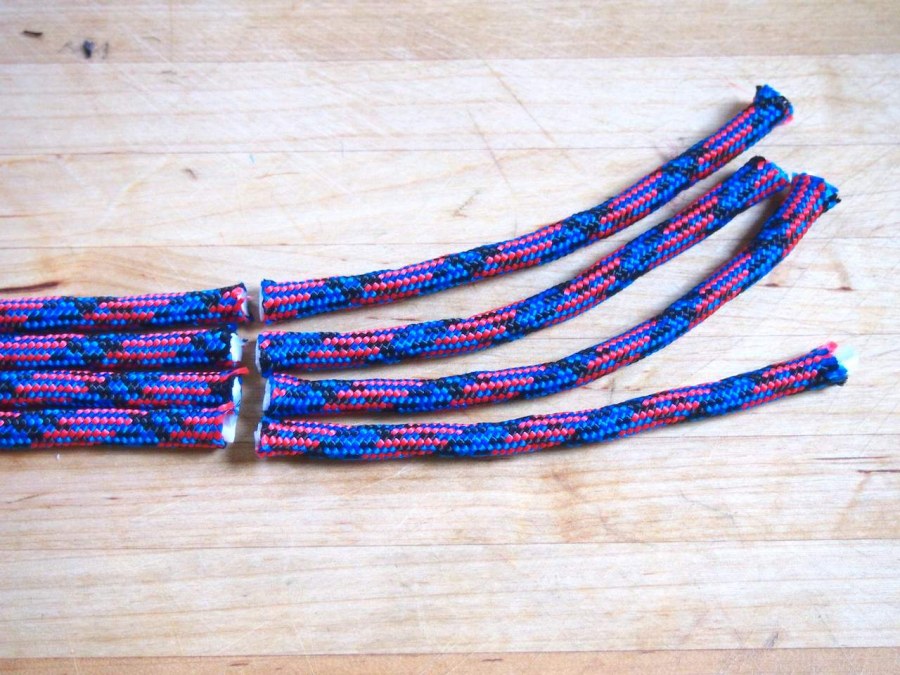
- cut cord into 4 pieces, each 1 yard in length. follow any of the tutorials above to tie the knot.
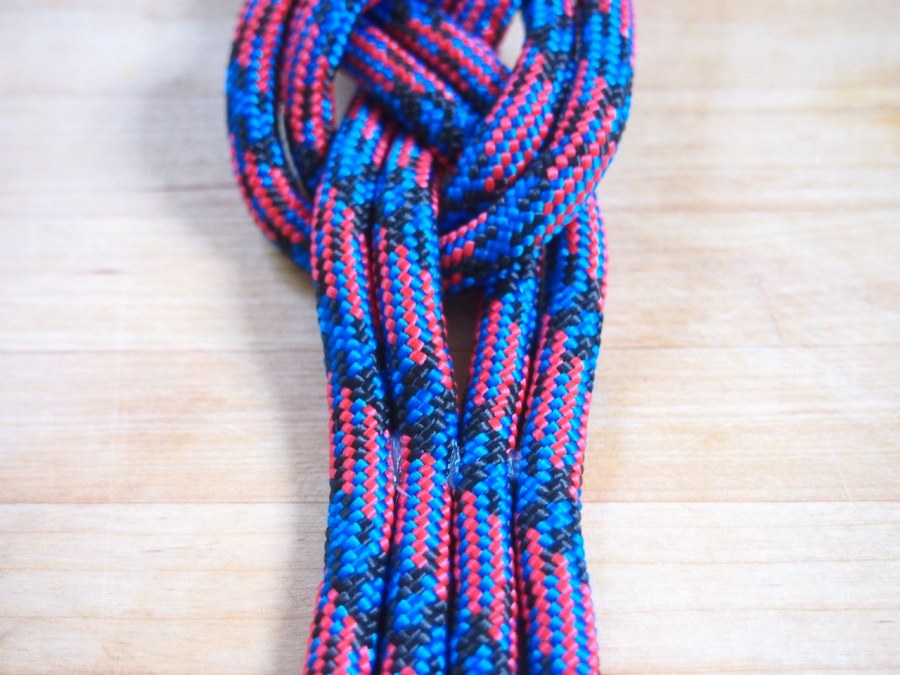
- heat up the hot glue gun. about 1" from the knot, glue together the center strands. use as little glue as possible to keep it clean.
- glue the outer strands to the center at the same distance from the knot. repeat on the other side.
- cut the ribbon into 2 pieces, about 2 1/2" long. try on the headband and determine where you want the knot to sit. i didn't want it centered, so the starting length was perfect for the longer side.
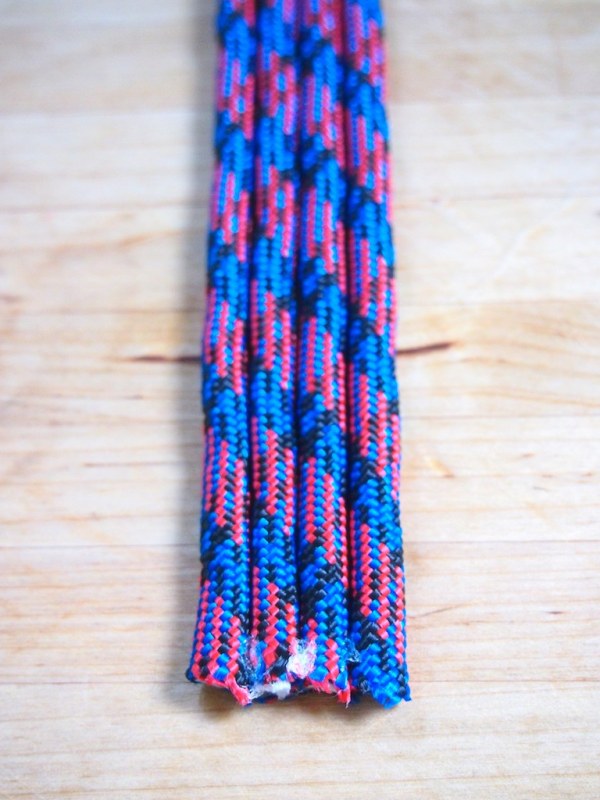
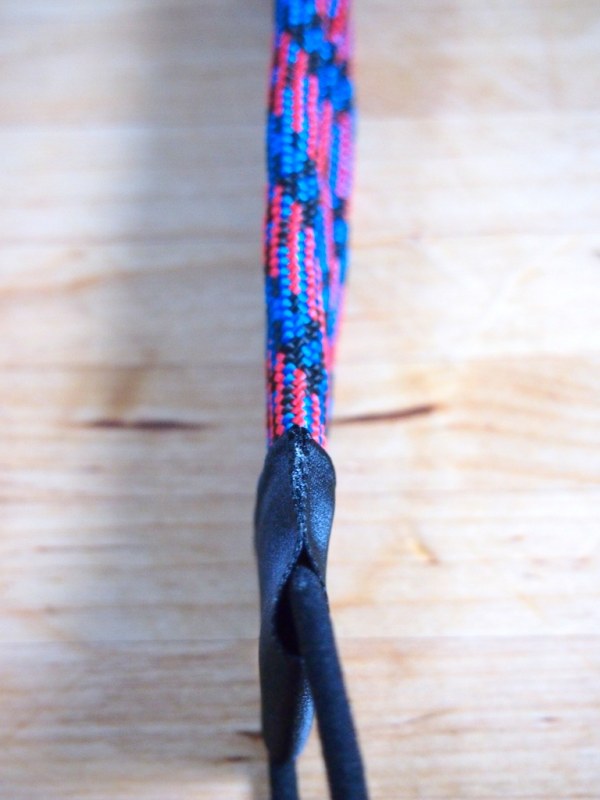
- trim all the cords on one side to the same length. glue together (this doesn't have to be super neat.)
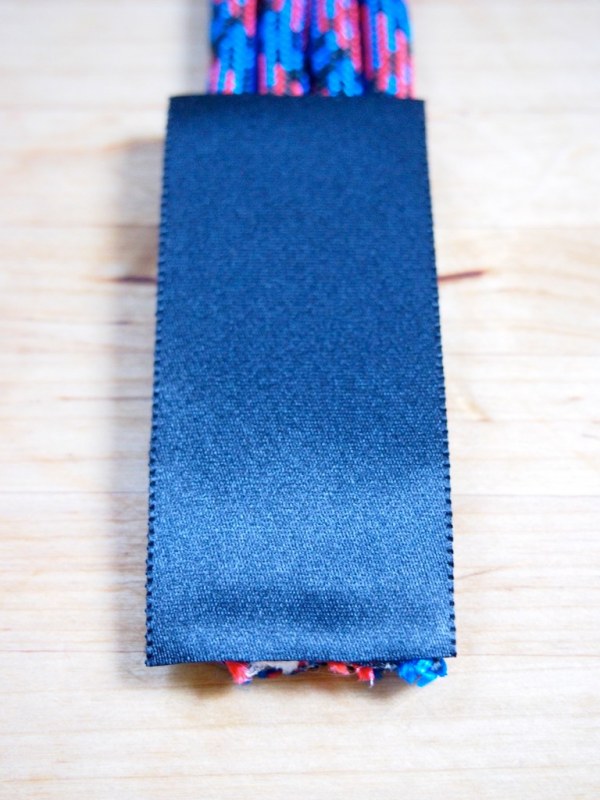
- glue ribbon to the top side of the cords, along the bottom edge.
- run another line of glue along the bottom edge of the ribbon, and fold it back towards you. this will create a clean hem on the outside.
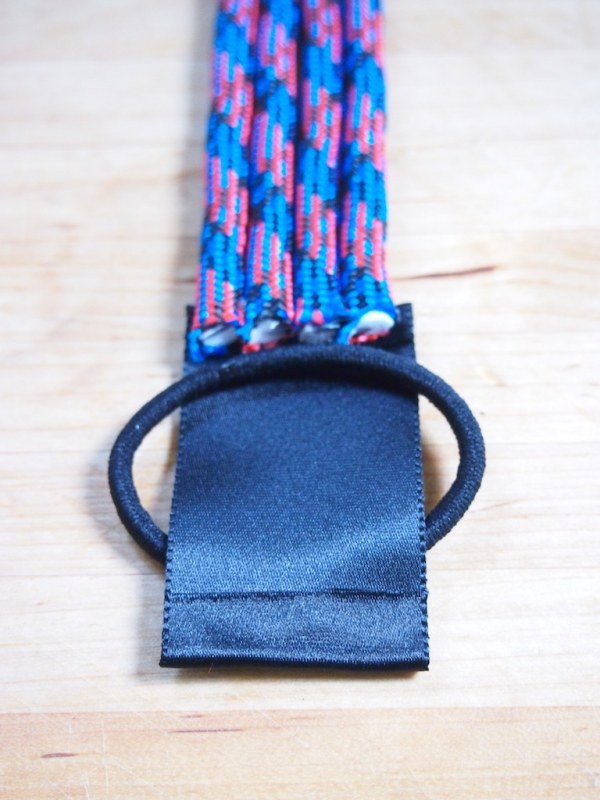
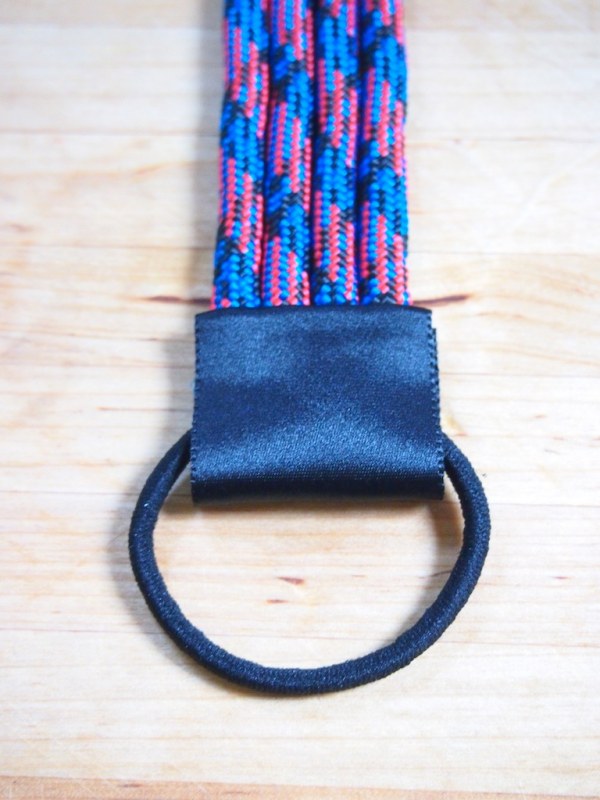
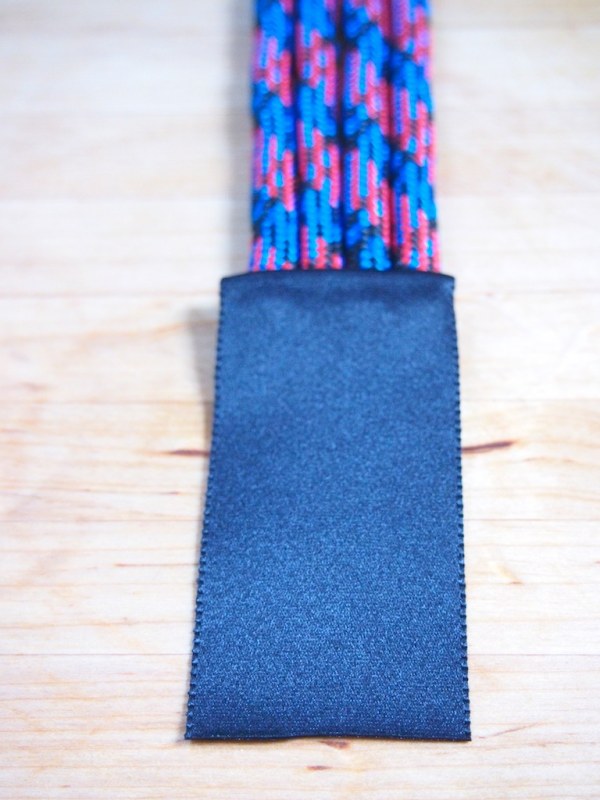
- flip the ribbon over. slide on the hair band.
- run a line of glue along the bottom edge, and fold it up to create a hem.
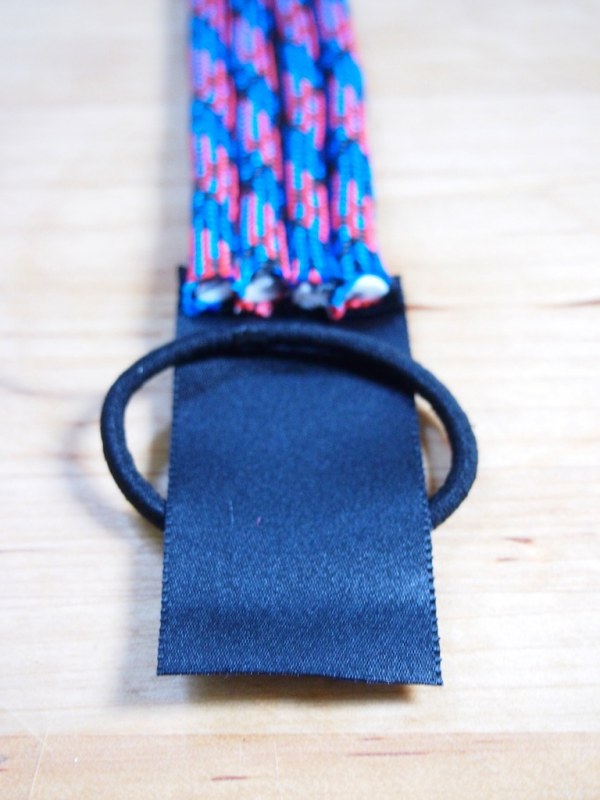
- fold the ribbon in half, and line up the top edges of the hems. glue the back hem to the cords.
- at each side of the ribbon, add a tiny bit of glue. pinch together the sides and trim off an excess glue.
- at this point, try on the headband again to figure out how much needs to be trimmed. i took about 4" off.
- repeat the same steps for finishing the ribbon on this side, looping the elastic through.
