resin swirl trials
April 4 2013, 1:30 pm
it's very easy to get discouraged by resin unless you come to terms with the fact that it takes a lot of experimenting to produce results. equal parts fascination and frustration, this post isn't much of a "how to", but more like field notes of what's worked and not worked in the quest to make some swirled resin spacers.
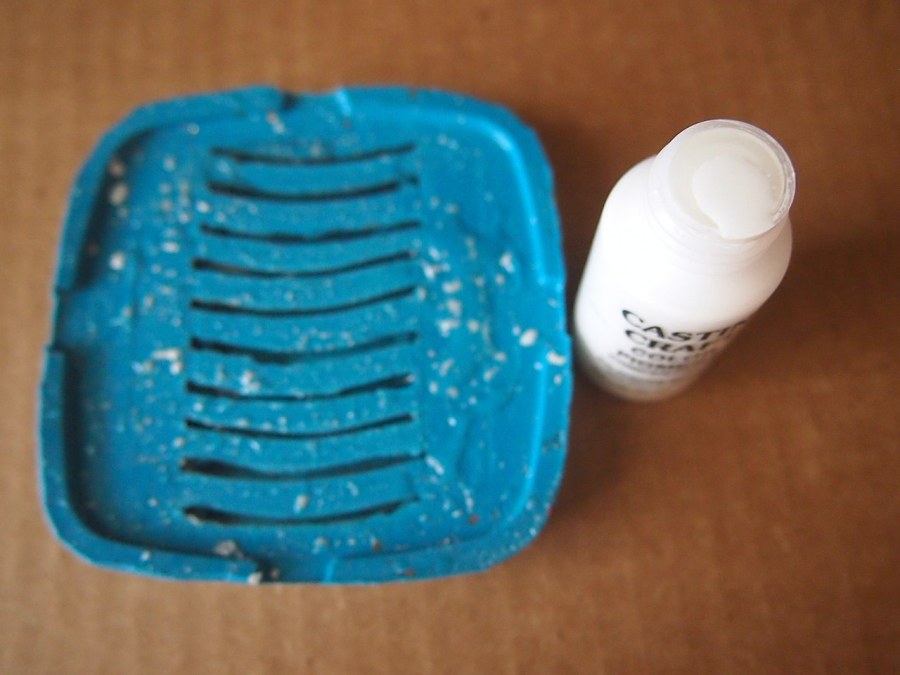
each trial used 1oz. of mixed ice resin, opaque white pigment
, silicone spacer molds, plastic baggies, scissors, and toothpicks (for a refresh of how to pour resin, click here).
trial 1: toothpick style
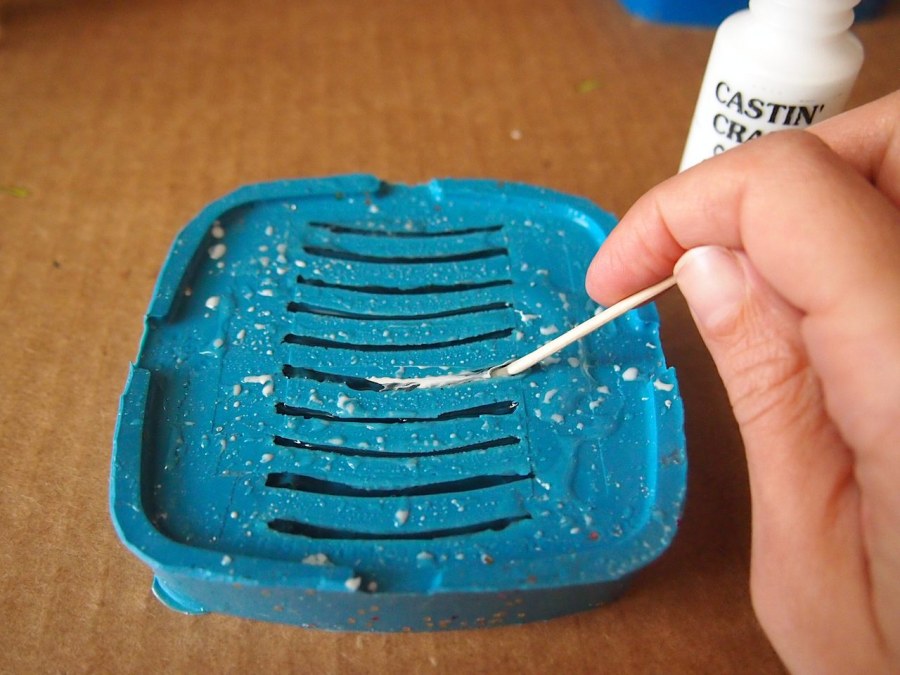

- similar in style to the epic tortoise experiments of 2012.
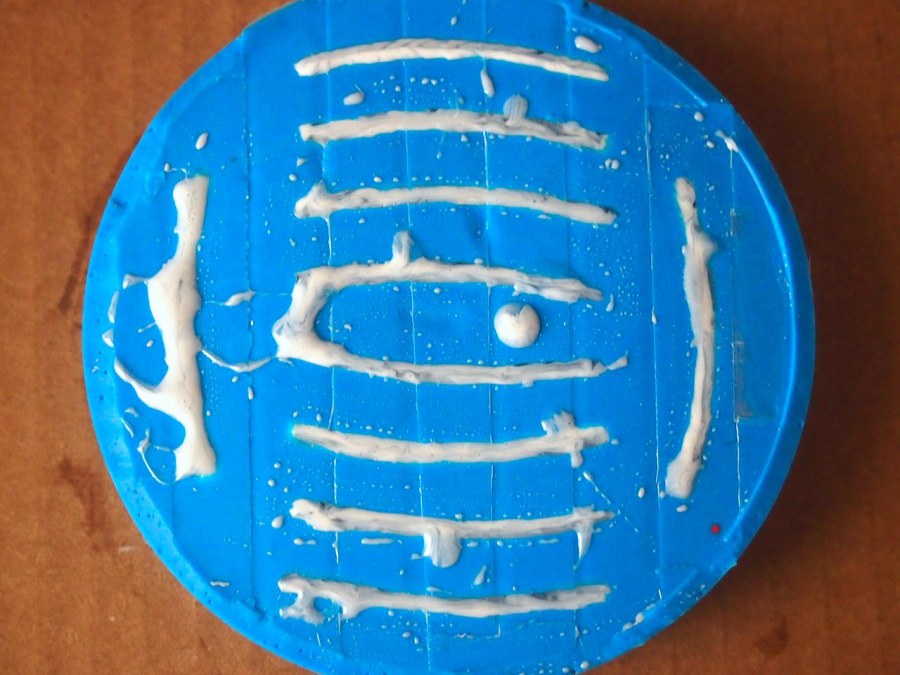
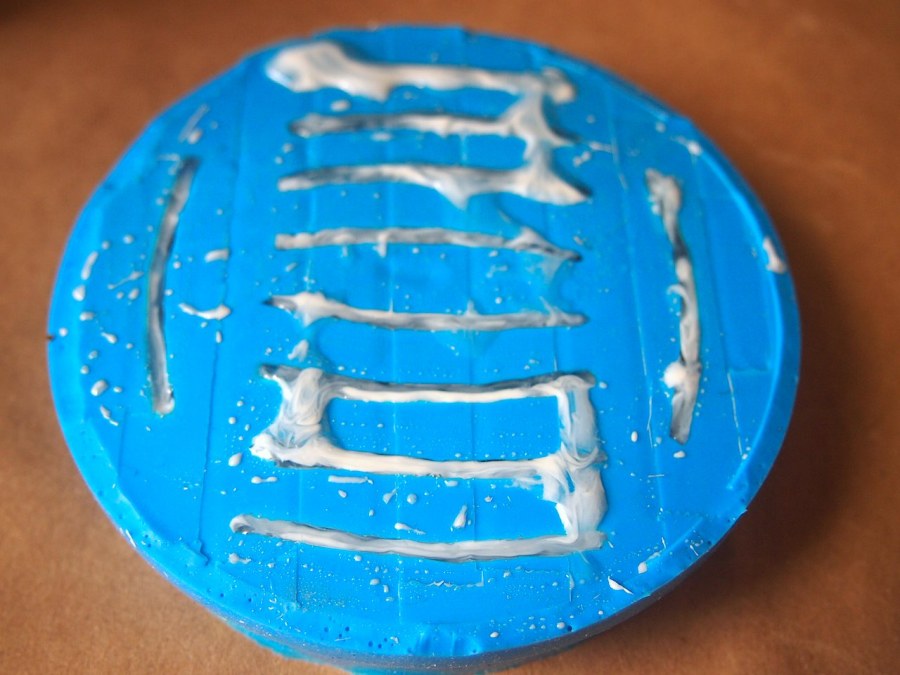
- after filling the mold with clear resin, a toothpick dipped in pigment was swirled into each cavity.
- the results, although interesting, didn't produce the desired "swirling" effect, and weren't remotely consistent from piece to piece. also, anywhere the pigment touched the bottom of the mold, the resin didn't cure properly and stayed sticky to the touch.
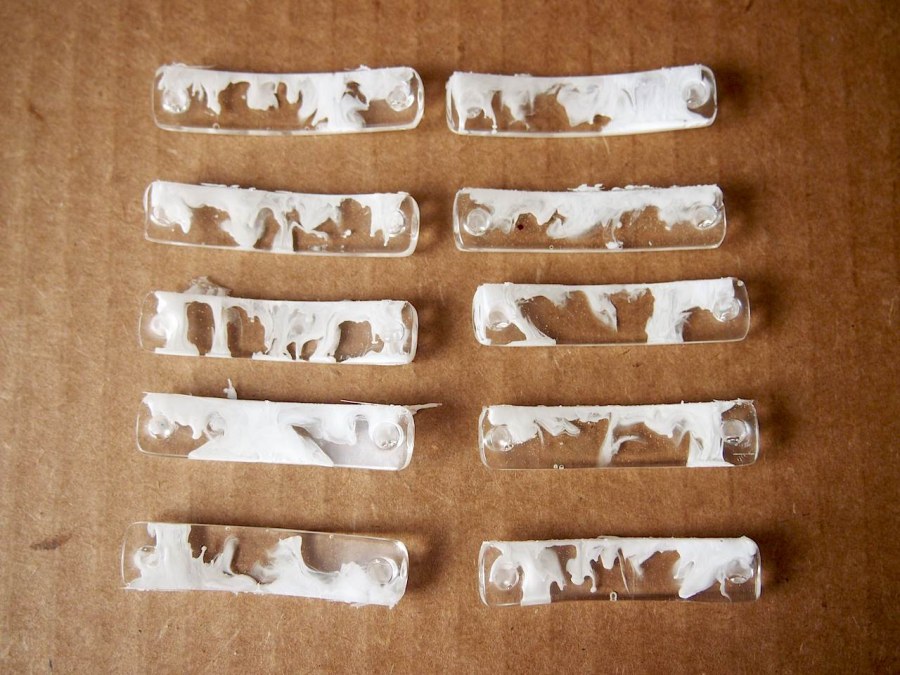
trial 2: baggie style
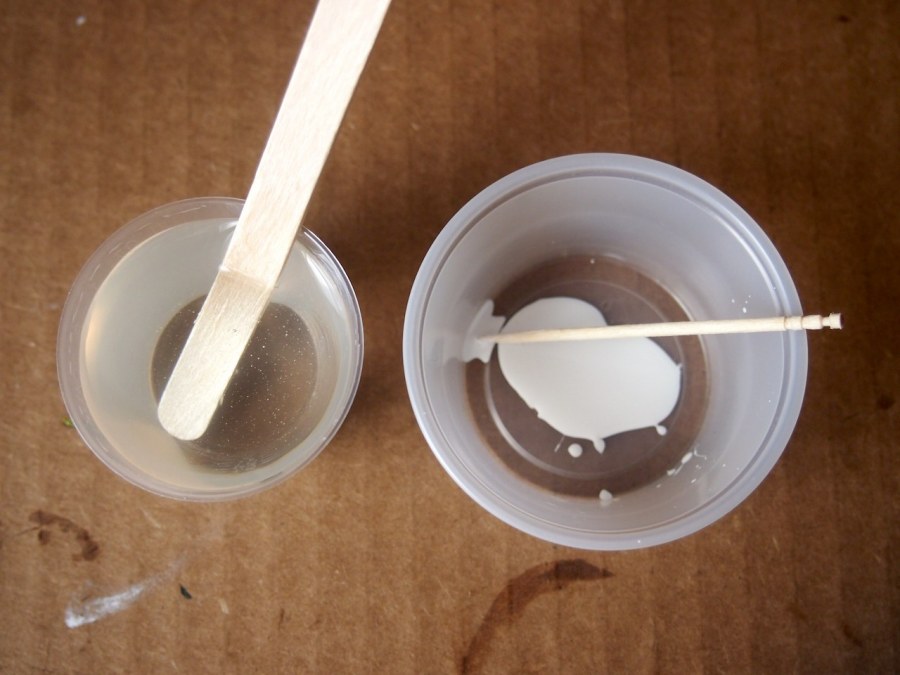


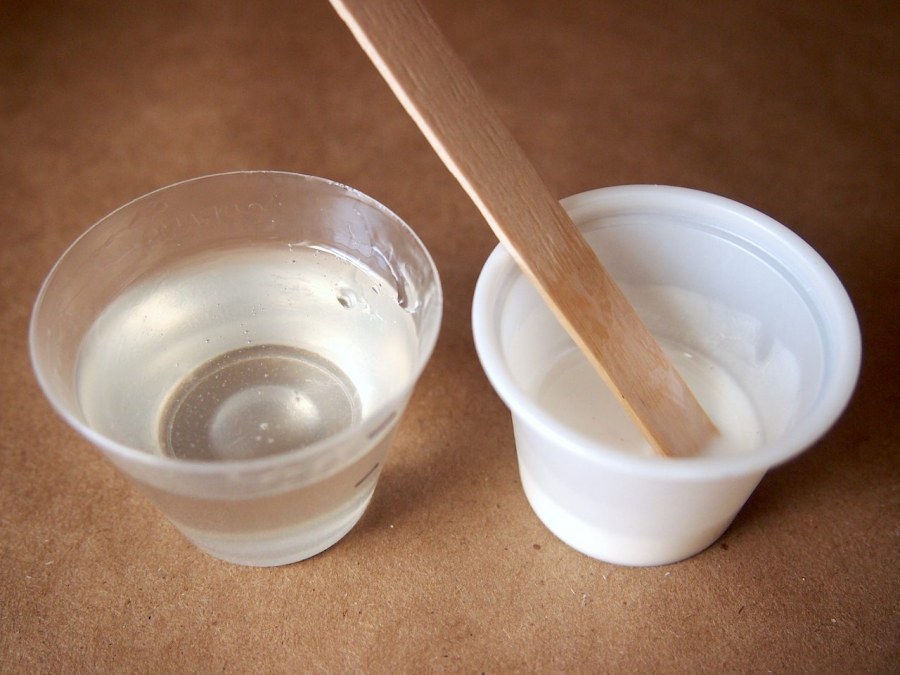
- the pigment was added to a separate cup, and half of the mixed resin was stirred into it uniformly to create a solid white.
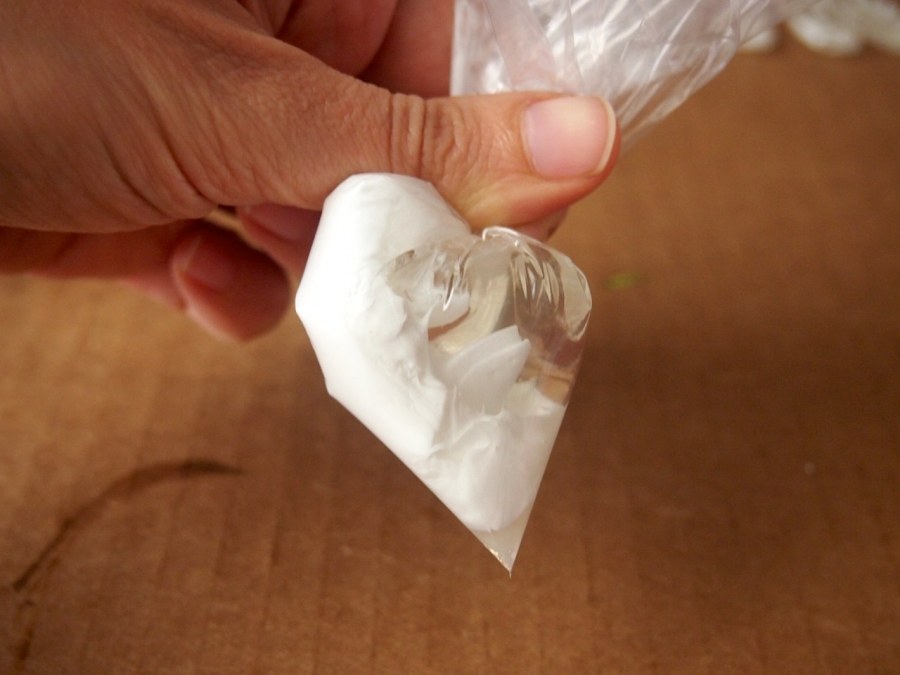
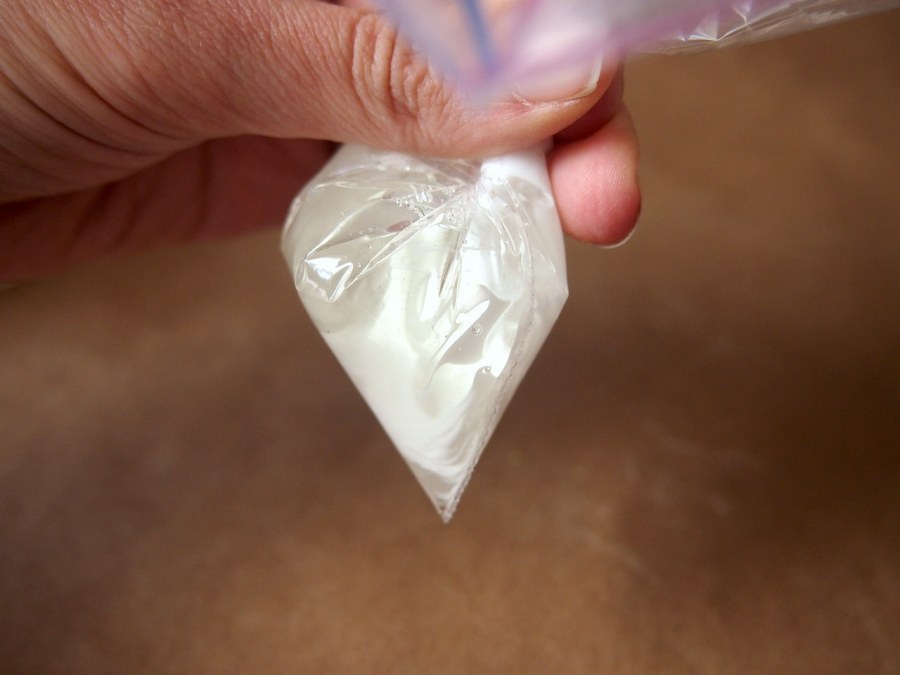
- both resins were poured into an open baggie at the same time, with the clear on one side and the white on the other (zip-lock top helps hold it open and is stronger than cheap sandwich bags). when the baggie was twisted up, the resins combined to make a promising swirl.
- when the mold was filled, each cavity seemed to have an equal distribution of both colors.
- it's difficult to tell what's an air bubble and what's clear resin in the mold. a bit too much toothpicking for air bubbles most likely mixed the resins more than needed.
- the results, once again, are interesting. overall effect of the swirling was achieved, and the color seemed uniformly distributed. unfortunately, there was far too much white pigment, making the pieces too opaque in profile.
trial 3: more baggie style
- basically, the same as above but using much less white resin. ratio this time was about 3/4 clear to 1/4 white resin.
- again, the swirl in the baggie looked promising.
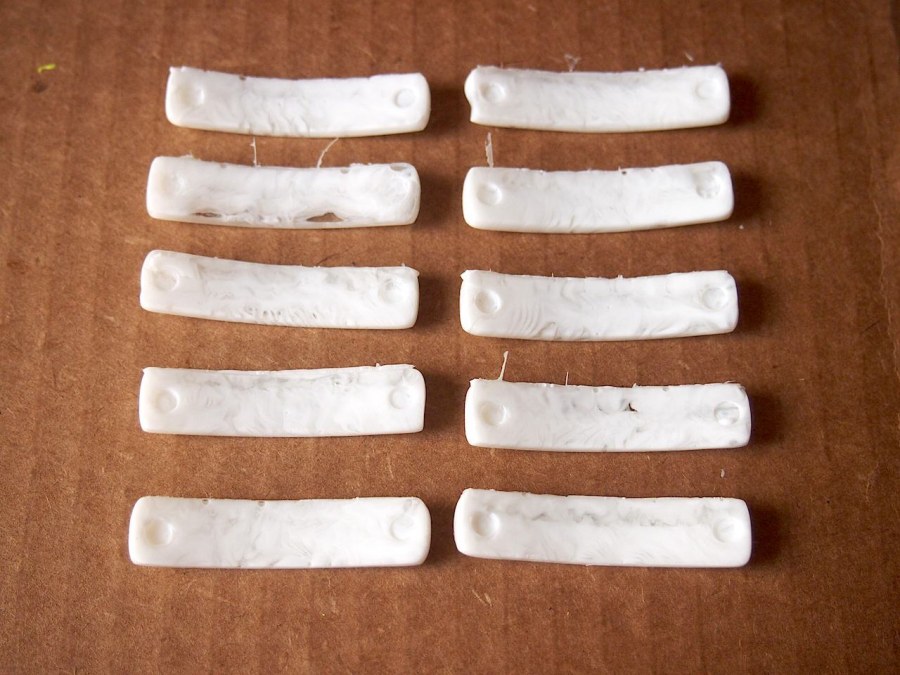
- when poured, it seemed that the color distribution was uniform within each piece. while there was less white overall, it was still more than anticipated.
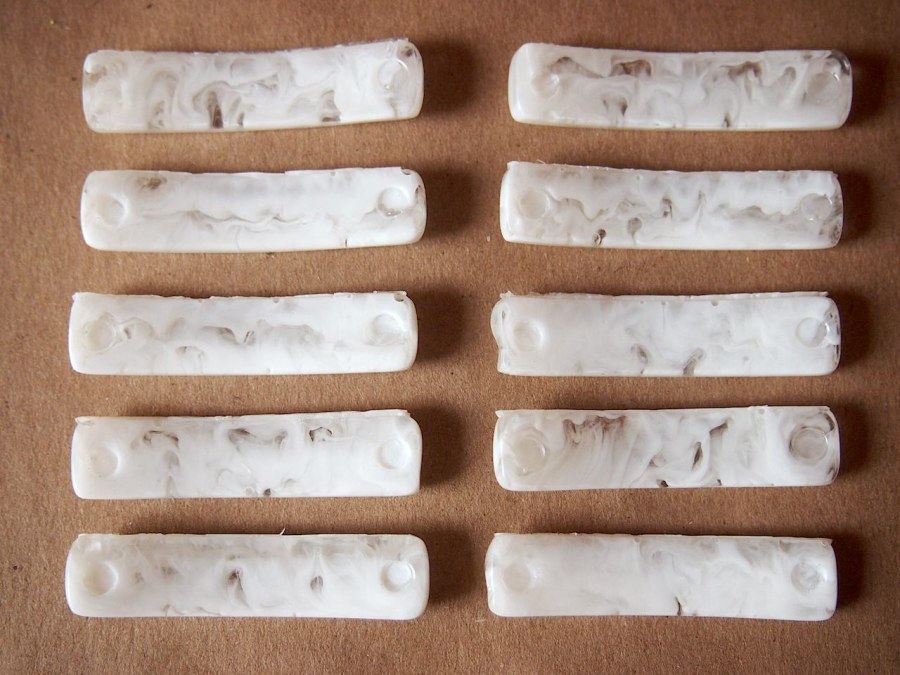
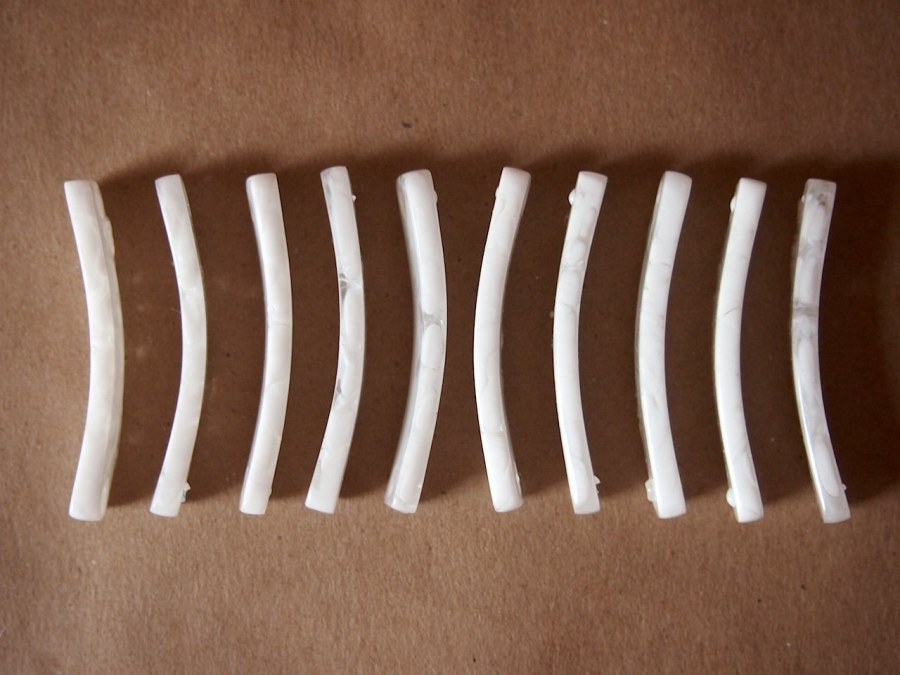
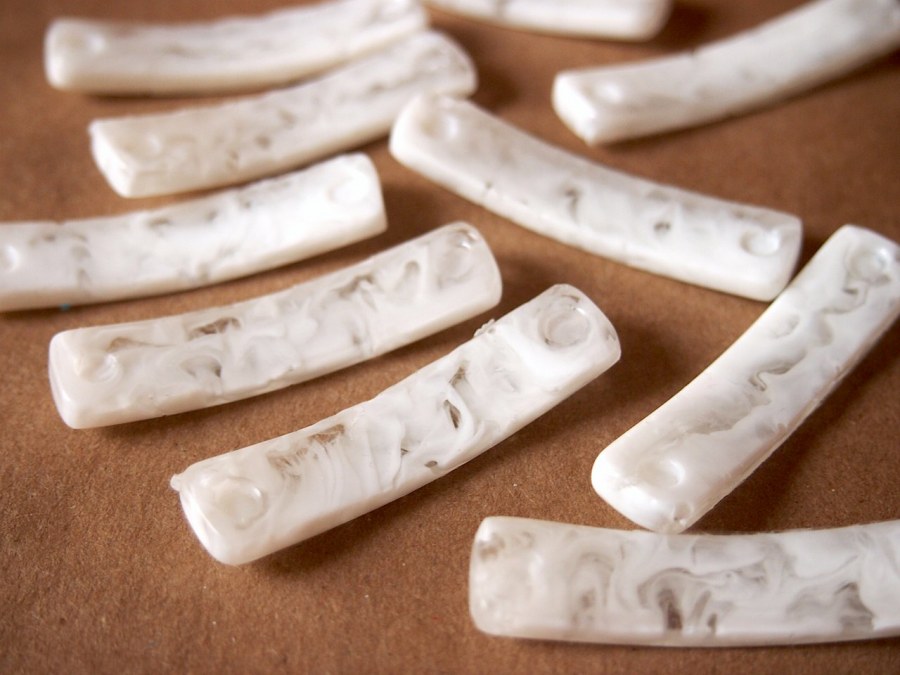
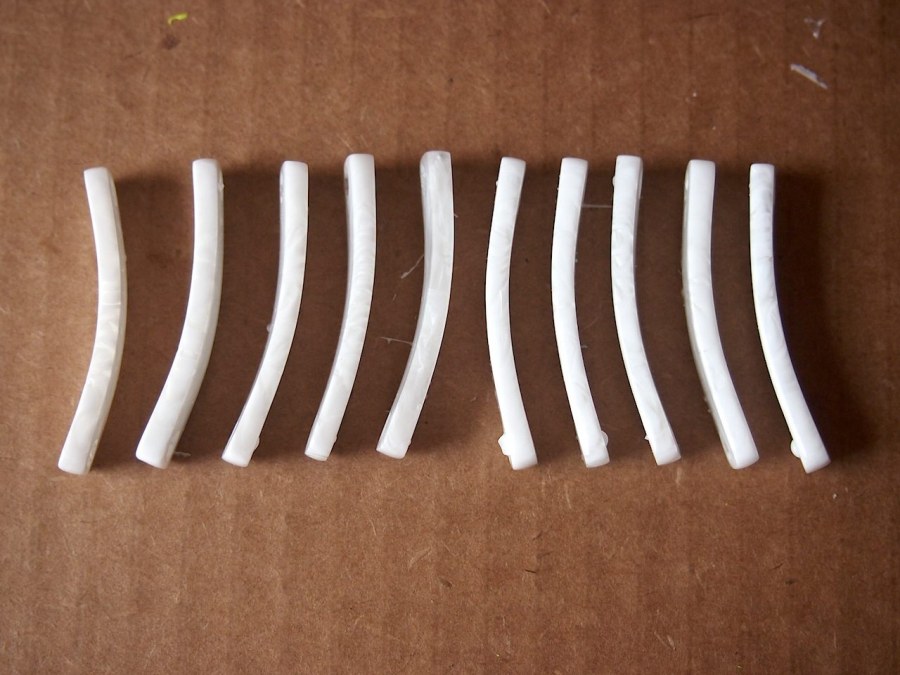
- the results, although a step in the right direction, are baby steps. much more of the swirling can be seen in both the side views and profiles, but the white seems to overwhelm the clear again.
conclusion:
- for the next batch, use only a drizzle of white resin (not straight up pigment). while in the baggie, pour the white down the center of the clear resin. could prove a little tricky to get the same amount of white in each cavity, but there's only one way to find out...
